Update (Feb 6, 2016): TWRP Recovery 3.0 is now available for YU Yureka too. The same has been provided as download below, and you can install it using the procedure outlined below which is same for TWRP v2.8.x too.
TWRP 3.0 brings a new theme (looks great!) and many new features. The new TWRP 3.0 is based on Android 6.0 code, and thus supports Marshmallow ROMs much better. If you encrypt your SDcard as system partition, now you can directly decrypt it from TWRP 3.0 only. For full changelog, check this TWRP page.
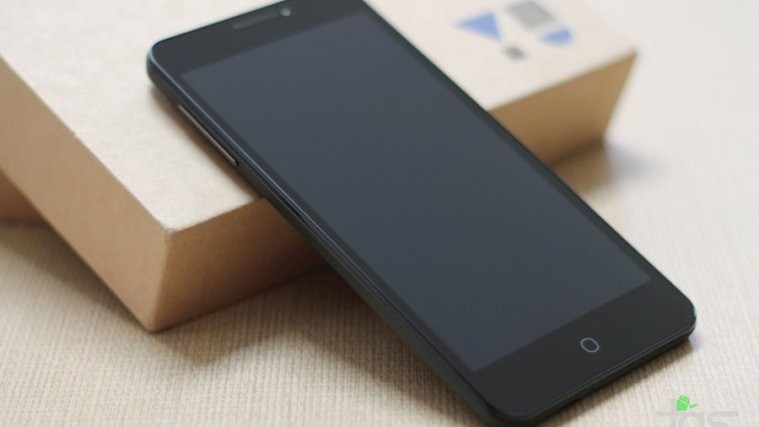
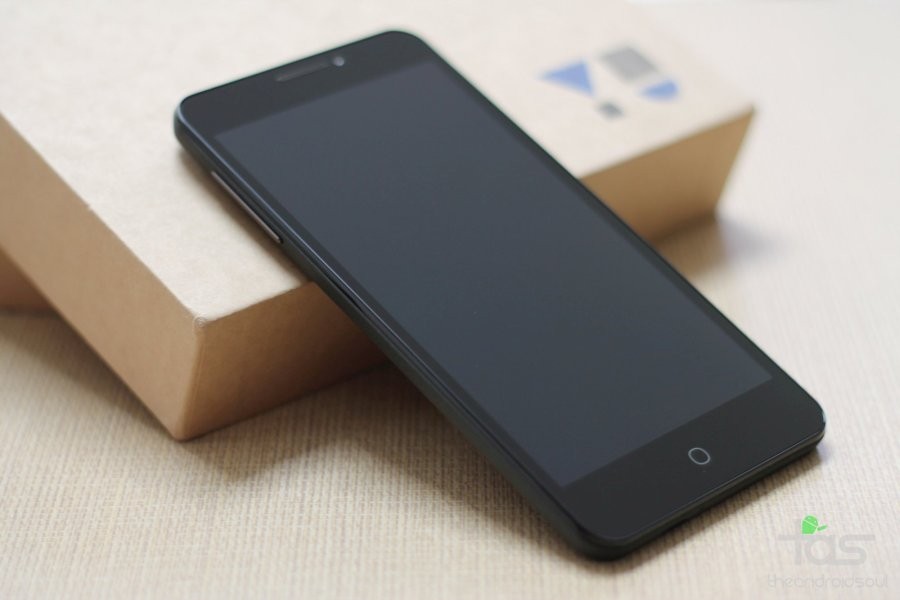
Original post: Lollipop update for YU Yureka is out now but that also meant for pro users that TWRP recovery was not supported. Well, cheer up, the YU Yureka TWRP recovery compatible with Lollipop update, CM12S, is out now. We’ve put together a guide for you below, be sure to follow carefully.
It’s important to note that the recovery provided below is compatible only with Lollipop, Android 5.0. Do not try it on KitKat. If you do, you could brick your Yureka. So, make sure you are updated to Android 5.0 Lollipop, CM12S, before installing the recovery.
Downloads
→ In case you experience any issues with new TWRP 3.0 on your Yureka, simply install the v2.8.x.x version back until those issues are fixed in TWRP 3.0.
Supported devices
- YU Yureka, updated to Lollipop, Android 5.0 [not compatible with Android 4.4 KitKat]
Installation Instructions
WARNING: Warranty may be void of your device if you follow the procedures given on this page. You only are responsible for your device. We won’t be liable if any damage occurs to your device and/or its components.
Important Note: Backup important files (music, photos, documents, videos, etc.) stored on your Yu Yureka before proceeding with the steps below.
- Get ADB working properly. Check out our ADB installation guide for this. Just install ADB and then come back to this guide.
- Reboot to fastboot mode.
- Enable developer options. Go to Settings – About phone. Tap build no. 7 times to unlock developer options.
- Go back to settings and into developer options. Enable Advanced Reboot.
- Now, boot your phone into fastboot mode. Hold the power button and let pop-up show up.
- Tap on reboot and then tap on bootloader. Your phone will boot into fastboot mode.
- Connect the phone to PC.
- Go to the folder on your PC where you have the TWRP recovery’s file: recovery_yutwrp64.img. Rename it to twrp-yureka.img
- Left click on any empty white space inside the folder and then press shift+right click to get a pop-up as shown below.
- Select the option: Open command window here
- Copy the command below, and paste it in command window. Then hit enter to begin flashing the recovery.
fastboot -i 0x1ebf flash recovery twrp-yureka.img
- Once done, type the below and hit enter key to restart your phone.
fastboot reboot
- Optional: Take a backup now. With TWRP installed, the first thing you should do is take backup. It’s a must do! Boot into recovery mode (hold power button, and select reboot) and take a backup.

Happy flashing!
If you need any help with this, let us know via comments section below.
Credit: Santosh (for TWRP 3.0)
