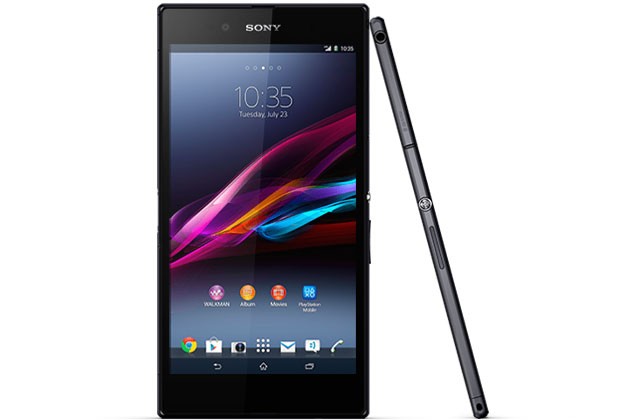
Sony Xperia Z Ultra (C6806) received a new firmware update recently, build no. being 14.5.A.0.270_R1D. In case you were wondering, it’s not Android 5.1 update Ultra users are waiting for, instead it’s Android 5.0.2 Lollipop. If you’ve updated your device via OTA, that means your device is already upgraded and there’s a great chance that you might have lost the root access on Xperia Z Ultra. Many users don’t want to stay in the limits assigned by the OEMs and thus, you may want to root your device on Lollipop, and the best part being that it can be easily achieved if you follow the guide.
The ROM covered here is a stock unchanged 14.5.A.0.270_R1D firmware already rooted, and TWRP recovery pre-installed. Hence you won’t have to go again through the procedure of rooting your device after flashing the firmware, thereby saving you time and making the process easy to perform. All you need now is patience and the mentioned files below, the follow the instructions and you’re good to go. Credit for the ROM goes to pTeronaut, thanks!
How to Update Xperia Z Ultra with 14.5.A.0.270_R1D firmware
Downloads
- Pre-rooted 14.5.A.0.270_R1D firmware (Alternate link) | File: C6806-14.5.A.0.270.zip (1.1 GB)
- XZ Dual Recovery: ZU-lockeddualrecovery2.8.15-RELEASE.installer.zip
How to download recovery: Follow this link, it will lead you to the website of recovery’s developer, Nut. Click the tab which contains XZDualRecovery. Then click on XZDualRecovery 2.8.15. Now locate the file with name ZU-lockeddualrecovery2.8.15-RELEASE.installer.zip. Click on it, pop-up will appear, click on HERE inside the pop-up to initiate download on your PC.
Supported devices
- Xperia Z Ultra (model no. C6806)
- Don’t try on any other model of Xperia devices or any other Android device
Installing a pre-rooted firmware as mentioned below helps you get a new firmware on your device along with root. It also pack in XZDualRecovery too. The process is pretty easy to perform as you’ll just need to flash the recovery of your choice: either of CWM, TWRP and Philz Touch work.
Instructions:
- Download and install ADB on your Windows PC.
- Heading further, you’ll have to download and install Sony drivers on your PC.
- Enable USB debugging on your Xperia Z Ultra:
- Go to Settings – About phone. Tap build no 7 times.
- Go back to Settings, scroll down and locate Developer options, tap on it.
- Locate USB Debugging and tap on checkbox to enable it. Tap on OK to confirm when you see pop-up.
- Connect your Z Ultra to PC now. You’ll get a pop-up on your Z Ultra asking permission for USB debugging, select always allow and then tap on OK. Keep the Z Ultra connected to PC.
- Transfer the pre-rooted firmware file to your Z Ultra and remember its location.
- Install XZDualRecovery first of all. You don’t need to unlock bootloader for this as it works on both and unlocked ones. (Skip this step if you already have a TWRP/CWM recovery, and just boot into recovery mode and then do the next step of flashing the ROM.)
- Extract the ZU-lockeddualrecovery2.8.15-RELEASE.installer.zip file using a free software like 7-zip on PC.
- From the extracted files, double click on the install.bat file. This will begin the installation of recovery on your Z Ultra.
- Device will reboot into recovery mode after recovery is installed.
- Factory reset/wipe data of your device from recovery. On TWRP, do this: select Wipe, then Advanced wipe, then select Dalvik cache, System, Data and Cache. Then do the ‘Swipe to wipe’ at bottom.
- Go back to main screen of recovery, select Install and then select the pre-rooted firmware file (C6806-14.5.A.0.270.zip) you transferred to Z Ultra in step 5 above. Confirm the action to begin installation.
- When done, go back and select Reboot to reboot the system. You’ll have the latest rooted Lollipop firmware from Sony running running on your device.
Let us know if you need any help over this via comments below.


