If you’re looking for an easy-to-use, no nonsense, lightweight Sync Manager which you can use to synchronise your contacts, tasks, calendar appointments and notes between your Android smartphone and Microsoft Outlook (or vice versa), look no further. While we have written about backup and restore apps earlier, those did not include a sync manager for use with Outlook, which is possibly the most widely used PIM manager and email client on Windows.
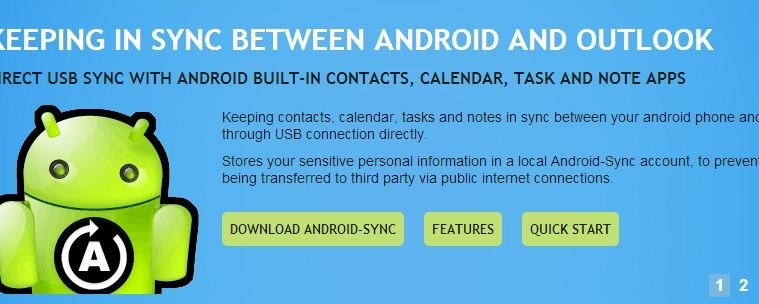
Android-Sync is a two-way Android Sync manager which works with Windows PCs. It seamlessly syncs Outlook contacts, calendars, tasks and notes securely and directly with Android devices or the other way around, through a USB connection. No need to back up your PIM data to a cloud and then spend time and your precious data plan restoring it. Your data is synced directly, between MS Outlook on your PC and your device.
Let’s go ahead and see how syncing local Outlook data with an Android device via USB couldn’t be easier.
Compatibility
This application and guide is compatible only with desktops/notebooks running Windows, and will not work on any other OS.
Download Link
[button link=”http://www.android-sync.com/download/android-sync_setup.exe” icon=”arrow” style=””]Download Android-Sync[/button]How to Set Up and Use Android-Sync on your Windows Machine
- Download the Android-Sync installer to your PC and install it by double-clicking the .exe file
- During installation, make sure that the Install Android USB Drivers option is checked (Unless you’re sure you already have Android ADB drivers installed). See Screenshot below:
- On your Android device, make sure USB debugging is enabled. You should find the USB Debugging option in Settings > Developer Options on most phones. Now connect your Android device to your PC
- To verify whether your PC recognizes your device correctly, right click on the Computer icon from the Windows start menu, and click Manage. In the Computer Management window that opens up, find Device Manager in the left pane and click on it. Look for your Android device on the right.
- Now run Android-Sync by double clicking the icon on your desktop. Android-Sync will now try to connect to your phone. You should see a progress window which says it could take about 3-5 minutes. This is normal, as it is the first time Android-Sync is connecting to your device. Once the device is connected, it will automatically install the Android-Sync service on your phone. If you check the notification bar on your Android phone, you should see the Android Sync icon there.
- Now you should see the Android Sync Manager Preferences window on your PC screen. You need to first select the General Tab, and then the Outlook profile that you want to sync data with. If you have multiple profiles on OUtlook, Android sync will automatically detect them, and you can select the profile you prefer from the dropdown.
- Next, on the Contacts Tab, choose the sync mode. You should see 4 options. [Synchronize] -This is 2-way sync, and all changes between Outlook and your Android device will be synchronized both ways. [Desktop overwrites handheld] – Outlook data will be the master and data on your Android device replaced or overwritten, [Handheld overwrites desktop] – Android device data is master, and data in Outlook will be replaced or overwritten [Disabled]No sync. In case you do not want any data deleted, just disable the Sync Deletion option, by leaving it unchecked. See screenshot below
- On the same Contacts Tab, you now need to select the Android account that you want to sync with Outlook. Like in Step 6, if you have multiple accounts set up on your phone/tablet, you will be able to select from the dropdown
- Repeat Step 7 for the Calendar and Notes tabs on the Android Sync manager. Now that all your preferences are set up, click Save at the bottom right of the window. The Android Sync manager window will close and a confirmation window with a green Android and your device information will pop up. This is called the Android Sync Home window. See Screenshot below
- Click the Sync Button on the on the Android Sync Home window. This will start the actual synchronization of data, and you will be able to see the progress on your computer screen. Once done, a sync report will be displayed, where you can see how many contacts, appointments, tasks and notes were synced between Outlook and Android. See screenshot below
- You’re done syncing your crucial data. See how easy it was. So go ahead and download the free trial for Android Sync Manager and check it out. If you are an Android user, and a stickler for backing up your contacts, tasks and appointments on a regular basis, this could make your life a whole easier.


You can download the Android-Sync free trial and check it out. The trial version has a limitation of 20 entries that you can sync, In case you want to activate the full version with no limitations, you can purchase a perpetual (lifetime) license for $29.95.