The South Korean tech giant may headline the Android market with devices like the Galaxy S9 and S9+, but a large part of the company’s success also accounts for the mid-range affordable devices. The Galaxy J series is a part of this mid-range lineup, with the Galaxy J7+ from last year being a winner among price-centric Android smartphones that offers decent specs and build quality with the assurance of the Samsung brand.
How to root the Galaxy S9 and S9+
Up until now, the Galaxy J7+ had been left hanging high and dry with no love from the Android developer community, but the year-old device is finally tasting the goodness of not just root access but TWRP custom recovery as well. Thanks to the work done by XDA member Albe69, you can enjoy an unofficial version of TWRP custom recovery and flash SuperSU to enjoy unprecedented freedom.
How to root the Samsung Galaxy J7+
Warning!
Do not try anything given on this page if you do not know completely what you are doing. In case any damage occurs, we won’t be held responsible.
Compatibility
The download files and the process for gaining root access given on this page are compatible only with the Samsung Galaxy J7+, model no. C710F. Do not try this on any other device as you might end up damaging your device and permanently brick it.
Pre-requisite
- Install the ADB and Fastboot driver on your PC.
- Install Samsung driver on your PC.
- Make sure you have enabled developer options, USB debugging and OEM Unlock on your Galaxy J7+.
- Backup all you need to. Contacts, documents, media files, etc. backup everything.
The device must not be RMM locked
Make sure your Galaxy J7+ is not RMM locked. Here is how to identify your device is locked. The device must clear all of the three tests below:
- Reboot to download mode. If you see the text RMM state = Prenormal, then it means your device is RMM locked.
- The OEM unlock option is not available under the Developer options after you have enabled it in the pre-requisite section above. If it’s not available, then that is because your device is RMM locked. It should be available normally.
- When you are trying to reboot to recovery mode, you get the message ‘Only official released binaries are allowed to be flashed’. This also means that your Galaxy J7+ is RMM locked.
How to install TWRP recovery on the Galaxy J7+
Once again, this won’t work for the Galaxy J7+, BTW.
- Make sure you have covered the pre-requisite section well, and that your Galaxy J7+ is not RMM locked, as given above.
- Disconnect your Galaxy J7+ from PC if it is connected.
- Download required files:
- Odin 3.13.1 PC software: Odin3_v3.13.1.zip
- Galaxy J7+ TWRP recovery: twrp_jadelte.tar
- DM Verity disabler boot patch: no-verity-opt-encrypt-6.0.zip
- RMM Bypass – RMM-State_Bypass_Mesa_v2.zip
- Extract the Odin file. You should get this file Odin3 v3.13.1.exe (ignore other files from the extraction).
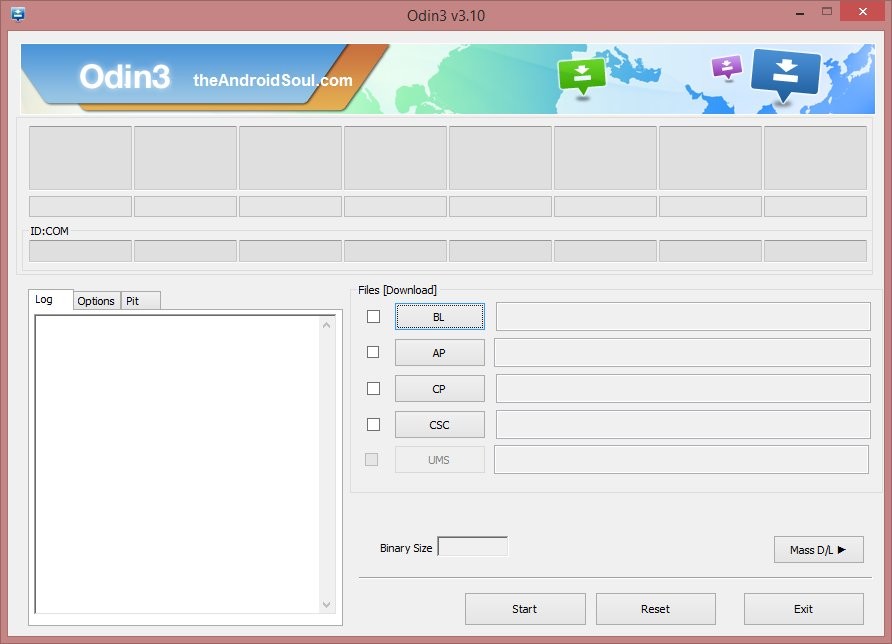
- Double click on the extracted file of Odin, Odin3 v3.13.1.exe, to open the Odin window, as shown below. Be careful with Odin, and do just as said to prevent problems.
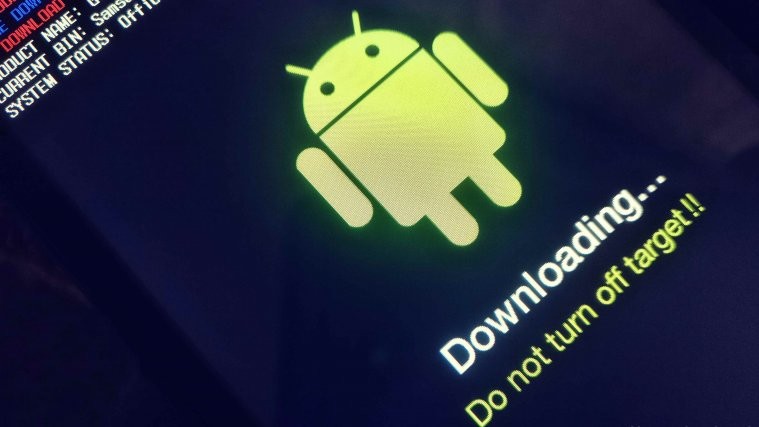
- Boot the Galaxy J7+ into download mode:
- Power off your Galaxy J7+. Wait 6-7 seconds after screen goes off.
- Press and hold the three buttons Volume down + Volume up + Power buttons together until you see the Warning screen.
- Press Volume Up to continue to download mode.
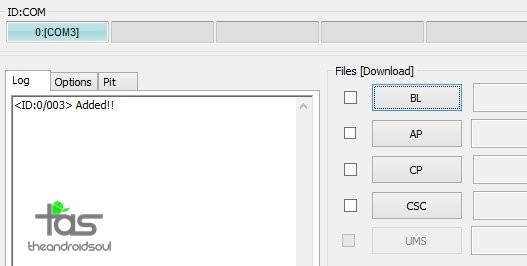
- Connect your Galaxy J7+ to PC now using a USB cable. Odin should recognize your Galaxy J7+. It’s a must. When it recognizes, you will see Added!! message appearing in the Log box in the bottom left, and the first box under ID:COM will also show a no. and turn its background blue. Look at the pic below.
- You cannot proceed until Odin recognizes your device and you get the Added!! message.
- If it doesn’t, you need to install/re-install drivers again and use the original cable that came with the device. Mostly, drivers are the problem.
- You can try different USB ports on your PC too, btw.
- Load the TWRP file into Odin. For this, click the AP button on Odin and the select the TWRP file you download above.
- In Odin, under the options tab, make sure the Re-partition and Auto Reboot checkboxes are NOT selected. Don’t use the PIT tab either. Go back to Log tab btw, it will show the progress when you hit the start button in next step.
- Click the Start button on Odin now to start installing the TWRP recovery on your Galaxy J7+. Wait till installation is finished, after which, you’ll get PASS message as shown below upon successful installation from Odin.
- If Odin gets stuck at setup connection, then you need to do this all again. Disconnect your device, close Odin, boot device into download mode again, open Odin, and then select the TWRP and flash it again as said above.
- If you get FAIL in the top left box, then also you need to flash the TWRP file again as stated just above.
- Force reboot and access the recovery mode again to get to TWRP recovery. Here’s how:
- Your Galaxy J7+ would remain in download mode itself — it won’t restart automatically because we turned off Auto Reboot above, to buy you time to boot into recovery mode from here. Read the point below fully before doing this.
- Press and hold Volume down + Power button together until the screen goes off, but once the screen goes off, do this quickly: while still holding the Power button, press Volume Up in place of Volume down button to reboot into recovery mode.
[In essence, when the device restarts (screen goes off), you must be holding Volume Up and Power button together. We have to press the Volume down + Power buttons first to force restart the device from download mode.]
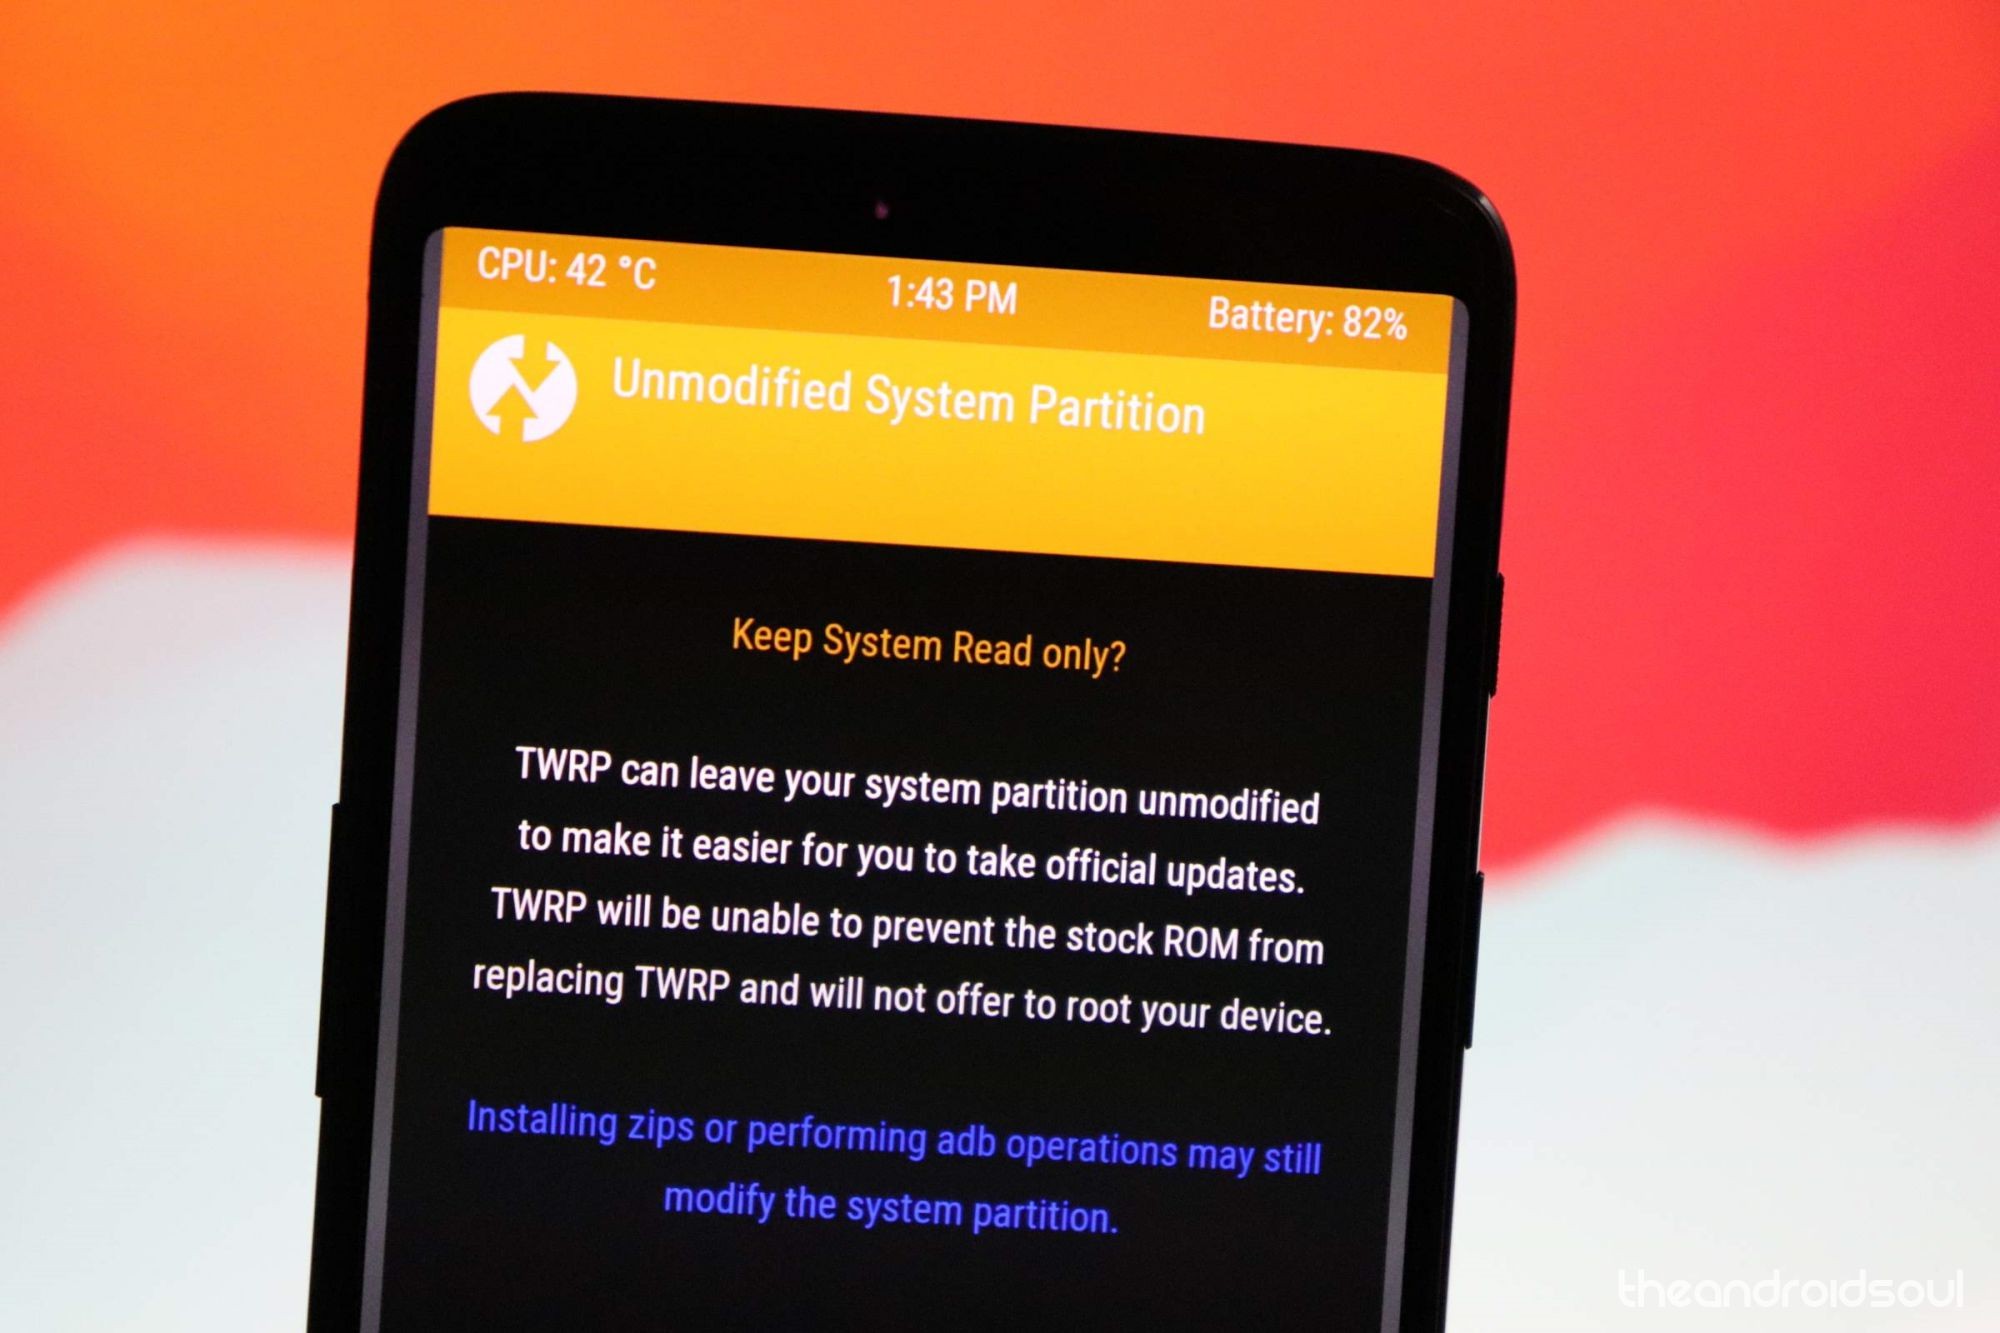
- Important! So, your device will boot into TWRP recovery. It would ask for ‘allow for System modification’. DO NOT ALLOW THAT. Tap on the ‘Keep Read Only’ button to not allow system modification and access TWRP safely.
- Now, you will be taken to the home page of the TWRP. Wipe the data partition now.
- Tap on Wipe option, and and then select Format Data option.
- Type yes on the next screen to delete the data partition, which will delete everything on the device, including apps, data, and all the files on the internal storage. (Make sure you have an appropriate backup of data and files with you saved on PC before doing this!)
→ We need to wipe data partition to avoid errors/warnings like ‘Integrity verification failed’ or ‘RMM Lock’.
- Reboot the device in TWRP recovery again. For this, press the home button, then Reboot, and then Recovery. Data partition should be mountable now.
- Install DM Verity disabler and RMM Bypass (and root file if you want to) files:
- Connect the Galaxy J7+ to your PC now using a USB cable.
- Transfer the DM Verity disabler and RMM files from PC to your Galaxy J7+. Remember the location on the device.
- You can now disconnect the device to PC.
- In TWRP, tap on Install option on the home screen, and then select the DM verity disabler file. Then do the swipe action at the bottom to install it.
Example of file installation in TWRP! - Install the RMM Bypass file the same way.
- [Optional] Root the Galaxy J7+ now to avoid deleting everything on the device again because if you install root package later after rebooting the device from here, you will need to format the data partition again, which would delete everything (including the internal storage) again. To root Galaxy S6 now, do this:
- Download the Magisk root package: Magisk-v16.7.zip
- Connect the device to PC is disconnected.
- Transfer the Magisk file to your Galaxy J7+.
- Install root access. In TWRP, tap on Install option on the home screen, and then select the Magisk file. Then do the swipe action at the bottom to install it.
- Install the RMM Bypass file again.
- Now, let’s restart the device. Tap on the Reboot System button. Or from the home page of TWRP, tap on Reboot option, and then on System to restart your Galaxy J7+, and it shall reboot alright. You don’t have to worry about the RMM lock now.


That’s it.
How to root Galaxy J7+
FYI, we already mentioned the root guide in the optional step 16 above to allow you to install the root package wit TWRP guide itself so that you don’t have to format the data partition again because that’s a requirement. If you didn’t install the root package above, follow the guide below thoroughly and avoid installing the root package only.
Here is how you can install root access safely on your Galaxy J7+ without needing to worry about the new RMM lock trick of Samsung.
- Make sure you have installed the TWRP recovery using the guide given above.
- Download the required files:
- Magisk root package: Magisk-v16.7.zip
- DM Verity disabler boot patch: no-verity-opt-encrypt-6.0.zip
- RMM Bypass – RMM-State_Bypass_Mesa_v2.zip
- Reboot into TWRP recovery. For this, power off the device. Once the screen goes off, wait for at least 5-6 seconds, and then press and hold the Volume Up and Power buttons together to reach TWRP.
- Wipe the data partition now.
- Tap on Wipe option, and and then select Format Data option.
- Type yes on the next screen to delete the data partition, which will delete everything on the device, including apps, data, and all the files on the internal storage. (Make sure you have an appropriate backup of data and files with you saved on PC before doing this!)
→ We need to wipe data partition to avoid errors/warnings like ‘Integrity verification failed’ or ‘RMM Lock’.
- Reboot the device in TWRP recovery again. For this, press the home button, then Reboot, and then Recovery. Data partition should be mountable now.
- Root the Galaxy J7+ now. Here’s how:
- Connect the device to PC if disconnected.
- Transfer the Magisk file to your Galaxy J7+.
- Install the Magisk file. On the TWRP’s home screen, tap on Install button, and then select the Magisk file. Swipe at the bottom of the screen to confirm the installation.
- Install the RMM Bypass file too the same way.
- Tap on the Reboot System button. Or, from the home page of TWRP, tap on Reboot option, and then on System to restart your Galaxy J7+.
That’s it.
Do let us know if you need help regarding installing TWRP recovery and rooting your Galaxy J7+. Give us a shout in the comments box below.
How to root the Samsung Galaxy J7+
Warning!
Do not try anything given on this page if you do not know completely what you are doing. In case any damage occurs, we won’t be held responsible.
Compatibility
The download files and the process for gaining root access given on this page are compatible only with the Samsung Galaxy J7 Plus, model no. C710F. Do not try this on any other device as you might end up damaging your device and permanently brick it.
Pre-requisite
- Install the ADB and Fastboot driver on your PC.
- Install Samsung driver on your PC.
- Make sure you have enabled developer options, USB debugging and OEM Unlock on your Galaxy J7+.
Step-by-step guide
- Make sure you have enabled the ‘OEM unlock‘ option as asked in the pre-requisite section above. Disconnect your Galaxy J7+ from PC if it is connected.
- Download required files:
- Odin 3.13.1 PC software: Odin3_v3.13.1.zip
- Galaxy J7+ TWRP recovery: twrp_jadelte.tar
- Root package, SuperSU: SR5-SuperSU-v2.82-SR5-20171001224502.zip
- DM Verity disabler boot patch: no-verity-no-encrypt_ashyx.zip
- Transfer the DM Verity disabler file to your Galaxy J7+. Keep the TWRP and Odin file on the PC.
- Extract the Odin file. You should get this file Odin3 v3.13.1.exe (ignore other files from the extraction).
- Double click on the extracted file of Odin, Odin3 v3.13.1.exe, to open the Odin window, as shown below. Be careful with Odin, and do just as said to prevent problems.
- Boot the Galaxy J7+ into download mode:
- Power off your Galaxy J7+. Wait 6-7 seconds after screen goes off.
- Press and hold the three buttons Volume down + Home + Power buttons together until you see the Warning screen.
- Press Volume Up to continue to download mode.
- Connect your Galaxy J7+ to PC now using a USB cable. Odin should recognize your Galaxy J7+. It’s a must. When it recognizes, you will see Added!! message appearing in the Log box in the bottom left, and the first box under ID:COM will also show a no. and turn its background blue. Look at the pic below.
- You cannot proceed until Odin recognizes your device and you get the Added!! message.
- If it doesn’t, you need to install/re-install drivers again and use the original cable that came with the device. Mostly, drivers are the problem.
- You can try different USB ports on your PC too, btw.
- Load the TWRP file into Odin. For this, click the AP button on Odin and the select the TWRP file in the TAR format (twrp_jadelte.tar).
- In Odin, under the options tab, make sure the Re-partition and Auto Reboot checkboxes are NOT selected. Don’t use PIT tab either. Go back to Log tab btw, it will show the progress when you hit the start button in next step.
- Click the Start button on Odin now to start flashing the TWRP on your Galaxy J7+. Wait till installation is finished, after which, you’ll get PASS message as shown below upon successful installation from Odin.
- If Odin gets stuck at setup connection, then you need to do this all again. Disconnect your device, close Odin, boot device into download mode again, open Odin, and then select the TWRP and flash it again as said above.
- If you get FAIL in the top left box, then also you need to flash the TWRP file again as stated just above.
- Force reboot and reboot into recovery mode to access TWRP recovery.
- Your Galaxy J7+ would remain in download mode itself — it won’t restart automatically because we turned off Auto Reboot above, to buy you time to boot into recovery mode from here. Read the point below fully before doing this.
- Press and hold Volume down + Power button together until the screen goes off, but once the screen goes off, do this quickly: while still holding the Power button, press Volume Up in place of Volume down button to reboot into recovery mode.
[In essence, when the device restarts (screen goes off), you must be holding Volume Up and Power button together. We have press the Volume down + Power buttons first to force restart the device from download mode.]
- Important! So, your device will boot into TWRP recovery. It would ask for ‘allow for System modification’. DO NOT ALLOW THAT. Do not swipe at the bottom, rather, select ‘Keep Read Only’ so that we can transfer the required files first that are required once you allow system modification.
- Now, you will be taken to the home page of the TWRP. Now, tap on Wipe option, and and then select Format Data option. Swipe now to format data partition, which deletes everything on the device. We need to do this to avoid errors/warnings like ‘Integrity verification failed’.
- Verify that Data is mountable.
- Now we would install the DM Verity disabler. Go back to the home screen, tap on Install button, then select the SM Verity disabler file. Then do the swipe action at the bottom to install it.
- Install the SuperSU file the same way as you installed the DM Verity disabler file.
- Now, let’s restart the device. Tap on the Reboot System button. Or from the home page of TWRP, tap on Reboot option, and then on System to restart your Galaxy S9, and it shall reboot alright.
That’s it.
Do let us know if you need help regarding achieving root access on the Galaxy J7+ of yours. Give us a shout in the comments box below.


Tried all the steps installing twrp i cant get into twrp. It says set warranty bit: recovery (0) then the phone restart and back to normal any tips