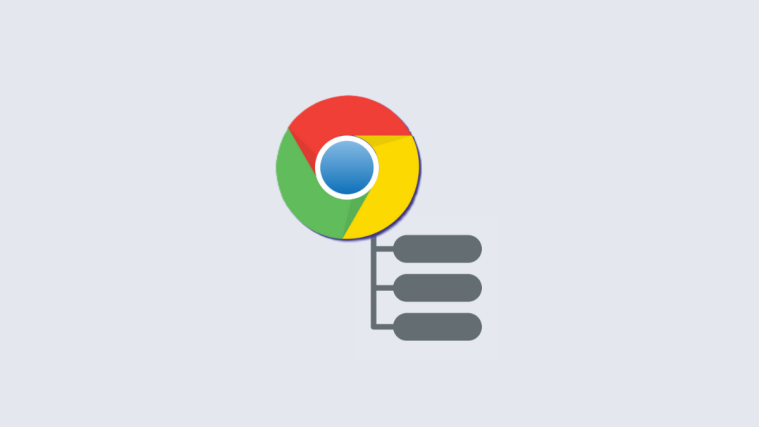
On Chrome, one can easily organize tabs into groups and even save tab groups to access them later. But manually creating such groups can become an arduous process, especially if you have tons of tabs open at a time. Fortunately, a new Chrome update seeks to simplify organizing tabs using the power of AI. Here’s everything you need to know to start organizing similar tabs using AI on Chrome.
Contents
show
How to Organize Tabs using AI in Chrome
Before you can start organizing Chrome tabs using AI, make sure you fulfill the following requirements:
Requirements
- You’re located in the US and are 18 years of age or older.
- Update to Chrome version M121 from More (three-dot icon) > Help > About Chrome.
- Go to More > Settings > Experimental AI > enable Try out experimental AI features > Tab Organizer.
- Then click on Relaunch or restart Chrome.
Guide

- Open the tabs that you want to group together.
- Then click on Tab search (down arrow) at the top left corner and select Organize tabs.
- Alternatively, right-click on a tab and select Organize similar tabs.
- Or click on More (three-dot icon) in the top right corner and select Organize tabs.
- Under ‘Organize tabs’, click on Check now or Search for groups and wait for the AI to suggest groups.
- The AI will display only one suggested group at a time.
- Rename the tab group name to your liking.
- To remove a tab from the group, hover over the tab and click on X.
- Finally, click on Create group to do so.
- Repeat the steps to create additional tab groups.
Note that if you have only a few tabs open, you might get a ‘No tab groups found’ error. Open a few more tabs and try again.
We hope this guide helped you organize your tabs using AI on Google Chrome. Until next time!