Now that Samsung has officially begun the sale of Galaxy S9, users are scrambling to familiarize themselves with their new device. On this path to discovery, you will soon find yourself the need to take screenshots, and it can be confusing for the Galaxy phone users who are upgrading after a gap of a couple of years because you do not use Home button to grab a screenie anymore.
With no home button since the Galaxy S8, the mechanism of taking a screenshot on Samsung Galaxy devices has changed. Since there is more than just one way that you can take a screenshot on the Galaxy S9, let’s check them out. BTW, you can root your Galaxy S9 now, thanks to TWRP recovery becoming available now for the Exynos variants.
Here’s how you can take a screenshot on the Galaxy S9 and 9+.
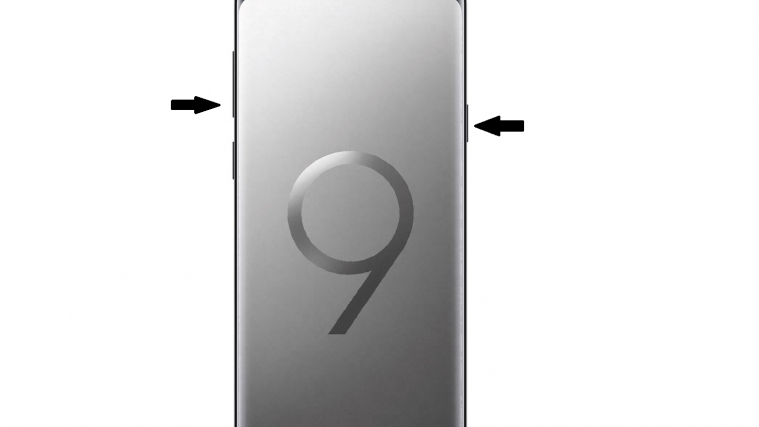
The easiest way to take a screenshot on any mobile device, irrespective of its software, is by using the hardware buttons. On the Galaxy S9, you can take a screenshot instantaneously by using the following method.
- Open the screen or app that you want to take a screenshot of.
- Press and hold the Power and Volume Down buttons simultaneously, until you hear the shutter sound along with a short vibration.
Method 2: Using Palm swipe
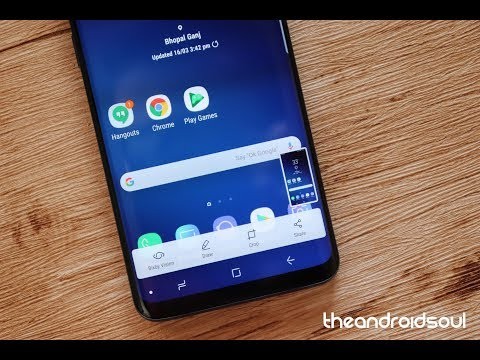
If the hardware buttons are just too old and tacky for your liking, Samsung has included a couple of smart ways to take a screenshot on your Galaxy S9. One of these includes the ability to swipe across the screen from left to right to take a screenshot.

- From the home screen of your Galaxy S9, head over to Settings – Advanced features.
- Press the toggle switch right next to Palm swipe to capture, which should then pop up a quick guide on how you can use the feature.
With this feature enabled, all you need to do is hold out your palm sideways and move it slowly across the screen from left to right. You’ll hear a familiar shutter sound when the screenshot is captured, along with a short buzz.
Method 3: Using Bixby
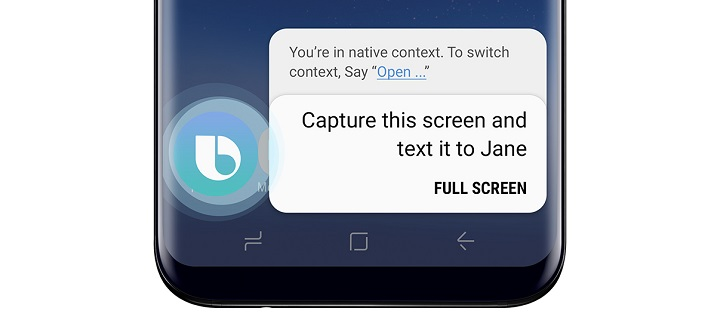
Whether you hate it or love it, Samsung has made it clear that Bixby is here to stay, so you better get used to it. The smart assistant isn’t all that bad, especially because it can let you capture screenshots without doing a button pressing combo or using wacky gestures. All you need to do is ask Bixby to take a screenshot and your virtual assistant will oblige.
- Open the screen or app that you want to take a screenshot of.
- Press and hold the Bixby button, or speak out “Hey Bixby” to activate the smart assistant.
- Once Bixby is activated, say “take a screenshot” and the virtual assistant will do it right away.
Unlike the traditional way of taking screenshots, you won’t be able to immediately edit the screenshots you take with Bixby. However, Bixby allows you to do more, such as saying “take a screenshot and share it on Instagram”, which is a step above the rest.
Method 4: Using Google Assistant
Yes, whatever Bixy can do, Google Assistant does it better. In fact, in one go, the Google Assistant would not only take the screenshot but also give you an option to share. But, there’s a catch: It won’t do the more obvious thing, save the screenshot automatically. Why doesn’t it save automatically? Well, believe us, we’re as much puzzled by this as you are.
Anyway, with Google Assistant set up, you can shout OK Google, take a screenshot. No need to pause after speaking OK Google BTW.
Which one is your favorite trick?


