An Ice Cream Sandwich (ICS) Android 4.0 firmware, UCALC4, was leaked for the AT&T Galaxy S2 Skyrocket. Of course, it brought along Samsung’s TouchWiz UI which, taking away from the beauty of stock ICS, isn’t liked by everyone. XDA developer M0D1441 didn’t like it either, so he’s come up with the NexusMod ICS ROM based on the UCALC4 firmware which tries to bring a stock AOSP ICS feel to the Skyrocket.
As the developer points out, the ROM is in beta and hence not fully complete yet. He’s released it so users can have a chance to try it out and report any bugs and issues that they might encounter. Some features might be missing due to its beta status.
Read on for the full step-by-step procedure on how to install the NexusMod ICS ROM on your Skyrocket.
Compatibility
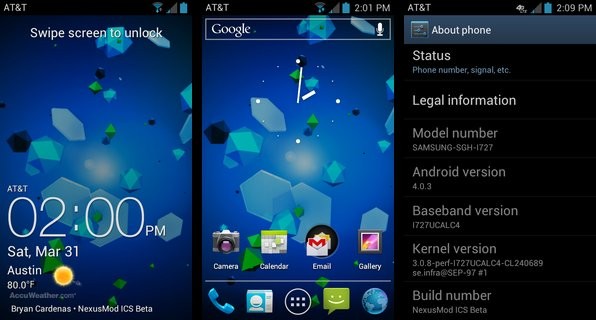
This firmware and the guide below are compatible only and only with the AT&T Samsung Galaxy S2 Skyrocket, model number i727. It’s not compatible with any other device and may render an incompatible device unusable. Check your device model in Settings » About phone.
Warning!
The methods and procedures discussed here are considered risky and you should not attempt anything if you don’t know completely what it is. If any damage occurs to your device, we won’t be held liable.
ROM Info
- Developer → M0D1441
Pre-Installation Requirements
- This procedure will wipe all your apps, data and settings (but it will NOT touch your SD cards, so don’t worry about those). Backup your Apps and important data — bookmarks, contacts, SMS, APNs (internet settings), etc. This Android backup guide would help you.
- Sufficiently charged battery, at least 50% is recommended.
How to Install NexusMod ICS ROM on Galaxy S2 Skyrocket
- Flash the UCALC4 Ice Cream Sandwich firmware on your phone by following the guide → here. (Skip if you are already on the UCALC4 firmware).
- Install ClockworkMod Touch recovery on UCALC4 firmware by following the guide → here.
- Download the latest version of NexusMod ICS ROM from the original development page.
- Transfer the zip file you downloaded above to your internal sdcard (not the external microSD).
- Turn off the phone, then boot into recovery mode. For this, press and hold these 3 buttons together until Samsung’s screen shows up: Volume UP + Volume Down + Power. Phone will boot into CWM recovery.
- Perform a Nandroid Backup of your existing ROM, so that you can always restore it from recovery if something does not work out with this ROM. To perform a backup, select backup and restore –> On the next screen, select backup again. Then go back to the main recovery menu.
- Perform a wipe:
- Select wipe data/factory reset, then select Yes on next screen to confirm. Wait a while till the data wipe is complete. Perform this step twice.
- Select wipe cache then select Yes on next screen to confirm. Perform this step twice.
- Select advanced, and then select wipe dalvik cache » Yes – wipe dalvik. Perform this step twice. Then go back to the main recovery menu.
- Select mounts and storage, then select format system, then select Yes to format system partition. Perform this step twice. Then go back to the main recovery menu.
- Now, select install zip from sdcard, then select choose zip from sdcard. Scroll to the ROM file on the sdcard and select it.
- Confirm installation by selecting Yes – Install _____.zip on the next screen. The ROM will start installing.
- After the installation is complete, select go back then select reboot system now to reboot the phone.
The NexusMod ICS ROM is now installed on you AT&T Galaxy S2 Skyrocket, giving you the Ice Cream Sandwich experience with the AOSP look. Visit the original development page for more info and to get the latest updates on the ROM. Share your thoughts on the ROM in the comments.


