There are people who absolutely despise what Samsung does to the stock and pure Android firmware that Google creates, but most of us love it. Apart from creating its very own flavor of the Android OS, Samsung also does extensive software development to bring additional features and apps to its Galaxy devices, like the security layer of Samsung Knox.
A feature of Samsung Knox called the Secure Folder gives you a truly private space on your Galaxy device, helping you tuck away images, videos, documents and more. However, the technical aspect of how Secure Folder works can sometimes be confusing, and you might end up being unable to add content to the Secure Folder or access the content you had previously added.
Here’s what you can do to fix that.
Method 1: Factory Reset your device, and DO NOT restore any backup
First of all, make sure you do not restore a backup after upgrading to Oreo. Yes, it seems that restoring the Nougat backup on Oreo is causing a hell of issues.
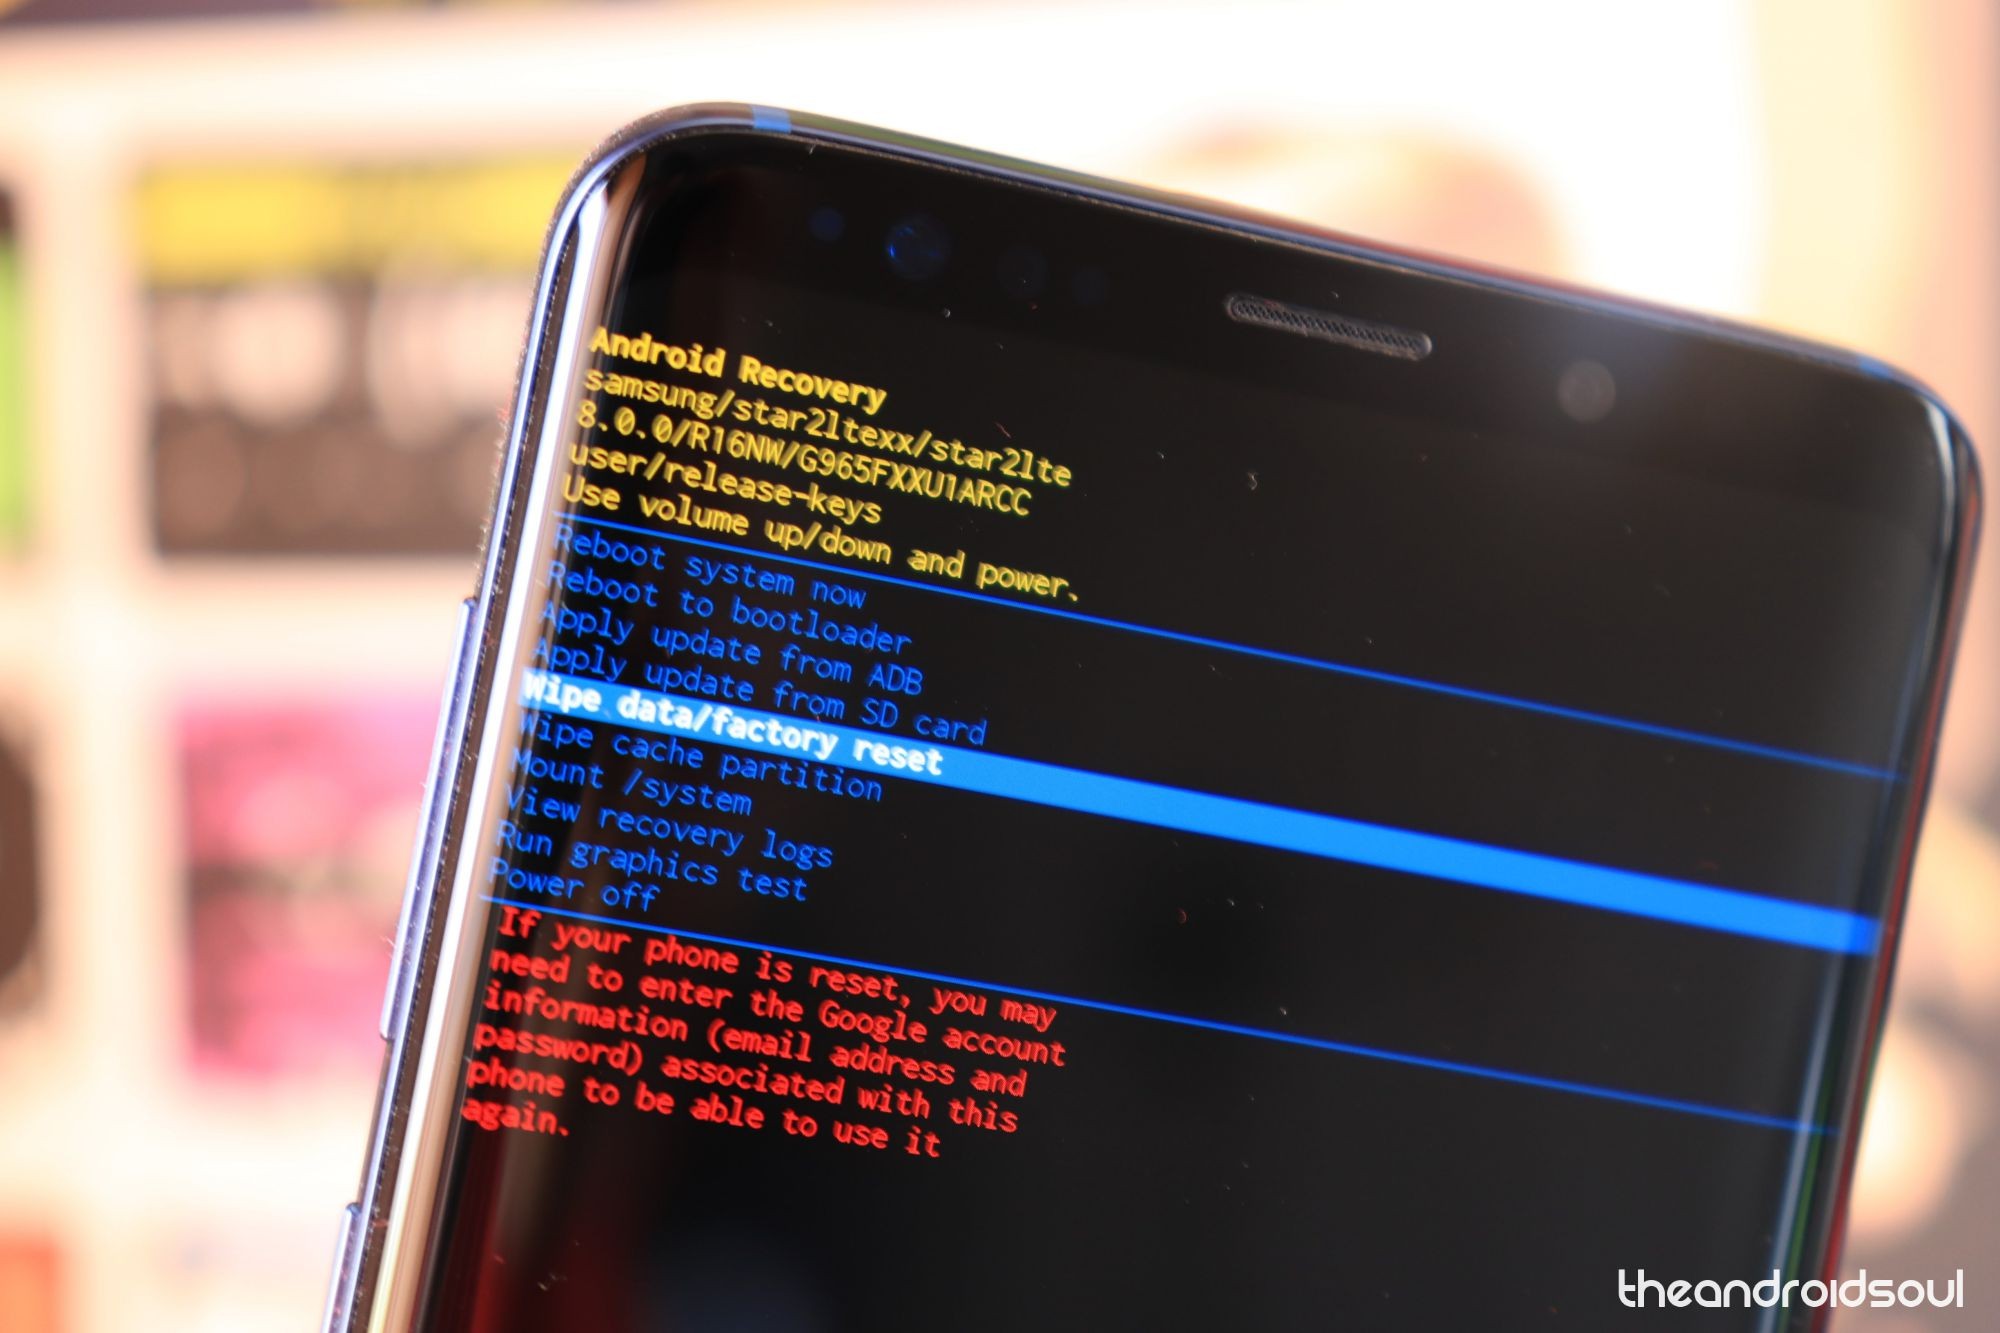
So, first of all, wipe data on your device. That is, perform a factory reset. As this would delete everything on your device, you need to make sure you have a backup if important files and contacts, SMS, etc. stuff.
→ How to perform a factory reset
Next, let the device boot up, set it up, but now, don’t restore a Nougat backup. You can restore contacts, messages, etc. stuff, but do not restore a backup that has Secure Folder data in it. Otherwise, you might have to wipe data of your device again.
Method 2: Set up Secure Folder on Oreo
Step 1: Setup the Secure Folder
In order to begin using the Secure Folder, you need to set it up using your Samsung account, as this will enable you to not only secure it with two-factor authentication, but also keep all your data safe on Samsung’s secure servers.
- From the home screen of your Galaxy S8, head over to the Settings
- Scroll down to find Lock screen and security menu and option it.
- Head down to the Secure Folder section and tap on it to begin setting it up with your Samsung account.
Step 2: Moving files to the Secure Folder
- Head over to the apps drawer and open the Secure Folder app on your Galaxy device.
- Log in using the credentials you had used while setting up the Secure Folder in the step above.
- Find the Add files button and tap on it to navigate and select the contents of your device that you wish to safeguard with the Secure Folder.
Step 3: Recovering missing content
It is entirely within the realms of possibilities that you tried to add some images or videos to the Secure Folder and ended up press some other button by mistake. You could end up losing your content not just from the Gallery, but it won’t appear in the Secure Folder either. However, you can still retrieve these media files using the Gallery app.
- From the home screen of your Galaxy S8, head over to the Gallery.
- Press the three-dot menu icon and select the Settings.
- Open the Trash menu, where you will find all of your recently deleted media files, along the ones that you were trying to move to the Secure Folder.
Are you finally being able to enjoy the security and peace of mind that the Secure Folder on your Galaxy S8 offers? Do hit us up in the comments section below if you need any more help with the Secure Folder settings.


