Over the years, we have moved from screenshots to HDMI recorder to finally, screen recording. While everybody is familiar with taking a screenshot, recording a screen is somewhat new to others. Recording screen comes handy when creating tutorials, troubleshooting device, creating a video of the game or just showing off any other thing you do on your device.
Before Android Lollipop 5.0, recording screen on Android device was extremely painful. But with the advent of Lollipop, Google introduced native screen recording in Android, thus making the video recording of the screen a lot easier on Android devices.
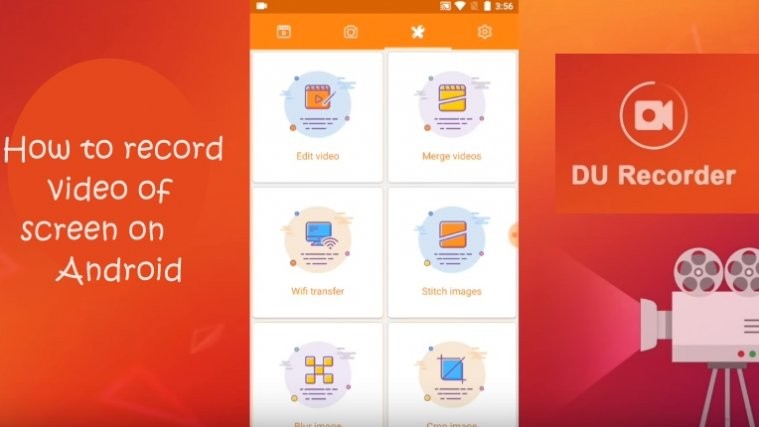
To help you get on the right track, the prerequisite for you is to grab a screen recorder app from the Google Play store. There are numerous screen recording apps available in the Google play store like Screen Recorder – DU Recorder, AZ Screen Recorder – No Root, Mobizen : Screen Recorder, REC Screen Recorder HD. None of them requires ROOT, but in our books, Screen Recorder – DU Recorder, tops the list as it includes a powerful video editor as well. In addition to that, the app is small and completely FREE, without any in-app purchase. Moreover, there are no ads and no recording time limit in the app.
However, if you are a Sony mobile user, the function is built in your device under the power button. Tap the power button to get a start screen recording option.
Also read: How to record calls on android phone
Moving on, here are the further steps you need to follow to record your screen after downloading and installing Screen Recorder – DU Recorder.
Step 1. Tap on the DU recorder icon to launch it. You are greeted with a welcome screen. Tap “Got it”.
Step 2. You will see a floating video camera icon on your screen. Tap it, you will find following four options there:
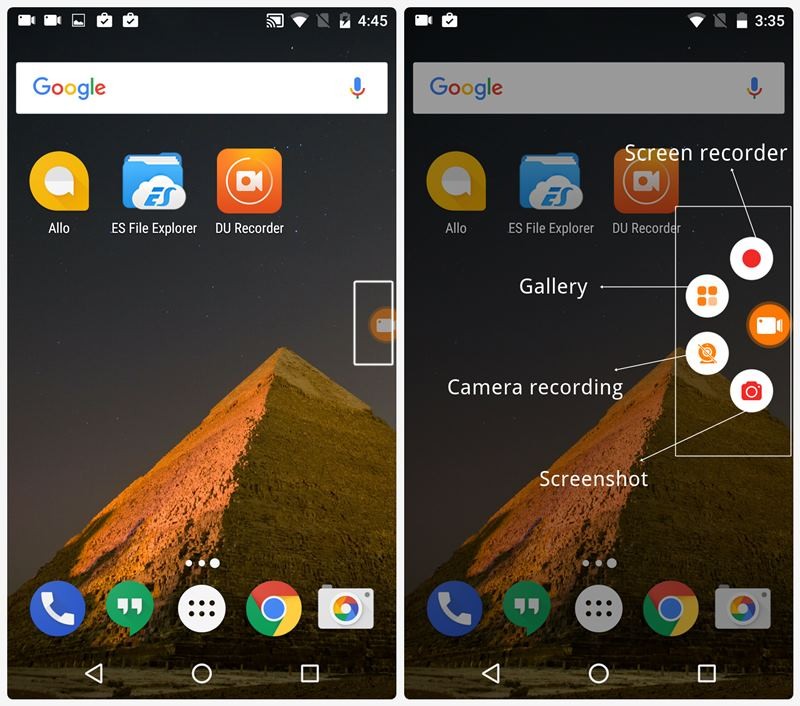
- Red icon: This is the first icon from the menu. Use this option to start screen recording.
- Gallery: Four animated square icons will take you to the gallery, where you will see all your screen records and screenshots.
- Front or rear camera video recording: Use this option, if you want to either use your front or rear camera while recording a screen. Doing this will add a floating window on top of your screen, enabling you to either record yourself using front camera or record something using back camera, on top of screen record.
- Camera: The camera icon is used to take the screenshots. It is extremely useful and cool since you can take a screenshot with just two taps.
Tap the red icon when you want the app to start recording your screen. On Android devices above Android Marshmallow (6.0), you will get a pop up the first time, asking you to grant permission to record everything on your screen. Tap “Start now”.
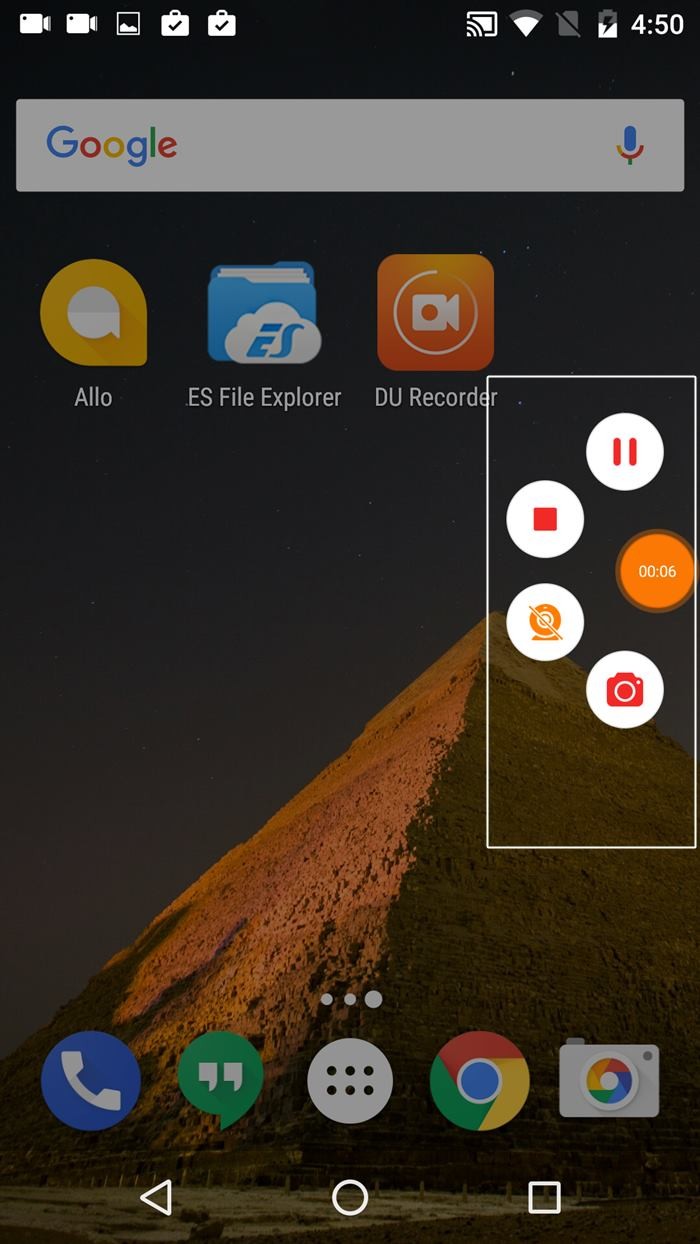
Step 3. The timer (3,2,1) will begin and at the end, DU recorder will start recording the screen. You will see the floating icon will be blinking indicating the screen recorder is on.
Also read: How to create GIFs using your Android phone
Step 4. To pause or stop the screen recorder, tap the floating icon again, followed by “stop” or “pause” icon. If you want to start the front or rear camera, tap the third icon from the DU recorder menu.
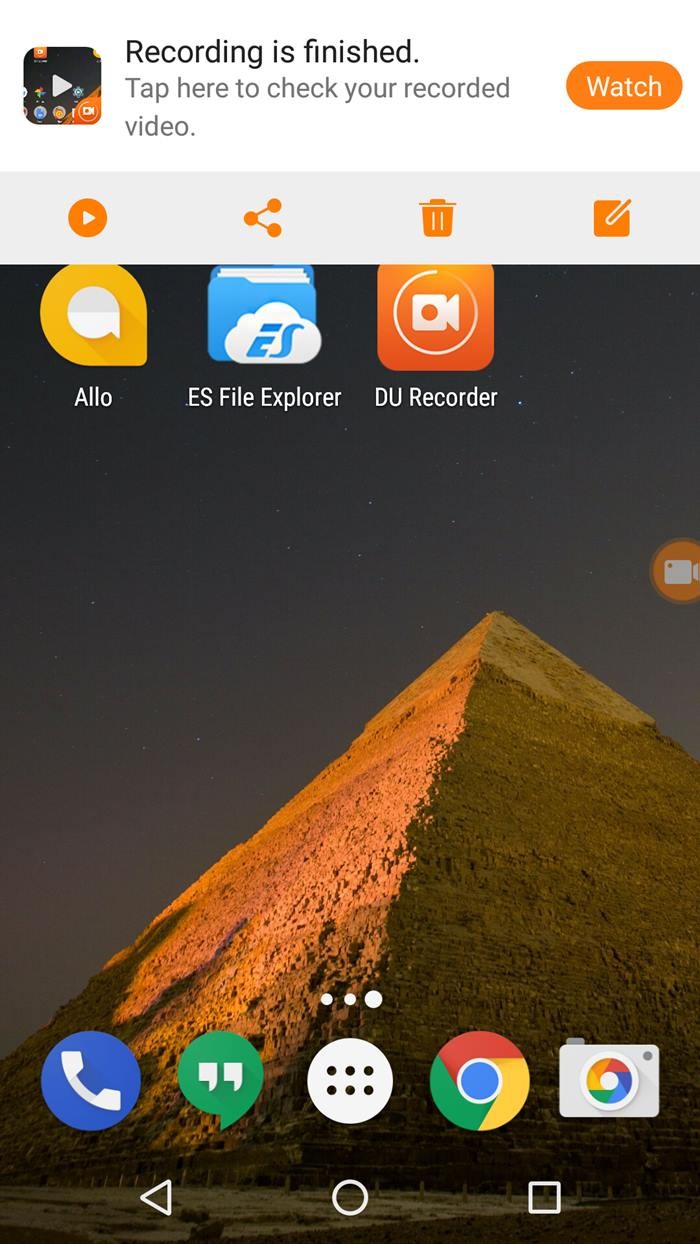
Step 5. Once you tap the “stop” button, you will get a notification saying, “Recording is finished, Tap here to watch it”. You can watch, edit, share and delete the video from the notification itself. Alternatively, the video is also available in your gallery that you can edit using DU recorder’s inbuilt video editor.
See, wasn’t it easy to record the screen on your Android device?
Also read:How to use two WhatsApp accounts on one device
Bonus tips for DU screen recorder
- You can record live videos or videos from Youtube or any other video site and save them to your device using the screen recorder. DON’T MISUSE IT.
- By default, the watermark is enabled in this app, but thanks to the developers, they have provided an option in the settings to disable it without buying a pro version (though one doesn’t exist for the app, everything is free).
- While recording the video, if you are bothered by the floating icon and want to remove it, you can do it in the settings. Go to settings and enable “Hide the record window when record”. Doing this will hide the floating icon and hence to stop or pause the video, you will have to use the notification bar.
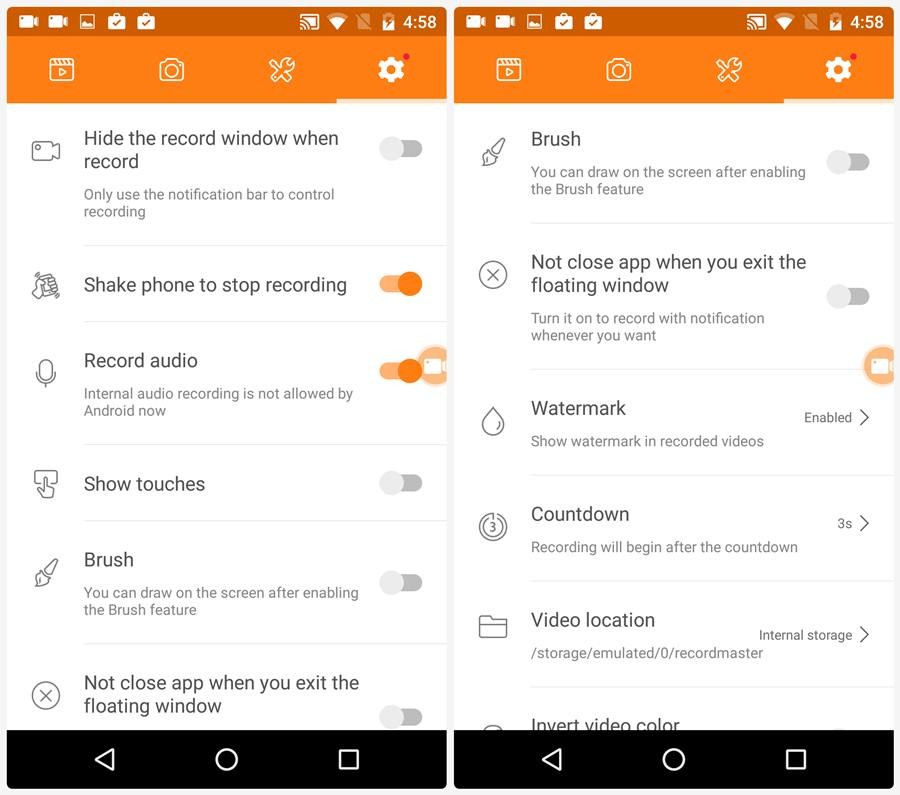
- If you want to skip the notification bar as well to stop the video, you should enable “Shake phone to stop recording” in the settings.
- By default, the screen recorder records the voice from your device microphone, however, if you want to disable the audio, you can do that in the settings.
- To display click operations in the screen recording, enable the “Show touches” in the setting.
- To write on the screen while recording or otherwise, enable the “Brush” option in the setting.
→ Download Screen Recorder – DU Recorder Android app
Hope you liked the post. Do let us know in the comments about your experience.


This looks great, does it work with android 4.4 or just 5.0 and up?
This looks great, does it work with android 4.4 or just 5.0 and up?