Smartphone photography has come a long way over the last decade, and not only on the hardware front. Smartphone manufacturers have been doing their best to create complete camera systems, enriched with powerful post-processing tools.
Caught up in the world of megapixels and aperture, we tend to ignore the importance of post-processing. A picture can always be made better with the right post-processing tools, some of which are even available for free.
Google is undoubtedly one of the pioneers when it comes to software development, and the company has dipped its toe in the world of photography as well. As we all know, Google Pixel devices have a knack for producing best-in-class photos despite flaunting “inferior” hardware than some of their competitors, which only goes on to show how potent they have been on the software front. So, you can only imagine how good their dedicated photo editing software can be.
RELATED: Best Photo editor apps on Android
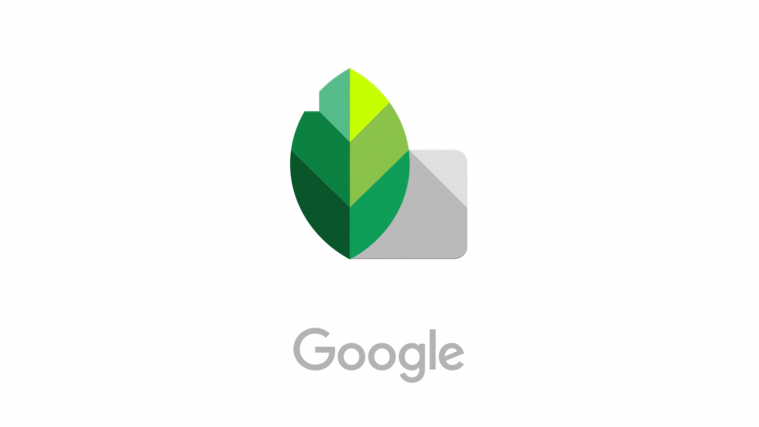
With Picasa dead, Snapseed is the sole flagbearer of Google‘s post-processing department. The software offers a bunch of options to play around with, giving you enough reasons to have a go at enhancing your quick snaps.
Today, we are focusing on our ever-increasing love for Selfies and Portrait shots. If your phone features two rear cameras or an additional depth sensor, you must already know about the additional background blurring that Portrait shots bring. However, due to software and hardware limitations, the result isn’t always optimal, leaving a lot to be desired. Selfies, too, can improve a great deal if you know which buttons to tap and sliders to tweak.
RELATED: How to add text effects on Snapseed [Guide]
In this piece, we’ll take you through three prominent features of the app and tell you how you can combine them to enhance your Selfies and Portraits.
Get Snapseed
Download the Snapseed photo editor app, one of the least known Google app, from the link Play Store using the link below.
Download: Snapseed
The Trio
Portrait Effect
This tool, which can be accessed by going to the Tools tab, allows a user to enhance their facial characteristics, such as Skin Tone, Eye Clarity, Face Spotlight, and Skin Smoothening. If you’re feeling a bit lost and overwhelmed, there are also a bunch of presets you can pick from.
RELATED: How to use Snapseed app
Head Pose
While the Portrait effect is all about enhancing or retouching your face, Head pose gives you complete control over how your face/head appears on the screen. Feel you could’ve smiled more, or think your head feels a bit too tilted? Snapseed’s got a solution for you.
Lens Blur
Last but definitely not the least, Lens Blur is all about recreating the famous blur effect of expensive DSLR cameras. You can either opt for the linear or elliptical blur effect. Next, you are to set Blur strength, Transition area, and Vignette strength to complete the transition. Oh and if you have a few extra minutes to kill, do check out the tab on the right — Blur style.
The Result
Before After


The Process
Step 1: Open Snapseed.
Step 2: Tap Open on the top-left corner to open the image you want to edit.

Step 3: Go to Tools.
Step 4: Tap on Portrait.

Step 5: Tap on the Tiny face icon to your left. This tab is for picking your skin tone — Pale, Fair, Medium, and Dark. Play around a bit to see what suits you best.

Step 6: After you’re done, tap on the ‘Okay’ arrow on your right.

Step 7: Tap on the Adjust tab in the middle to access three more sub-tools — Face Spotlight, Skin Smoothing, and Eye Clarity.
Face Spotlight: Slide right across your mobile screen to make your face more prominent. Snapseed automatically identifies your face and increases brightness in that area while darkening the other portions of your image, ultimately putting your face more into focus.

Skin Smoothing: This effect hides facial blemishes, making your skin appear glowy and smoother than ever.

Eye Clarity: Similar to Face Spotlight, Snapseed identifies the pixels that represent your eyes. Turn up the effect to make them clearer and more vibrant.

Step 8: If all the steps above seem a bit too complicated, you can also opt for simple presets. Simply tap on the Styles icon to get the presets.

Step 9: After saving and coming back to the main menu, once again go to Tools.
Step 10: Tap on Head pose.

Step 11: Once you’re redirected to the Head pose setting, drag your finger around multiple areas of your screen to adjust the orientation of your head.

Step 12: After fixing the orientation, tap on the Styles tab, which would reveal three more settings for you to play around with — Pupil size, Smile, and Focal length.
Pupil size: Adjusts the size of your pupils. Don’t overdo it if you want your picture to appear more natural.

Smile: This ingenious attempt by Snapseed literally adds a smile to even your frowns. Once again, do not overdo, as it can distort the adjacent pixels.

Focal length: It allows you to adjust the distance between your face and camera. It bulges your face in some areas to replicate the focal length effect, but it might not always be helpful.

Step 13: Now that you have mastered Portrait and Head Pose, we’ll move on to Lens Blur, which is, without a doubt, one of the more popular features of the app. Go to the Tools tab and tap on Lens Blur to get started.

Step 14: Start off by tapping the button on your left to pick either Elliptical or Linear.

Step 15: With that out of the way, tap on the Adjust tab situated at the middle of your screen, which would open up three settings — Blur strength, Transition, and Vignette strength.
Blur strength: This slider lets you choose the intensity of the effect you’re using. Try to keep the effect below 40 if you’re going for subtlety.

Transition: By adjusting this slider, you’ll be able to control the fade between in-focus and out-of-focus areas of your image. Drag your finger to the right to increase the transition.

Vignette strength: Drag the slider to the right to darken the edges.

Step 16: Additionally, you could head over to the Styles tab to pick the shape of blurring. There are a total of 11 shapes to choose from.

So, that’s all.
How useful did you find this guide?
RELATED: How to use PicsArt