Update [February 25, 2018]: Google has announced that Google Lens will be released for more devices soon. Here’s how to prepare for it to be able to get Google Lens at the earliest when it starts rolling out.
In May, Google announced Google Lens, a new tool that lets you search through your phone’s camera. Instead of using “text” as an input, Google Lens uses an image as input. It processes the image using Google’s deep learning AI (Artificial intelligence) and presents you with useful information related to the image.
Google Lens works in coordination with two other apps – Google Assistant and Google Photos. As part of Google Assistant, Google Lens will work on live or new photos. You have to point your camera towards any object and Google Lens will present you the right information about it. For instance, if you point your camera towards a book, it will give you all information regarding that book. Similarly, if you point your camera towards a visiting card or a concert billboard, Google Lens will offer you to save the number and other details in case of visiting card while in case of concert billboard you will get an option to set a reminder for the concert date.
As part of Google Photos, Google Lens will work on existing photos in Google Photos app. All you need to do is open a photo in the Google Photos app, and then press the Lens icon at the bottom. Google Lens will then give the relevant information about the object in the image.
Also read: Google Assistant Tips and Tricks
Google at its I/O developer conference announced some other cool things too such as Google Photo Books, Suggested sharing and Shared Library. While Google Photo Books, Suggested Sharing and Shared Library are already live for all users, Google Lens is yet to roll out fully for all Android devices.
However, Google has officially started rolling out Google Lens exclusively for Pixel devices. But there’s a catch. Google Lens currently only works with Google Photos and not with Google Assistant. Meaning, you can use the power of Google Lens only on existing photos for now and not on live images. Although, of course, there is a workaround where you first capture a new photo and then use Google Photos for Lens capability. But it’s a two-step process. Pixel users would have to wait for some time more to use Google Lens via Google Assistant.
But what if you don’t own a Pixel handset – first gen or second generation and are really curious to play with Google Lens. What do you do?
We have some good news for you. You can enable and use Google Lens right now on any Android device using Google Photos. The only requirement is your phone should be rooted and must have TWRP recovery installed on to be able to flash the Google Lens installer zip file. If that’s a yes, follow the steps given below to install Google Lens on your rooted Android device.
→ Download Google Lens installer zip
How to install Google Lens on any Android device
- Get the Google Lens Installer flashable zip file from the download link above.
- Boot your device into TWRP recovery.
- Tap on Install and select the Google Lens Installer flashable zip file that you transferred to your device in Step 1.
- After selecting the .zip file, do Swipe to Confirm Flash on the bottom of screen to begin the flashing process.
- Once the zip file is flashed, you’ll get Reboot System option, select it.
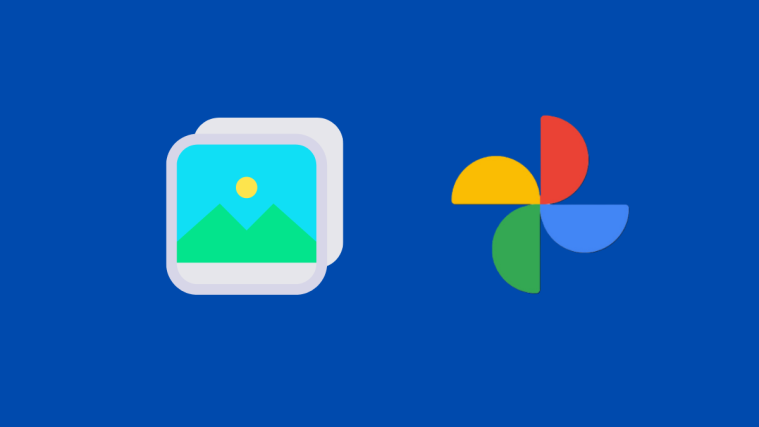
- After the device boots, open any photo in Google Photos app and you will see a new Google Lens icon present at the bottom bar (see image below). Tap the icon to activate and use Google Lens.
That’s it. Enjoy!