Back when Android OS was fresh and new and barely breaking the news, it was all up to Google to reel in manufacturers and help create the Android OEM market that we know today. After struggling to create a following based on their own mobile platform, Samsung was one of the giants that finally gave in and created the legendary Galaxy lineup that we all know so well today. Apart from the fact that you get the best of Android OS with Samsung Galaxy devices, the South Korean company has managed to create a separate identity.
Related:
- Best AOD GIFs for Galaxy S9
- Hide or change AOD clock on Galaxy S9/S8
- Fix AOD issues on Samsung devices
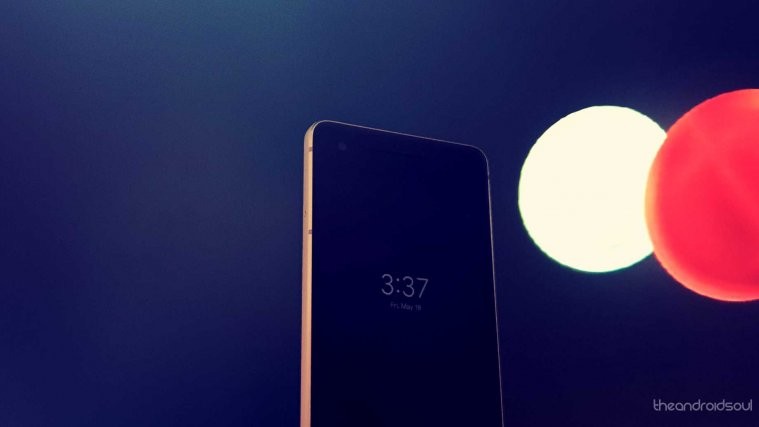
From bringing a unique user interface with TouchWiz, to releasing intuitive features like AOD (Always On Display) to efficiently use the AMOLED display technology, there’s a lot to love about Galaxy devices. But since OLED displays are no longer unique to Samsung, there’s no reason you can’t enjoy the Always On Display feature on your current device. Thanks to the Always On AMOLED app, you can enjoy the AOD feature on any Android device right now.
Step 1: Download and set up Always On AMOLED
Before you can begin using the Always On AMOLED app to get the feature running on your phone, you’ll need to grant certain permissions to the app. However, the Always On Display feature has been designed to work with OLED displays so that it is not only useful, but does not hemorrhage the battery either. While the app may work on devices with LCD displays as well, we recommend using it on an OLED display device for best performance.

- Download the Always On AMOLED app from the Google Play Store.
- Launch the app and begin granting the required permissions to Draw over other apps and Modify system settings.
- Additionally, you should grant Notification access to the Always On AMOLED app so that you can use the AOD feature to view notifications as well.
Related: How to hide or change AOD clock and lock screen clock on the Galaxy S8, Galaxy Note 8, and Galaxy S9
Step 2: Configuring the Always On Display view
Once you’ve granted the app it’s required permissions, Always On AMOLED will be automatically enabled. But the fun part starts now, as you can choose to completely customize the appearance of the AOD screen.

- Tap on the Clock style option under the Styles section to select Digital or Analog clock style for the AOD screen (many others under the Pro version).
- Open the Date style tab to choose the Text or Full Calendar.
- Tap on Background/Wallpaper to select one of the many free and premium AMOLED wallpapers for the AOD screen.
- Under the Text & Font section, you can choose the Font, the Text Size, and even the Text Color that you want to view on the AOD screen.
- Under the Weather tab, you can enter your location to get direct forecast on the AOD screen (Pro feature).
- The Always On Memo tab allows you to add Memo text directly to the Always On Display screen.
Step 3: Checking out additional features
Once you have the basic settings configured, you’ll have your desired look for the Always On Display up and ready. However, there are a bunch of cool features involving the notifications, the music controls, root-only features and more.

- Under the General tab for Notifications, you can enable Edge glow to get an Edge Lighting effect on the Always On Display every time you receive a notification.
- If your device has root access, you can head over to the Advanced tab to enable Doze Mode even with the AOD screen on to save more battery.
- Below the Miscellaneous settings menu, you can enable the Show music controls option to get playback buttons directly on the AOD screen.
Apart from these additional features, there’s a whole lot to check out and add to the Always On Display of your Android device. Be sure to let us know what features you loved the most on the Always On AMOLED app in the comments below.


