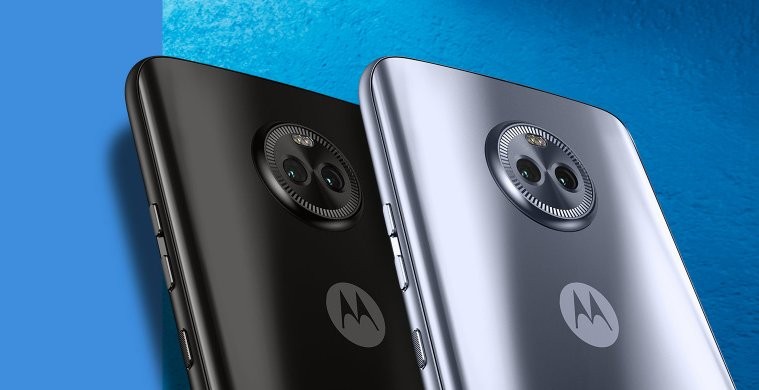
Folks in the U.S. started receiving the update to Android Oreo on their Android One Moto X4 handsets about two weeks ago and were quickly followed by those in India towards the end of the year.
Unlike in the U.S., those in India and other parts of the world have no access to the Android One Moto X4, rather, they get a model that runs Motorola’s near stock skin. Perhaps it’s for this reason that the standard Moto X4 Oreo began rolling out only a few days after the OS started rolling out to the Android One model.
Despite Oreo’s availability in India, many other regions across the globe have yet to see the Moto X4 get a similar treat. While we don’t know how long this wait will go on, we have an Oreo firmware with us, that you can use to flash on your Moto X4 and thus get all the goodies of Android 8.0 Oreo update. Looking at the number of people who have already flashed the ROM, it’s evident that it works perfectly fine for different models of the X4.
However, as usual, you’ll need an unlocked bootloader for this to work on your phone. On the brighter side, you can also relock the bootloader after installing the firmware, although that will require a factory reset, just like it is needed when unlocking the bootloader. For help, follow our step-by-step guide to unlocking bootloader on Motorola devices.
Download Moto X4 Oreo firmware
- Moto X4 Oreo firmware OPW27.57-40
└ Filename: PAYTON_OPW27.57-40_subsidy-DEFAULT_regulatory-DEFAULT_CFC.xml.zip
Instructions
The process is quite simple, but of course, if you are new to this, you might find this a little overwhelming at first. Before you proceed, note that it’s your decision and not anyone else’s, thus, in case anything goes wrong (not that it will), you’ll be responsible for your actions. Also, make sure your phone has at least 80% charge and that you create a backup of your files before proceeding.
- Grab the Moto X4 Oreo firmware from the download link above and extract it into a separate folder on your PC.
- Setup ADB and Fastboot on your PC.
- Boot your Moto X4 into bootloader mode:
- Switch off your phone.
- Press and hold Volume down + Power button for a few seconds until you see the bootloader menu on screen.
- Once in bootloader mode, connect your Moto X4 to the PC via USB cable.
- Open the folder where you extracted firmware files in Step 1 above.
- Now open a command window inside that folder. To do that, “Shift + Right click” on any empty white space inside the folder and then select “Open command window here” from the context menu.
- Once command window is open, issue the following commands one-by-one on your PC:
mfastboot flash partition gpt.bin
mfastboot flash bootloader bootloader.img
mfastboot reboot-bootloader
mfastboot flash modem NON-HLOS.bin
mfastboot flash fsg fsg.mbn
mfastboot erase modemst1
mfastboot erase modemst2
mfastboot flash bluetooth BTFM.bin
mfastboot flash dsp dspso.bin
mfastboot flash logo logo.bin
mfastboot flash boot boot.img
mfastboot flash system system.img_sparsechunk.0
mfastboot flash system system.img_sparsechunk.1
mfastboot flash system system.img_sparsechunk.2
mfastboot flash system system.img_sparsechunk.3
mfastboot flash system system.img_sparsechunk.4
mfastboot flash system system.img_sparsechunk.5
mfastboot flash system system.img_sparsechunk.6
mfastboot flash system system.img_sparsechunk.7
mfastboot flash system_b system_other.img
mfastboot flash oem oem.img
mfastboot erase carrier
mfastboot erase userdata
mfastboot erase ddr
mfastboot reboot
└ This will reboot your phone into system.
Once your Moto X4 boots up, it should be running Android 8.0 Oreo. In case you bump into any issues, check the original XDA forums thread and you’ll definitely get any help you need.
Motorola is expected to roll out the Moto X4 Oreo update to the rest of the globe in the coming weeks, which means you can as well sit back and wait for the OTA rather than go through all this hassle.


