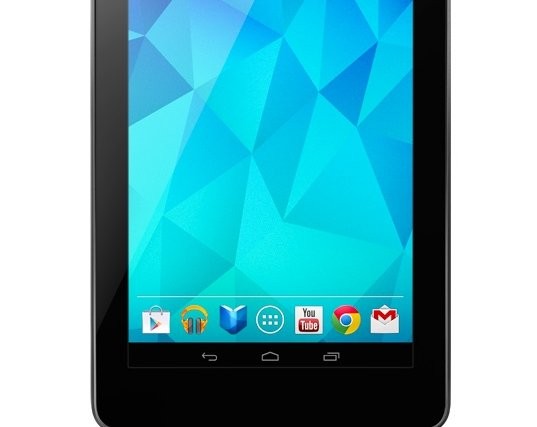
Owners of the Galaxy Nexus aren’t the only lucky folks receiving the Android 4.2 OTA update right now, as reportedly, the update is also rolling out to the Nexus 7. The features Android 4.2 brings have been talked about multiple times, so I’m just going to refer you guys to this article we have detailing all those features.
Though it is not certain if people are already receiving the update, Google has made available the update for downloading and manually installing, which will update the tablet to build number JOP04C, and we’ve made a guide to help you through the process, so that you can enjoy Android 4.2 without waiting for the update to arrive over the air.
However, you will need to be on a completely stock Android 4.1.2 ROM, having build number JZO54K (check in Settings » About tablet » Build Number). It should not be rooted or have any other modifications. Those have a custom recovery like ClockworkMod or TWRP installed can simply download the update file (link is below in the guide), copy it to the tablet, boot into recovery, and install the update just like any custom ROM.
Those on a Nexus 7 with no custom recovery or modifications, read on for the full procedure on how to update manually to Android 4.2.
How to Install Android 4.2 Update on Nexus 7
- First, make sure you have the drivers installed for the tablet on the computer. Install the Android SDK from → here to install the drivers if you don’t already have them installed.
- Download the OTA update file.
Download Link | Filename: 094f6629314a.signed-nakasi-JOP40C-from-JZO54K.094f6629.zip - Download Fastboot, which includes the adb files needed for flashing the update.
Download Fastboot | Filename: Fastboot.zip - Extract the Fastboot.zip file on your computer to get a folder named Fastboot with four files inside it. To keep things easy, extract the Fastboot folder to drive C.
- Then, copy the update file downloaded in step 2 to this “Fastboot” folder you just obtained in step 4.
- Turn off the tablet, then boot it into stock recovery. To do so, first boot into the bootloader mode by holding down the Vol Down + Power buttons together till the screen turns on. Then, using the volume buttons, scroll till you see the “Start” text change to “Recovery mode”, then select it using the power button to boot into stock recovery.
- You will then see an Android with a red exclamation point. Now hold down the Power button then press the Volume Up key to see the recovery menu (or press the two buttons together if it doesn’t work).
- Select the apply update from adb option in recovery, by scrolling to it using the volume buttons and selecting it with the power button.
- Connect the tablet to the computer. Wait for the drivers to finish installing.
- On the computer, click on Start menu » All Programs » Accessories, right-click on Command Prompt and click on Run as administrator. If you are using Windows 8, this can be done by right-clicking on the extreme bottom left corner of the taskbar, then selecting “Command Prompt (admin)”.
- Now, perform the following steps in the command prompt to flash the Android 4.2 update:
- Navigate to the Fastboot folder which you obtained in step 4. For example, if the Fastboot folder is in drive C on your computer, enter cd C:Fastboot in command prompt (and press Enter) to navigate to the folder.
- Then, enter adb devices. If your Galaxy Nexus has been detected properly, you will see a device ID show up in command prompt. If nothing comes up, make sure you have installed the drivers (step 1).
- Finally, to flash the update, enter the following command:
adb sideload 094f6629314a.signed-nakasi-JOP40C-from-JZO54K.094f6629.zip - After you enter the above command, you will see the “sending: sideload” message in the command prompt, and once it reaches 100%, the update will start installing on your tablet.
- After the update finishes installing, select reboot system now on the tablet to reboot it and boot up into Android 4.2.
Android 4.2 is now installed on your Nexus 7, and you can now go crazy trying out all the new stuff that Android 4.2 has to offer, including the tablet-only Multi User feature Do let us know how it works for you!


I manually upgraded my stock Nexus 7 to 4.1.2 last month, but this time around the 4.2 update simply isn’t working. I went into recovery mode, selected ‘apply updated from adb’. So I’ve got the Nexus 7 ready to receive the sideload via adb, hooked up via USB, but the ‘adb sideload’ command is just giving me the help screen, nothing else. It’s like it’s not even trying to load the zip.
Are you entering the name of the file correctly after “adb sideload”? The help screen should only come if the command is being incompletely typed into command prompt.