The Asus ZenFone 6 is the talk of the town for all the right reasons. It’s powered by Snapdragon 855, functions with one dual camera setup, for both selfies and rear clicks, that is motorized to capture images from impossible angles and to also manages to be available at what seemed like an impossible price.
Taking a screenshot on the ZenFone 6 is not very difficult. In fact, this time the UI is much more refined and relatively free of bloatware. So here are the ways that you can take a screenshot:
ZenUI shortcut
Yes, Asus’s custom software ZenUI has a trick up its sleeve that makes grabbing a screenshot a breeze. It’s arguably the easiest method among all the methods we have seen across various OEMs and their custom skins.
- Open the screen that you want to take a screenshot of.
- Press and hold the Recents button to take a screenshot.
- Note: Recents button is the right-most one in the navigation bar at the bottom of the screen.
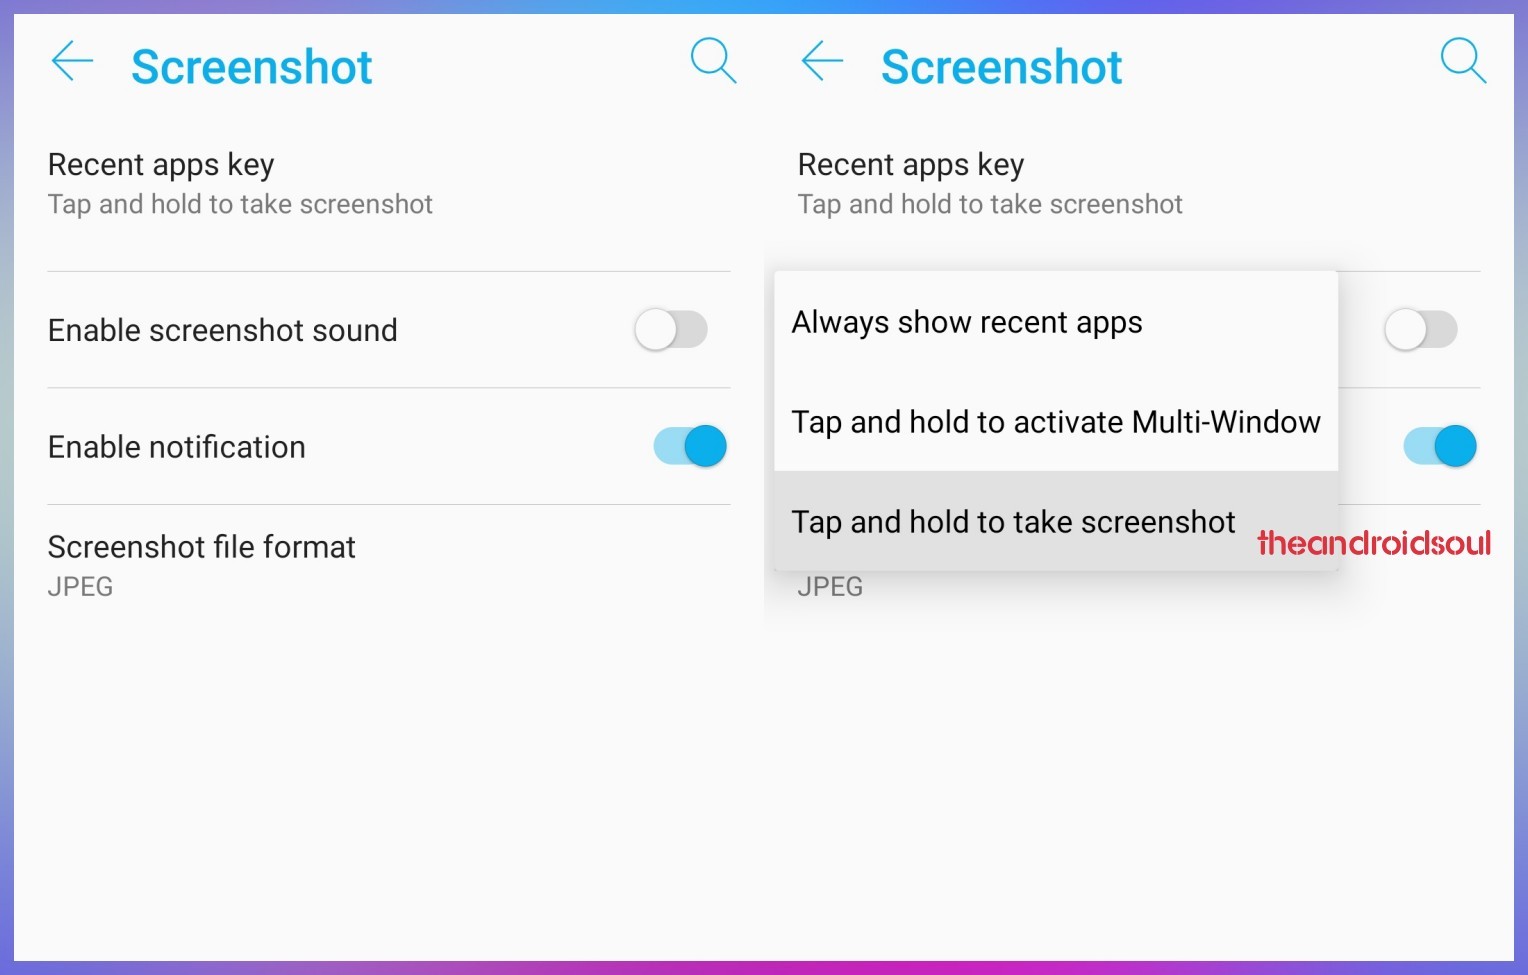
A thought, BTW, that in case you don’t find this feature, you can change the press and hold on Recents key to either activate the multi-window screen, or simply open the recents panel (same as single press).
To change the settings, do this:
- Open the Settings app.
- Scroll down and tap on Advanced.
- Scroll down and tap on Screenshot.
- Tap Recents apps key to change what happens when press and hold the key.
- You can also enable and disable the screenshot sound here.
- You can also enable and disable the screenshot notification here.
- You can choose whether you want to save the screenshots in JPG or PNG file format.
This is the most reliable method of taking a screenshot. It works on any Android phone regardless of the software version installed or its brand. Here’s how you can go about it:
- Open the screen that you want to take a screenshot of.
- Press and hold the Power and Volume Down buttons simultaneously, until you hear the shutter sound along with a short vibration.
- The screenshot animation will appear and you will be able to view a toolbar right below the screenshot to immediately share or edit it.
- You can also view the screenshot in your ZenFone 6’s gallery in the screenshot folder.
Related topics on ZenFone 6:
Three finger swipe down (gesture)
Phones have been using gestures for a while now. Performing the three-finger swipe down is super easy. Follow these instructions to execute this simple trick.
- Open the screen that you want to take a screenshot of.
- Now just swipe with three fingers on the screen, either upwards or downwards (Left and right three-finger swipe won’t work).
- You will then be able to see the Share or Edit options for the screenshot right away.
- You also get the option to take a long scrolling screenshot (if possible for the given screen), along with an option to Delete the screenshot right away.
Say “OK Google”
Google Assistant can take a screenshot for you if you don’t want to bother with the process. Honestly, with Assistant placing calls and planning our day for us, short of levitating our phone and moving it for us, there is little she cannot do. Not that we are complaining. Here’s a guide to having your Assistant take a screenshot.
- Simply open the screen that you want to take a screenshot of.
- Say “Okay Google, take a screenshot” and wait as the Google Assistant performs the task.
- You will then be able to see the Share or Edit screen to send out the screenshot right away.
Keep in mind that you have to approve the screenshot and save it manually.
We hope this guide helps you with screenshots. Let us know if we can help you with other queries in the comments.
Related:
- How to install Google Camera mod on Asus ZenFone 6
- Asus ZenFone 6 firmware download
- How ZenFone 6 faces up against OnePlus 7 Pro