Asus ZenFone 6 is sure a pretty sweet deal. You get a powerful processor in Snapdragon 855, decent amount of RAM, and that cool motorized rear camera that serves up as a selfie shooter too. That the motor helps you catch some cool panorama-but-not-really-panorama shots is another surprisingly well feature of the device.
It’s a good thing that Asus is also easy with the modding part of the device’s whole deal. They let you unlocked the device easily. And good thanks to community members, TWRP recovery and root are now available for the ZenFone 6.
But be careful with it!
While rooting the ZenFone 6 is fairly easy once you are past the tricky job of installing the TWRP recovery, a mistake in installing the custom recovery might leave your device stuck in bootloop — a bad situation where the device fails to reboot and can’t get past the logo screen while attempting to restart again and again.
Below, you will find all the help you may need installing the TWRP and getting root access on your Asus ZenFone 6.
Asus ZenFone 6 TWRP recovery
Download both the ZIP and IMG files required to install TWRP recovery on the Asus ZenFone 6 from below:
- TWRP 3.3.1-1 (untested)
- IMG file – test-twrp-3.3.1-1-I01WD-zenfonde6.img
- ZIP file – test-twrp-3.3.1-1-I01WD-zenfonde6-installer.zip
- TWRP 3.3.1-0 (untested)
- IMG file – test-twrp-3.3.1-0-I01WD-zenfonde6.img
- ZIP file – test-twrp-3.3.1-0-I01WD-zenfonde6-installer.zip
How to install TWRP?
Well, we have covered that below as part of the root guide itself as it is good to follow TWRP installation with root access so that TWRP is not removed by the system when you start the device, and also to avoid the bootloop problem caused by a bad or incomplete installation of TWRP
Asus ZenFone 6 Root
Warning!
Do not try anything given on this page if you do not know completely what you are doing. In case any damage occurs, we won’t be held responsible.
Compatibility
The download files and the process for installing TWRP and rooting given on this page are compatible only with the Asus ZenFone 6. Do not try this on any other device as you might end up damaging your device and permanently brick it.
Let’s see how to install TWRP first, and then root the Asus ZenFone 6.
- Make sure you have unlocked the bootloader of your Asus ZenFone 6. If you need help with this, follow the step below:
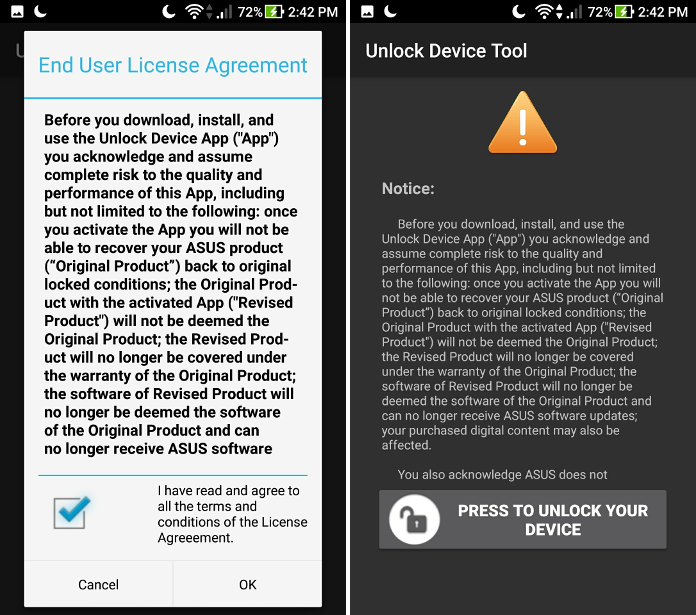
- Download the unlock app’s APK file from > here.
- Install the Unlock app using its APK file (guide).
- [Optional] It is highly recommended here that you back up everything you may need as this will delete everything on the device. This is your last chance to perform a backup.
- Open the unlock app.
- Follow the instructions in the app to unlock your ZenFone 6.
- Once the device restarts after you have unlocked the bootloader of your ZenFone 6, you can continue to step 2 below to install TWRP recovery first, and then root your device.
- Make sure you have unlocked the bootloader of your Asus ZenFone 6.
- Download the required files:
- TWRP recovery from above
- Magisk root package zip → Magisk 19.3
- DM Verity disabler
- Make sure you have enabled USB Debugging on your Asus ZenFone 6 device. You may need to re-do it after unlocking the bootloader.
- Connect your Asus ZenFone 6 device to PC using the USB cable that came with it.
- Transfer these files to your Asus ZenFone 6:
- TWRP installer ZIP file
- Magisk file (if you want to root)
- DM Verity disabler (if you don’t want to root)
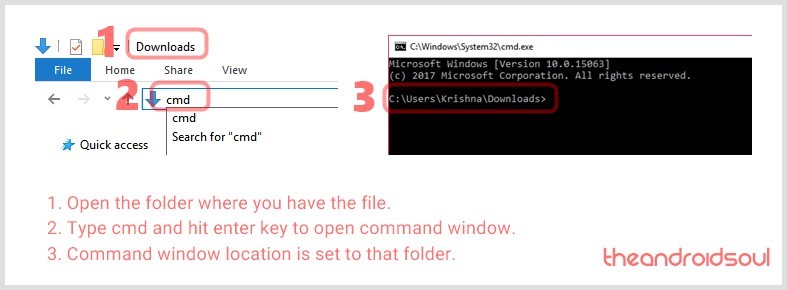
- Now open a command window inside the folder where you have the TWRP file from above. Do this:
- Go to the folder where you have the downloaded files.
- Type cmd in the folder’s address bar.
- Hit the enter key. A command window will open up, and its location will be that folder.
- Connect your Asus ZenFone 6 device to the PC.
- Run the following command into the command window we opened above to boot your device into bootloader/fastboot mode:
adb reboot bootloader
└ If you get a permission dialogue on your Asus ZenFone 6 to “Allow USB debugging”, tap OK.
- Install TWRP recovery on your Asus ZenFone 6 on a temporary basis:
- Once your Asus ZenFone 6 boots into bootloader mode, run the command below to install TWRP temporarily and access it right away.
fastboot boot <name of twrp file here>.img
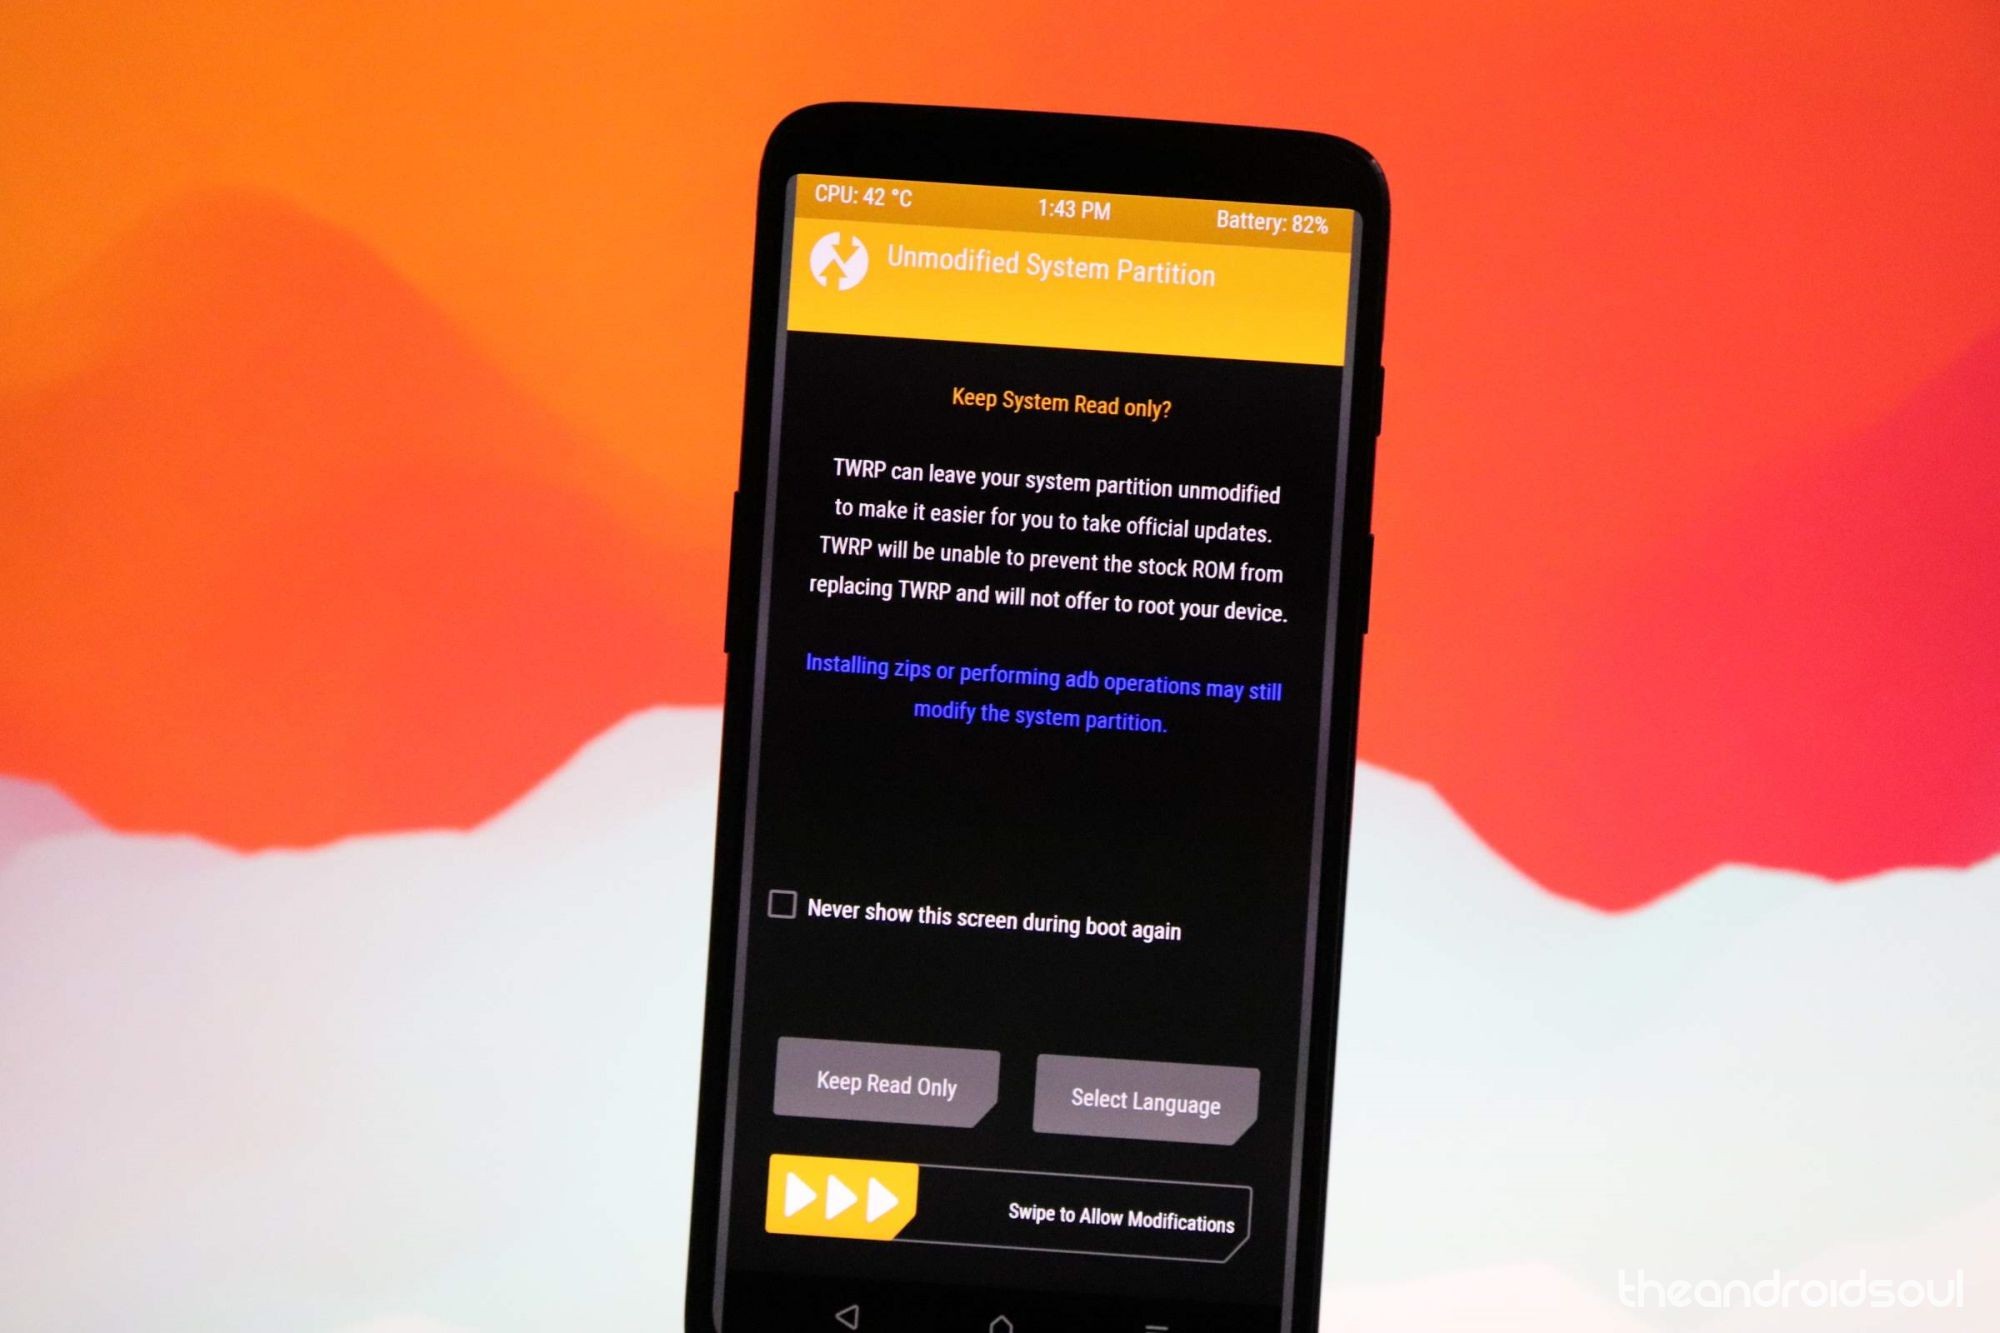
- The device will reboot to recovery mode and you will see TWRP recovery right there. Tap on the ‘Keep Read Only’ button now to not allow system modifications.
- Once your Asus ZenFone 6 boots into bootloader mode, run the command below to install TWRP temporarily and access it right away.
- Install TWRP recovery on your Asus ZenFone 6 permanently. If you are sure that TWRP is working well, you can now install the TWRP recovery permanently. Here’s how:
- On the device, tap on the Install button.
- Select the TWRP ZIP file you transferred right above.
- Perform the Swipe action to confirm and install the TWRP recovery permanently.
- [Careful!] Now, reboot back to TWRP again. Tap on the home button, then on the Reboot button, and then on the Recovery button to restart the device into TWRP.
- Wait, don’t reboot the device yet. You still need to root the device using Magisk, or install a DM Verity disabler file, to not let the system remove TWRP when you restart the device. Yes, to keep TWRP, you need to install either Magisk file or DM Verity disabler file. See the next step for that.
- Root your Asus ZenFone 6. But if you don’t want to root the device, simply install DM Verity disabler file in place of Magisk root file.
- Go back to the home screen of TWRP.
- Tap on Install.
- Browse and select the Magisk root package file (or the DM Verity disabler file).
- Perform the Swipe action to confirm the installation on the next screen.
- Tap on Reboot system button to restart your Asus ZenFone 6 to Android. If you installed Magisk, you can verify root access on your Asus ZenFone 6 using a root checker app. (Without root or DM Verity disabler, the device will get stuck in the bootloop at the logo screen.)
Do let us know if you need any help regarding getting root access on the Asus ZenFone 6.


