While Google has already started rolling out the Android 4.2 update to the Yakju version of the Samsung Galaxy Nexus, it was observed that the rollout was quite slow with quite a few users reporting that they still hadn’t received the OTA notification. For those wondering what yakju means, it is the International GSM Galaxy Nexus that is not from the Play Store.
And if you’re still waiting anxiously for the 4.2 OTA bump up, and can’t wait any longer, as Android Police has been kind enough to make the OTA update zip file available for download . Do remember that you need to be running the JZO54K build of Android 4.1.2 to be able to update manually. As always we have put together a neat little guide which will help you get your yakju Galaxy Nexus up to speed with the latest version of the Android OS.
Compatibility
This ROM and the guide below are compatible only and only with the international GSM Galaxy Nexus, model number i9250. It’s not compatible with any other device. Check your device model in Settings » About phone.
Warning!
The methods and procedures discussed here are considered risky and you should not attempt anything if you don’t know completely what it is. If any damage occurs to your device, we won’t be held liable.
How to Update yakju Galaxy Nexus to Android 4.2
- Backup your Apps and important data — bookmarks, contacts, SMS, APNs (internet settings), etc. so you can restore them if anything goes wrong. This Android backup guide would help you.
- Download the latest version of the Android SDK and install it to your PC ─ Download Android SDK
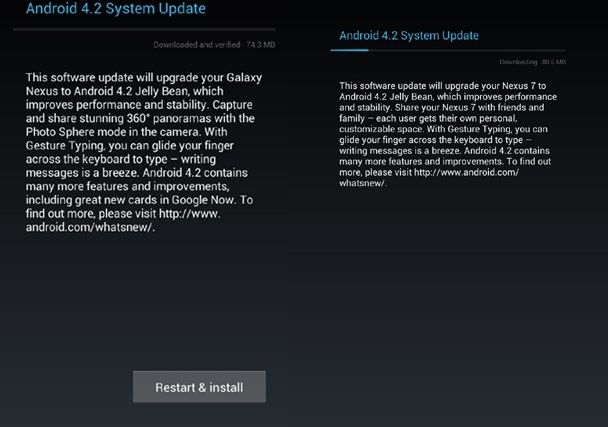
- Download the Android 4.2 OTA update zip file to your PC ─ Yakju Build JOP40C
- Make sure your Galaxy Nexus is running build JZO54K. If not, you can use this handy guide to update it.
- Now Reboot your Galaxy Nexus, holding the Volume Up and Volume Down buttons while it boots up. Once you see the fastboot menu and “Start,” press Volume Up to navigate to “Recovery” and press the power button. Once you see an Android with a red exclamation point icon, press Volume Up and the Power button together, which will bring you to a new menu. Navigate to apply update from adb and select it
- Connect your Galaxy Nexus to the PC via USB cable
- Now Open up a command prompt in the same directory where the JOP40C zip file you downloaded in Step 3 is located. To do this navigate to the folder containing the JOP40C zip file, and right click on the folder while holding the Shift button down on your keyboard. Select Open Command window here from the menu that pops up.
- Now type in the following command at the prompt
adb sideload fdf06e8d71c7.signed-yakju-JOP40C-from-JZO54K.fdf06e8d.zip - You should now see a progress bar on your phone screen. Once it reaches 100% the Android 4.2 update will start getting installed on your yakju Nexus
- After installation, the phone will automatically reboot. You can disconnect the device from the PC now and wait for it to boot up completely.
Once your phone has booted up, you can proceed to set up your device, and enjoy Android 4.2 and its awesome new features on your yakju Nexus. Google has also made the Android 4.2 factory image for this device available for download, should you want to perform a fresh, clean installation of Android 4.2 in future. You can download it fom HERE.

