Another device joins the ranks of the few lucky devices that already have Jelly Bean running on them. The Acer Iconia Tab A500 has received a source-built Jelly Bean custom ROM, by XDA Recognized Developer randomblame. The ROM seems to work pretty well even at an early stage of development and gets all the features and improvements of Jelly Bean.
NOTE: The ROM is currently in its early stages and may not be suitable for every day use but it should give you a taste of Jelly Bean aka Android 4.1.
The following things are broken in the ROM as of 13/08/12 (the most updated list of what works and what doesn’t can be found on the development page linked in step 4):
Broken:
- audio
- internal sd card mounting
Let’s take a look at how you can install Android 4.1 Jelly Bean on your Acer Iconia A500.
Compatibility
This ROM and the guide below is compatible only and only with the Acer Iconia Tab A500. It’s not compatible with any other device and may render an incompatible device unusable. Check your device model in Settings » About tablet.
Warning!
The methods and procedures discussed here are considered risky and you should not attempt anything if you don’t know completely what it is. If any damage occurs to your device, we won’t be held liable.
How to Install Jelly Bean Android 4.1 Custom ROM on Iconia Tab A500
- This procedure will wipe all your apps, data and settings (but it will NOT touch your SD cards, so don’t worry about those). Backup your Apps and important data — bookmarks, contacts, SMS, APNs (internet settings), etc. This Android backup guide would help you.
Important! Don’t forget to at least make a backup of your APN settings, which you can restore later if your data connection does not work after installing the ROM. Use the backup guide to find out how. - Make sure you have ClockworkMod recovery installed on your tablet.
- [Important] Make a backup of all the files in your internal SD card as the internal SD card may not be accessible in the ROM.
- Download the latest version of the ROM from the official development page.
- Copy the zip files downloaded in step 4 to the SD card on the tablet.
- Turn off the tablet. Boot into ClockworkMod recovery by pressing the Power button while holding the Volume Up button till the device boots into recovery, then let it go.
In recovery, use the volume keys to scroll up/down and the power key to select options. - Select wipe data/factory reset, then select Yes on next screen to confirm. Wait a while till the data wipe is complete.
- Then, select install zip from sdcard, then select choose zip from sdcard. Scroll to the ROM file on the sdcard and select it. Confirm installation by selecting Yes – Install _____.zip on the next screen. The ROM will start installing.
- After the installation is complete, go back to the main recovery menu and select reboot system now to reboot the tablet and boot up into Jelly Bean Android 4.1. The first boot will take some time, up to 5 minutes.
Android 4.1 Jelly Bean is now installed and running on your Acer Iconia Tab A500. Check back on the development page for further updates and more information on the ROM. Let us know how it works for you, in the comments below.
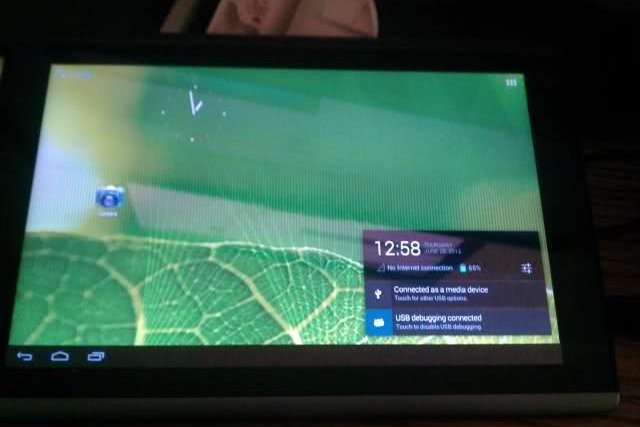
Screenshots:


