Instagram Reels lets you create short videos on the app and post it right to your profile. And if this sounds familiar, it’s because you are thinking of another short video sharing app that starts with ‘T’. Reels arrives with a host of customization options in the form of effects, stickers, audio, and more. In this article, we will cover Clips: What they are and how you can use and edit them.
What are clips on Instagram Reels?
Instagram Reels lets you create content in two ways; by recording a video using the Instagram camera, or by uploading a video from your gallery. But did you know that you do not need to record the entire video in one sitting?
Reels lets you record ‘clips’, which are basically smaller videos, which you can then stitch together to create a complete Reel video. There is no minimum limit on the length of recorded clips. That means you can make them as small as you want. However, the maximum length of a Reels video is 15 seconds.
You can fit in as many clips within that 15-second limit as you would like. There does not seem to be a limit on the number of clips you can have.
► How To Make Reels On Instagram
Why use clips while recording
The downside of recording a video is the number of times you have restart because you made a mistake in the script, or someone walked by. Ask any influencer, and they will tell you the amount of time they spend reshooting. This is because Instagram does not let your edit out parts of a single-shot video.
With Reels, however, you can record short bursts and then stitch them together to create a complete Reels video. This gives you the elasticity to rectify your mistakes without deleting the whole video. You can simply reshoot the problematic clip!
► How To Duet On Instagram Reels
How to record Reels with multiple clips
Since clips are basically just shorter Reel videos, the process of recording a clip is exactly the same as that of recording a Reel. Clips stack up to the left of the Record button as you add more.
To record a clip, launch the Instagram app and swipe right to reach the camera page. Alternatively, you could tap the Story button in the top left corner.
From the bottom panel, select ‘Reels’.
Now tap and hold down on the record button to begin recording a clip. Release the button when you want to stop the clip. Alternatively, you would tap the button to start, then tap it again to stop.
While recording clips, it is important to decide where you would like to stop each clip. This helps you start back up from the last context. Record multiple clips following the same process. Your clips will be stacked to the left of the Record button.
Related: How to Reverse a Reel on Instagram
How to view your multiple clips
You can record as many clips as you would like; as long as they total a maximum of 15 seconds. Your clips do not have to be of the same length. In fact, they could be as small as one second and as large at fourteen seconds.
To view your recorded clips, tap the button to the left of the record button.
The timeline at the top lets you distinguish between different clips.
Related: How To Turn Off Instagram Reels
How to edit multi-clip Reels
Unfortunately, Instagram does not allow a lot of customization of your individual clips post-recording. That means you should add your effects prior to recording your clips. To edit your recorded clips you need to access them. Use the guide above to view your clips.
How to switch between clips
You can switch between clips easily. In fact, it is quite the same as tapping through stories (probably not a coincidence). Once you locate the clips, you can switch to the previous clip by tapping anywhere on the left side of the screen. You advance to the next clip by tapping anywhere on the right side of the screen.
Keep an eye on the timeline at the top to figure out which clip you are currently viewing.
Related: How To Save Instagram Reels In Drafts
How to delete individual clips
The best part about recording clips is that you can delete the ones that you do not like. Unlike a single-shot video where you can only trim the ends, with Clips you can also delete individual clips in the middle of your video!
To delete a clip first locate the clips by tapping the button in the bottom left corner.
Now switch to the clip that you would like to delete. Keep an eye on the timeline at the top to figure out which clip you are currently viewing. Tap the ‘Delete’ button in the bottom left corner.
How to trim clips
In addition to completely deleting a clip, you also have the option to trim that particular clip to get rid of anything from the beginning and end of the clip.
To trim a clip, locate the clip and tap the ‘Scissors’ button. in the bottom panel.
Now use the sliders at the end to trim the clip. tap ‘Trim’ in the top right corner when you are done.
How to add a different effect to each clip
Unfortunately, you cannot add an effect once you have recorded the clips. But that doesn’t mean you can’t have a different effect for each clip!
All you have to do is add the effect before you record the clip. To add an effect, the Effect button in the left side panel, then scroll through the effects at the bottom.
Once you have your effect in place, go ahead and record your video normally. Use the same process for each clip that you record. This way you can have a different effect on each clip.
How to create perfectly timed clips using Timer feature
Instagram Reels lets you create specifically timed clips. This is possible by using the timer option. You can set the duration of the clip that you would like to create. The video will automatically stop recording when the time is up.
To set a timer, tap the ‘Timer’ button in the left side panel. Now use the sliders to adjust the length of the clip.
Hit record to start the recording. The video will automatically stop recording when the timer is up.
Note: Adding a time limit also adds a three-second countdown to the start of the video.
How to start a clip where you left off
One really cool feature that sets Reels apart is the ‘Align’ feature. This lets you start back up right where you left off. The Align function brings up a translucent image of your last frame of the previous video. So you can now reposition yourself to exactly where you were, and start recording again! The Align function only works if you have already recorded at least one video.
To use the Align function, tap the button in the left side panel. Now position the camera to overlap with the translucent image on your screen.
When you are ready, hit the record button.
How to add stickers and text to your Reels
Unfortunately, you cannot add individual stickers to your clips. However, you can add text and stickers to the entire Reels video. This can only be added right before posting the Reels video.
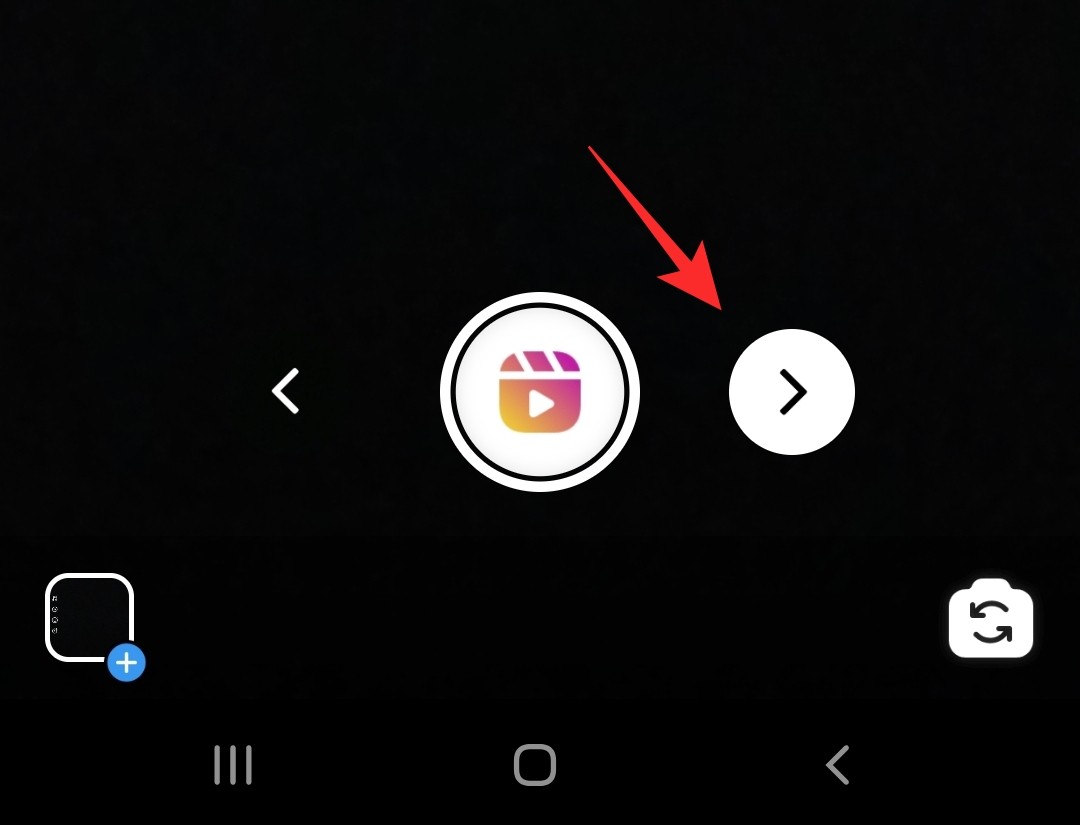
To add stickers to your Reels video, tap the arrow button to move to the next page.
Now tap the ‘Stickers’ button from the top panel. Tap the sticker you like to add to your video. You can add as many stickers as you would like. Similarly, tap the ‘Text’ button to add text to your video.
Well, now you know how to use clips while recording your Instagram Reels video. If you have any queries, feel free to reach out to us in the comments below.
Related:
- How To Add A Reel To Your Profile Grid Instead Of Reels Tab
- How To Share Instagram Reels As A Story Or DM
- How to get famous on Instagram Reels
- How To Use Green Screen On Instagram Reels




I get the process of recording multiple clips using the timer feature, but once ig stitches them all together, it isn’t seamless. It often cuts my clips so they are no longer in sync with the audio.
Have you seen this happen?
Is a phone problem, or user issue?