Apple’s iPhone 14 Pro is the first iPhone to feature a 48MP sensor. All previous iPhones would use the standard 12MP sensor with slight improvements in each generation. However, the new 48MP sensor now opens up tons of possibilities for professionals and enthusiasts. Apple has thus introduced the ProRAW and ProRes format to help take advantage of the details and information captured by this new sensor. Although available for previous Pro models as well, let’s get familiar with these file formats so that you can fully utilize the camera capabilities for your iPhone 14 Pro and Pro Max. Here’s how you can record and use Apple ProRAW and ProRes on the iPhone 14 Pro and Pro Max.
Related: How to Hide Photos on iOS 16
What is ProRAW and ProRes on the iPhone 14 Pro and 14 Pro Max?
ProRAW and ProRes are professional file formats created by Apple that help retain the maximum possible information in your captured photos. While it won’t help improve your initial preview, you can use this extra information when editing your photos for more flexibility when adjusting values like white balance, exposure, contrast, highlights, and more.
ProRAW captures are 10-bit files that use a linear DNG format to retain the additional information in photos captured by your camera. ProRes is a 10-bit lossy compression video format that is a collection of codecs and quite popular among video editors and cinematographers. It offers enhanced details and editing info that you can use in post-production while ensuring that your file sizes stay at the bare minimum possible value.
Although these professional formats are a great way to capture images and videos from your iPhone 14 Pro, they are not for everyday captures. Here are a few advantages and disadvantages that should help you gauge when you should be using these formats on your iPhone 14 Pro and Pro Max.
Related: iOS 16: How to Make Stickers from Photos
Advantages of using ProRAW and ProRes
- 10-bit files with excellent retention of sensor data
- More room to edit and enhance your captures in post-production
- Better Dynamic Range allowing for enhanced color edits
Disadvantages of using ProRAW and ProRes
- Large File sizes can cause you to run out of storage space
- You’ll have to edit your files each time to get the proper look and depth
- ProRes 4K recording at 30 FPS is only available on iPhone 14 Pro and Pro Max if you have a 256GB, 512GB or 1TB model
- ProRAW images can only be captured at 1x if you want 48MP images.
- ProRAW night mode, macro and flash images are always 12MP
How much space do ProRAW and ProRes captures require?
According to estimates published by Apple, ProRAW and ProRes captures will approximately be the following size on your iPhone 14 Pro and Pro Max.
- ProRAW Images: 25MB to 28MB (48MP captures)
- ProRes Videos: 1 minute of HDR ProRes video in HD (1080p) is 1.7GB. 1minute of HDR ProRes video in 4K is 6GB.
Related: How to Use Depth Effect on lock screen on iPhone
How to Capture in ProRAW on iPhone 14 Pro and 14 Pro Max
You will first need to enable ProRAW on your iPhone and then capture images using the Camera app. Here’s how you can do that on your iPhone 14 Pro and Pro Max.
Step 1: Enable Apple ProRAW
Open the Settings app and tap Camera.

Now tap Formats at the top.

Tap and turn on the toggle for Apple ProRAW.

Now tap ProRAW Resolution.

Tap and select 48MP.

You can now close the Settings app and use the next section to capture images in ProRAW, which will now capture 48 MP images without binning them down.
Step 2: Capture RAW images
Open the Camera app and ensure Photo is selected at the bottom. Now tap the RAW (![]() ) icon in the top right corner of your screen.
) icon in the top right corner of your screen.

Once RAW (![]() ) is enabled, frame and capture your image as needed.
) is enabled, frame and capture your image as needed.

You can now check the image to verify its details in the Photos app. Your image should now be 48MP in terms of its resolution and size if captured in 1x normal lighting. The RAW image will be binned down to 12MP if you’re using the flash, Night Mode, Macro, or any other lens configuration other than 1x.

And that’s how you can capture 48MP images on iPhone 14 Pro and Pro Max.
How to record in ProRes on iPhone 14 Pro and 14 Pro Max
Similar to ProRAW, you will first need to enable ProRes on your iPhone to record in the format. Use the steps below to help you along with the process.
Step 1: Enable ProRes
Open the Settings app and tap Camera.
Now tap Formats at the top.
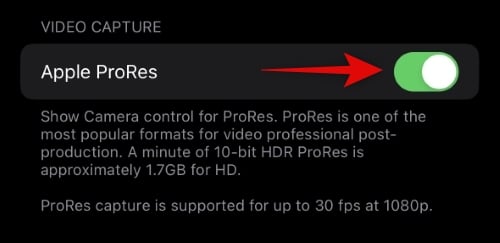
Tap and enable the toggle for Apple ProRes at the bottom of your screen.
Now go back to the previous page and tap Record Video.

Tap and choose your preferred resolution and FPS from the options at the top of your screen.
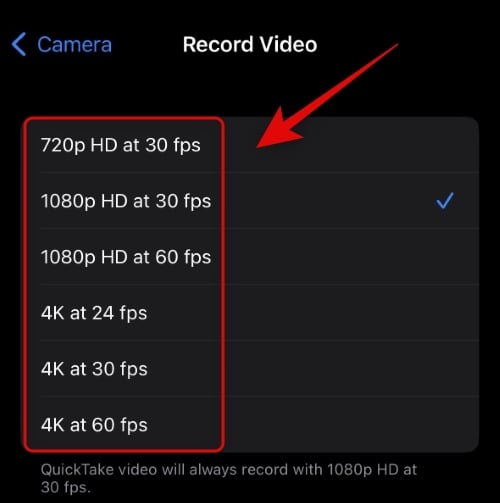
Note: If you have a 128GB model, then you can only record ProRes videos in 1080p HD at 30 FPS or lower.
You can now close the Settings app. ProRes is now enabled on your iPhone. Use the next section to capture ProRes video on your iPhone.
Step 2: Record in ProRes
Here’s how you can record in ProRes once you have enabled it on your iPhone 14 Pro or Pro Max.
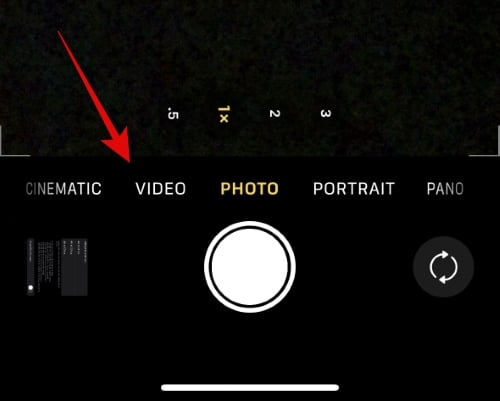
Open the Camera app and tap Video at the bottom.
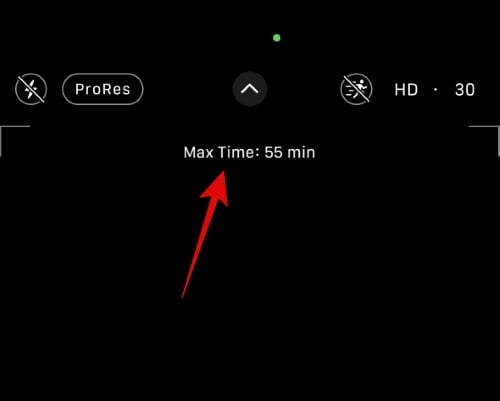
Now tap the toggle for ProRes (![]() ) at the top to enable ProRes capture.
) at the top to enable ProRes capture.

You will now be shown the maximum time for which you can record a video at the top, depending on the available storage space on your iPhone.
Tap the shutter icon to record your video. Tap the icon again to stop recording once you’re done.
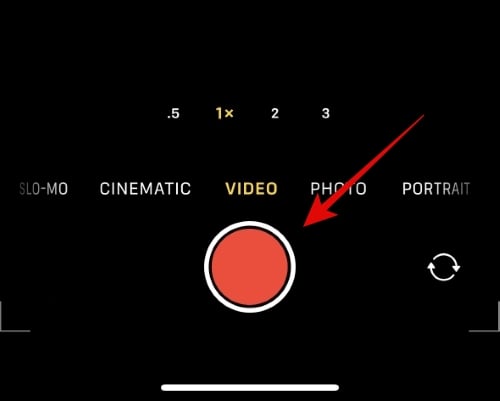
And that’s it! You will now have recorded a ProRes video on your iPhone 14 Pro or Pro Max.
We hope this post helped you learn everything you needed to know about ProRes and ProRAW on your iPhone 14 Pro and Pro Max. If you face any issues or have more questions, feel free to drop us a comment below.
RELATED
- iOS 16 Notifications on Top: All You Need to Know!
- How to Add a Custom Widget to Lock Screen on iOS 16
- iOS 16: Add widgets to the Lock Screen in 2022
- How to send voice memos on iOS 16


