Here is one to your flashing addiction Tab 4 LTE users at T-Mobile — a ClockworkMod recovery for your 8-inch Tab, model no. SM-T337T. Whether you want to flash cool custom ROMs featuring extra functions and themes, or create backups from a custom recovery, this CWM recovery will help you with all such stuff.
Install the CWM recovery on your T-Mobile Tab 4 is very easy job. If you have root access, it can be done using Flashify app (method 2 below). But if you don’t have root access already, then you can use Odin software to install CWM (method 1 below). But do note that using Odin software under Method 1 trips KNOX, meaning warranty of your device will be void.
While, you are already rooted using TowelRoot, and have warranty valid and that one year hasn’t passed since you bought it. you better use method 2, the Flashify app therein, to install CWM recovery on your Tab 4.
Once you install CWM recovery, you cna also use it root your Tab 4. That’s also pretty easy job. Let’s check out the installation of CWM recovery for T-Mobile Tab 4 in flesh.
How to Install T-Mobile Tab 4 LTE CWM Recovery
Downloads
- CWM recovery
- IMG format → Direct Link | Mega Link | File: T337T-recovery.img (8.85 MB)
The above is for method 2 below, thatuses Flashify app. - TAR format → Direct Link | File: T337T-recovery.tar (8.86 MB)
- IMG format → Direct Link | Mega Link | File: T337T-recovery.img (8.85 MB)
- Odin PC software | File: Odin3_v3.10.6.zip (1.6 MB)
(Needed for TAR format.)
Supported devices
- T-Mobile Samsung Galaxy Tab 4 LTE, model no. SM-T337T
- Don’t try on any other tablet than SM-T337T!
- Don’t try on any other device whatsoever!
Instructions
Warning: Warranty may be void of your device if you follow the procedures given on this page. You only are responsible for your device. We won’t be liable if any damage occurs to your device and/or its components.
METHOD 1: Using Odin software, triggers KNOX!
- Download the Odin software and CWM recovery file in TAR format from above.
- Install Galaxy Tab 4 drivers (method 1 there!) first of all. Double click the .exe file of drivers to begin installation. (Not required if you have already done this.)
- Disable Reactivation lock. If you don’t find this option in settings as given below, then ignore this step. This is very important! For this:
- Go to Settings > Lock screen and security > Find my mobile.
- Disable the Reactivation lock if it’s enabled, using the toggle button.
Tip: If you haven’t added a Samsung account on your device ever, you would find it disabled by default. But if you did add a Samsung account anytime, it would be enabled most probably, so take care to disable it. If you are unable to this on phone, you can use Samsung’s website for this, just sign-in, go to Find my mobile section, and then disable from there. If you still can’t do this, do ask me via comments section below.
- Enable OEM Unlocking. If you don’t find this option in settings as given below, then ignore this step. Do this:
- Go to Settings > About device. Tap on build no. around 7 times until you get ‘You’re now a developer’ message.
- Go back to settings, and tap on ‘Developer options’.
- Now, find the ‘OEM unlocking’ option, and use its toggle button to enable it. → If you don’t find this option, then that’s okay, no need to worry about it, just proceed to next step. Because, only some devices, mainly the sets in USA, have got it. It’s good to not have it anyway.
- Disconnect your Tab 4 from PC if it is connected.
- Boot Tab 4 into download mode:
- Power off your Tab 4. Wait 6-7 seconds after screen goes off.
- Press and hold the three buttons Volume down + Power + Home together until you see warning screen.
- Press Volume Up to continue to download mode.
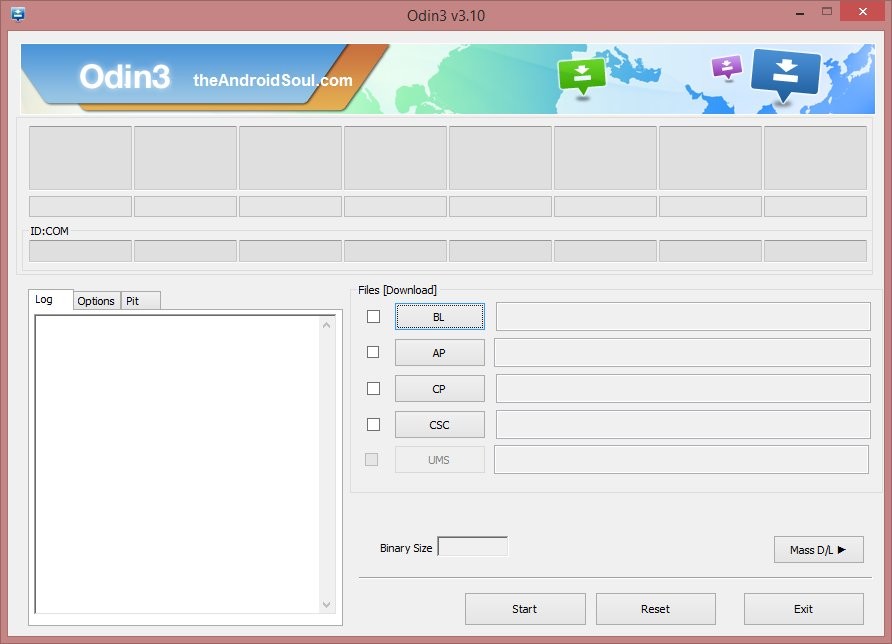
- Extract the Odin file. You should get this file, Odin3 v3.10.6.exe (other files could be hidden, hence not visible).
- Double click on extracted file of Odin, Odin3 v3.10.6.exe, to open the Odin window, as shown below. Be careful with Odin, and do just as said to prevent problems.
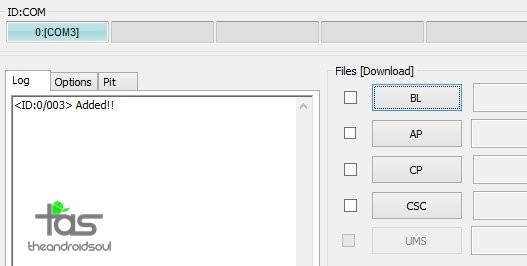
- Connect your Tab 4 to PC now using USB cable. Odin should recognize your Tab 4. It’s a must. When it recognizes, you will see Added!! message appearing in the Log box in bottom left, and the first box under ID:COM will also show a no. and turn its background blue. Look at the pic below.
- You cannot proceed until you get the Added!! message, which confirms that Odin has recognized your device.
- If you don’t get Added!! message, you need to install/re-install drivers again, and use the original cable that came with device. Mostly, drivers are the problem (look at step 2 above).
- You can try different USB ports on your PC too, btw.
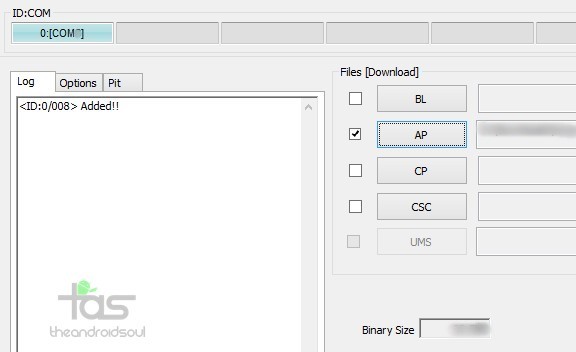
- Load the CWM file into Odin. Click the AP button on Odin and the select the file: T337T-recovery.tar
- Info: When you load files, Odin checks the md5 of firmware file, which takes time. So, simply wait until that’s done and the firmware file is loaded. Don’t worry if Odin gets unresponsive for a while, it’s normal. Binary size will also show up in Odin.
- Info: When you load files, Odin checks the md5 of firmware file, which takes time. So, simply wait until that’s done and the firmware file is loaded. Don’t worry if Odin gets unresponsive for a while, it’s normal. Binary size will also show up in Odin.
- Make sure Re-Partition checkbox is NOT selected under the Options tab. Don’t use PIT tab either. Go back to Log tab now, it will show the progress when you hit start button in next step.
- Click the Start button on Odin now to start flashing the CWM recovery on your Tab 4. Once done, you’ll get PASS message as show below upon successful installation from Odin. Now, device won’t reboot automatically, which is what we wanted. Proceed to next step to reboot it into recovery mode.
- If Odin gets stuck at setup connection, then you need to do steps 5 to 10 again. For this, close Odin, disconnect your Tab 4, remove battery, insert it back after 5-6 seconds and then start from step 5 again.
- Or, if you get FAIL in the top left box, you need to try flashing again, as stated just above.
- That’s it. You can press and hold Power + Home + Volume up buttons together after hitting the START button above, so that it reboots you directly into CWM recovery, and you can confirm the installation. Anyway, when you device is on, simply power it off, and then use this combination to boot into recovery mode and check it out.


If you need any help with this, let us know via comments below and we will try our best to help you out.
How to Root Tab 4
Well, it’s simple now that you’ve got a CWM recovery to tap into. Just download the SuperSU file form here, and then flash it from CWM recovery. For help, see this guide.
METHOD 2: Using Flashify App, doesn't trigger KNOX!
- Make sure your Tab 4 is rooted. If you are on Android 4.4 KitKat, you can use TowelRoot.
- Download the .img file of CWM from above and transfer it to phone if you download it on PC.
- Install Flashify android app, which would help you flash .img file of CWM recovery.
- Open Flashify and grant it root access when it asks. Tap on Grant button for this on the pop-up that shows up.
- Now, tap on Recovery image and select the file in IMG format, that you downloaded earlier. Tap on Yup to confirm to begin flashing CWM recovery..
- Tap on Flash more. But now tap on 3-dot menu at top right and select Reboot recovery.
- You’ll enter CWM recovery soon enough.
That’s it. If you face any issues, sure let us know. We’ll try our best to help.
