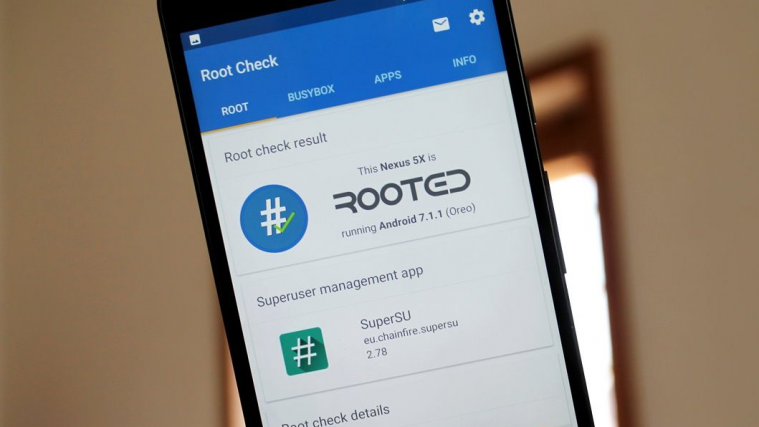
The Nexus 9 received root within 24 hours of its release from the popular dev in all things root, Chainfire! However, it wasn’t the same simpler root as you’d expect for a Nexus device. With Android 5.0, certain things have changed. To root your Nexus devices, you’ll have to flash a modified kernel image first to be able to root.
Chainfire’s previous root method for Nexus 9 involved booting with an custom boot image first to install SuperSU into the system partition and then flash/install a patched boot image to make SuperSU work. The process was two-step and was done in a hurry by Chainfire, I guess.
Anyway, the new Nexus 9 Root by Chainfire is an one-click method and it comes for Windows, Mac and Linux. It’s basically a batch script that first unlocks the bootloader on your Nexus 9 and then flashes a modified boot image. Once the script is done, your Nexus 9 will automatically reboot.
Download Nexus 9 CF Auto Root (11.9 MB)
File name: CF-Auto-Root-flounder-volantis-nexus9.zip
Simpler instructions:
- Enable OEM unlock from Developer options in settings.
- Boot into bootloader mode via adb or hardware buttons.
- Connect your Nexus 9 to your computer with a USB cable.
- Unzip the CF-Auto-Root-flounder-volantis-nexus9.zip file on your computer.
- Run the root-windows.bat file.
Enjoy!


