ROOT PACKAGE INFO
| Name | SuperSU Update Zip |
| Warranty | Voids Warranty. |
| Stability | Stable without any issues. |
| Root Manager App | SuperSU. It manages root permissions for apps on the device. |
| Credits | Chainfire |
WARNING!
Warranty may be void of your device if you follow the procedures given on this page.
You only are responsible for your device. We won’t be liable if any damage occurs to your device and/or its components.
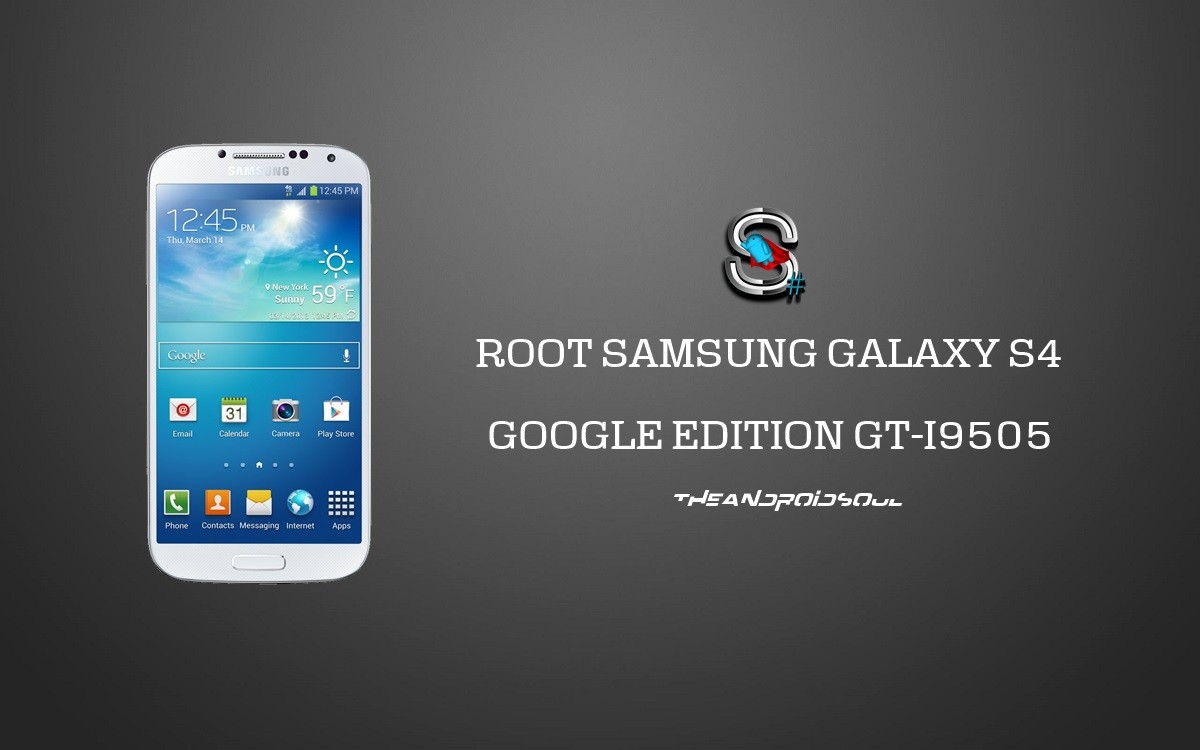
GUIDE: ROOT SAMSUNG GALAXY S4 GOOGLE EDITION GT-I9505
Before you begin with guide instructions below, make sure your android device is adequately charged — at least 50% battery of the device.
STEP 0: CHECK DEVICE MODEL NO.
To make sure your device is eligible with this, you must first confirm its model no. in ‘About device’ option under Settings.Another way to confirm model no. is by looking for it on the packaging box of your device. It must be GT-I9505!
Please know that this page is meant only for Samsung Galaxy S4, model no. GT-I9505. Please DO NOT try the procedures given here on other variants of the Galaxy S4: GT-I9500, or the S4 sets at Verizon, AT&T, T-Mobile, Sprint, and others who have different model no.
STEP 1: BACKUP YOUR DEVICE
Back up important data and stuff before you start playing around here as there are chances you might lose your apps and app-data (app settings, game progress, etc.), and in rare case, files on the internal memory, too.
For help on Backup and Restore, check out our exclusive page on that linked right below.
► ANDROID BACK UP AND RESTORE GUIDE: APPS AND TIPS
STEP 2: UNLOCK BOOTLOADER
Skip this step if your device is already bootloader unlocked.
User must first unlock the bootloader on your Samsung Galaxy S4 GT-I9505 before proceeding with the guide below.
If you are not sure on how to unlock bootloader, here is our definitive guide on how to unlock bootloader of Samsung Galaxy S4 GT-I9505.
► UNLOCK BOOTLOADER OF SAMSUNG GALAXY S4 GT-I9505
STEP 3: INSTALL THE LATEST CWM/TWRP RECOVERY
Skip this step if you already have latest version of CWM or TWRP recovery installed on your device.
Make sure that you’ve latest version of the recovery installed on your device.
For help on installing recovery on your Samsung Galaxy S4, check our exclusive pages on CWM and TWRP recoveries for Samsung Galaxy S4 GT-I9505.
► GET CWM RECOVERY FOR SAMSUNG GALAXY S4 GT-I9505
► GET TWRP RECOVERY FOR SAMSUNG GALAXY S4 GT-I9505
STEP 4: INSTALLATION INSTRUCTIONS
DOWNLOADS
Download the file given below and transfer it to a separate folder on your phone and remember the location.
SUPERSU FILE
DOWNLOAD LINK | File name: UPDATE-SuperSU-v1.91.zip (1.14 MB)
Be sure to transfer the SuperSU file you downloaded above to your phone and remember the location of the files.
You will need to flash it now on your device using either of ClockworkMod (CWM) or TWRP recovery.
We’ve got separate guide for CWM and TWRP recovery, so use the guide relevant to the recovery you have installed on your device.
GUIDE FOR CWM RECOVERY USERS
Example video: If you haven’t used CWM recovery before to install a .zip file of a ROM or anything else, then we suggest you first watch a video of that to get familiar with the process. Click here to watch the video
- Boot into recovery mode. If you’re rooted, the easiest way to boot into recovery mode would be using the QuickBoot app. If not rooted, then follow the instructions below:
- Power off your device and wait for 5-10 seconds until the device is fully switched off.
- Press and hold Volume Up + Home + Power buttons together and release them as soon as you see the Galaxy S4 logo.
└ In Recovery mode, use Volume buttons to navigate Up and Down between options and use Power button to select an option.
(For help, check out our Galaxy S4 Recovery Mode page)
- Create a Nandroid Backup from recovery. It’s optional but very important to do, so that in case something goes wrong you can restore to current status easily. For making a Nandroid Backup, go to Backup And Restore » Backup.
- Install the Zip file:
- Select Install zip » Choose zip from sdcard (or external sdcard, you know where your files are) » browse to the location where you saved the file and select the SuperSU file.
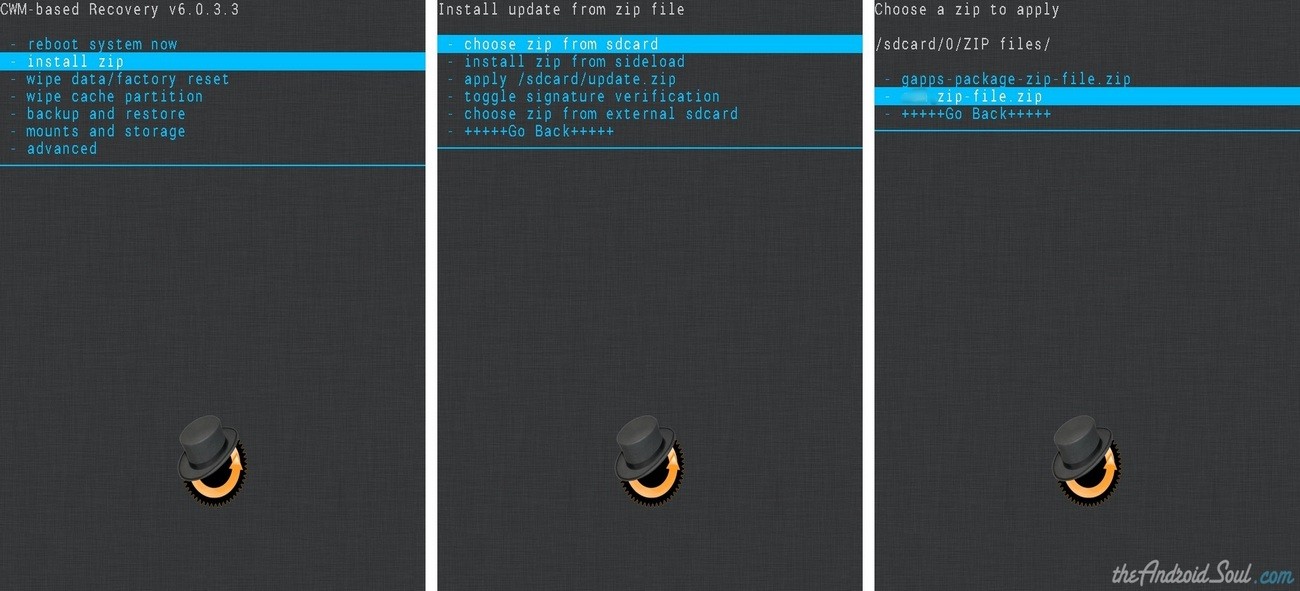
- Select Install zip » Choose zip from sdcard (or external sdcard, you know where your files are) » browse to the location where you saved the file and select the SuperSU file.
- Reboot your device. For this, go back to the main menu of recovery and select reboot system now.
That’s all. Your phone will now reboot. On rebooting your phone will have proper root access.
GUIDE FOR TWRP RECOVERY USERS
- Boot into recovery mode. If you’re rooted, the easiest way to boot into recovery mode would be using the QuickBoot app. If not rooted, then follow the instructions below:
- Power off your device and wait for 5-10 seconds until the device is fully switched off.
- Press and hold Volume Up + Home + Power buttons together and release them as soon as you see the Galaxy S4 logo.
(For help, check out our Galaxy S4 Recovery Mode page)
- Create a Nandroid Backup from recovery. It’s optional but very important to do, so that in case something goes wrong you can restore to current status easily. For making a Nandroid Backup, go to Backup » and select all check boxes and swipe on the Swipe to confirm option at the bottom of the screen to confirm backup.
- Install the Zip file:
- Tap on Install » browse to the location where you saved the files and tap on the SuperSU file. Now at the bottom of the screen, do a swipe on the Swipe to confirm flash option to begin flashing.
- Tap on Install » browse to the location where you saved the files and tap on the SuperSU file. Now at the bottom of the screen, do a swipe on the Swipe to confirm flash option to begin flashing.
- Reboot your device. Go back to the main menu of recovery and tap on Reboot » then, tap on System to reboot your phone.

That’s all. Your phone will now reboot. On rebooting your phone will have proper root access.
FEEDBACK US!
It was easy to root your Samsung Galaxy S4 Google Edition, right? Let us know how you plan to use root privileges on your Galaxy S4 GT-I9505.
Your suggestions and queries, if any, are most welcomed!


