We saw a fine (issues free) Android 4.3 leak for the AT&T Galaxy S3 SGH-I747 last week and now the same leaked build has been tweaked and ported to work on the T-Mobile Galaxy S3 SGH-T999. And it’s working just damn fine. However, for now it doesn’t have the Knox and is very slightly modded because the leaked AT&T Galaxy S3 build it has been ported from was rooted with KNOX removed. But you’d want the KNOX removed and firmware rooted anyway, so this shouldn’t matter, right?
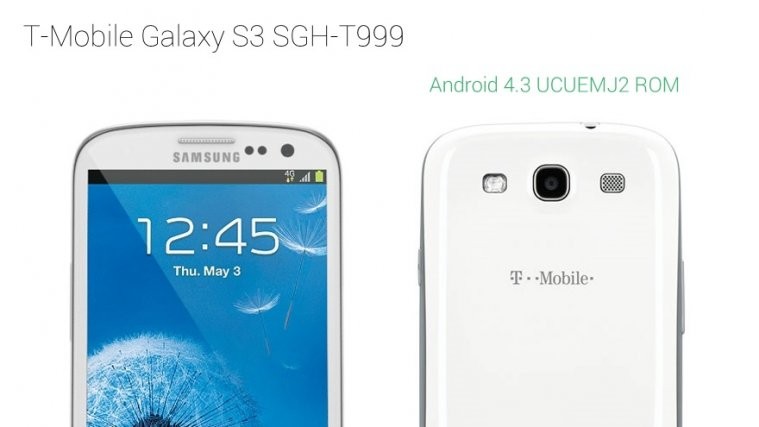
T-Mobile Galaxy S3 ANDROID 4.3 UPDATE
We saw a fine (issues free) Android 4.3 leak for the AT&T Galaxy S3 SGH-I747 last week and now the same leaked build has been tweaked and ported to work on the T-Mobile Galaxy S3 SGH-T999. And it’s working just damn fine. However, for now it doesn’t have the Knox and is very slightly modded because the leaked AT&T Galaxy S3 build it has been ported from was rooted with KNOX removed. But you’d want the KNOX removed and firmware rooted anyway, so this shouldn’t matter, right?
If you’d like to flash this leaked Android 4.3 ROM on your T-Mobile Galaxy S3 SGH-T999, follow the instructions on this page carefully.
WARNING!
Warranty may be void of your device if you follow the procedures given on this page!
You only are responsible for your device. We won’t be liable if any damage occurs to your device and/or its components.
CHECK DEVICE MODEL NO.
To make sure your device is eligible with this, you must first confirm its model no. in ‘About device’ option under Settings. Another way to confirm model no. is by looking for it on the packaging box of your device. It must be SGH-T999!
Please know that this page is meant only for T-Mobile Galaxy S3, model no. SGH-T999. Please DO NOT try the procedures given here on other variants of the Galaxy S3: GT-I9300, or the S3 sets at Verizon, T-Mobile, Sprint, AT&T and others who have different model no.
BEFORE YOU BEGIN..
You must do this pre-installation stuff before attempting to install the ROM on your Galaxy S3 in order to avoid any complications later, and have a smooth and successful process.
BACK UP YOUR DEVICE
Back up important data and stuff before you start playing around here as there are chances you might lose your apps and app-data (app settings, game progress, etc.), and in rare case, files on sd card, too.
For help on Backup and Restore, check out our exclusive page on that linked right below.
► ANDROID BACK UP AND RESTORE GUIDE: APPS AND TIPS
INSTALL GALAXY Galaxy S3 DRIVER
You must have proper and working driver installed on your windows computer to be able to successfully install a firmware on your T-Mobile Galaxy S3. In case you’re not sure, follow the link below for a definitive guide for installing driver for your Galaxy S3 on your computer.
► T-Mobile Galaxy S3 DRIVERS INSTALLATION GUIDE
CHARGE YOUR DEVICE
If your android device powers off due to lack of battery while the process is underway, it could damage the device. So, make sure your device is adequately charged — at least 50% battery of the device.
T-MOBILE GALAXY S3 ANDROID 4.3 ROM INSTALLATION GUIDE
DOWNLOADS
Download the files given below and transfer them to a separate folder on your phone and remember the location.
- T-Mobile Galaxy S3 SGH-T999 Android 4.3 ROM file → Download link
File name: StockMOD ROM T999 4.3.zip
File size: 860.79 MB - SGH-T999 Android 4.3 Modem file → Download link
File name: TMOGalaxyS3_UVUEMJ4_Modem.zip
File size: 18.8 MB - Kernel and Root fix file → Download link
File name: UCUEMJ2_Insecure_kernel.zip
File size: 5.9 MB
Reminder: Before you proceed, make sure you’ve transferred the files you downloaded above to a separate folder on your phone.
STEP-BY-STEP GUIDE
Make sure you have backed up your phone adequately (including important data stored on internal memory). Also create a nandroid backup using your recovery for additional safety.
You’ll need either CWM or TWRP recovery for installing the leaked Android 4.3 ROM on your T-Mobile Galaxy S3. And since CWM and TWRP recoveries function differently we’ve put together separate guides for both of them. So if you’re a CWM user, follow the CWM users guide and if you’re a TWRP user follow the guide for TWRP users.
For CWM recovery users
- Boot into recovery mode. For this:
- Power off your device and wait 4-5 seconds after lights go off
- Press and hold these 3 buttons until you see Samsung logo: Volume Up + Power + Home
└ Use Volume buttons to navigate Up and Down in recovery and Power button to select an option.
- Create a Backup from recovery. It’s optional but very important to do, so that in case something goes wrong you can restore to current status easily
- Perform a Factory Reset (This will delete all apps and their settings and game progress.) For this:
- Select Wipe data/Factory reset, then select Yes on the next screen to confirm factory reset (screenshot)
- Install the T999UVUEMJ4 MODEM first. For this:
- Select Install zip » Choose zip from sdcard (or external sdcard, you know where your files are) » browse to the location where you saved the file and select the TMOGalaxyS3_UVUEMJ4_Modem.zip file » select Yes on next screen to confirm installation of the file
- Select Install zip » Choose zip from sdcard (or external sdcard, you know where your files are) » browse to the location where you saved the file and select the TMOGalaxyS3_UVUEMJ4_Modem.zip file » select Yes on next screen to confirm installation of the file
- Now similarly flash the StockMOD ROM T999 4.3.zip (ROM file) and UCUEMJ2_Insecure_kernel.zip (Kernel file)
└ Make sure to first flash the ROM file and then the kernel file. - Now flash the ROM file to install Android 4.3 on your device. You can flash the ROM file just like you flashed the Modem file in previous step
- Flash the Kernel file after flashing the ROM file
- After you are done with flashing of the files, reboot your device. For this:
- Go back to the main menu of recovery and select reboot system now
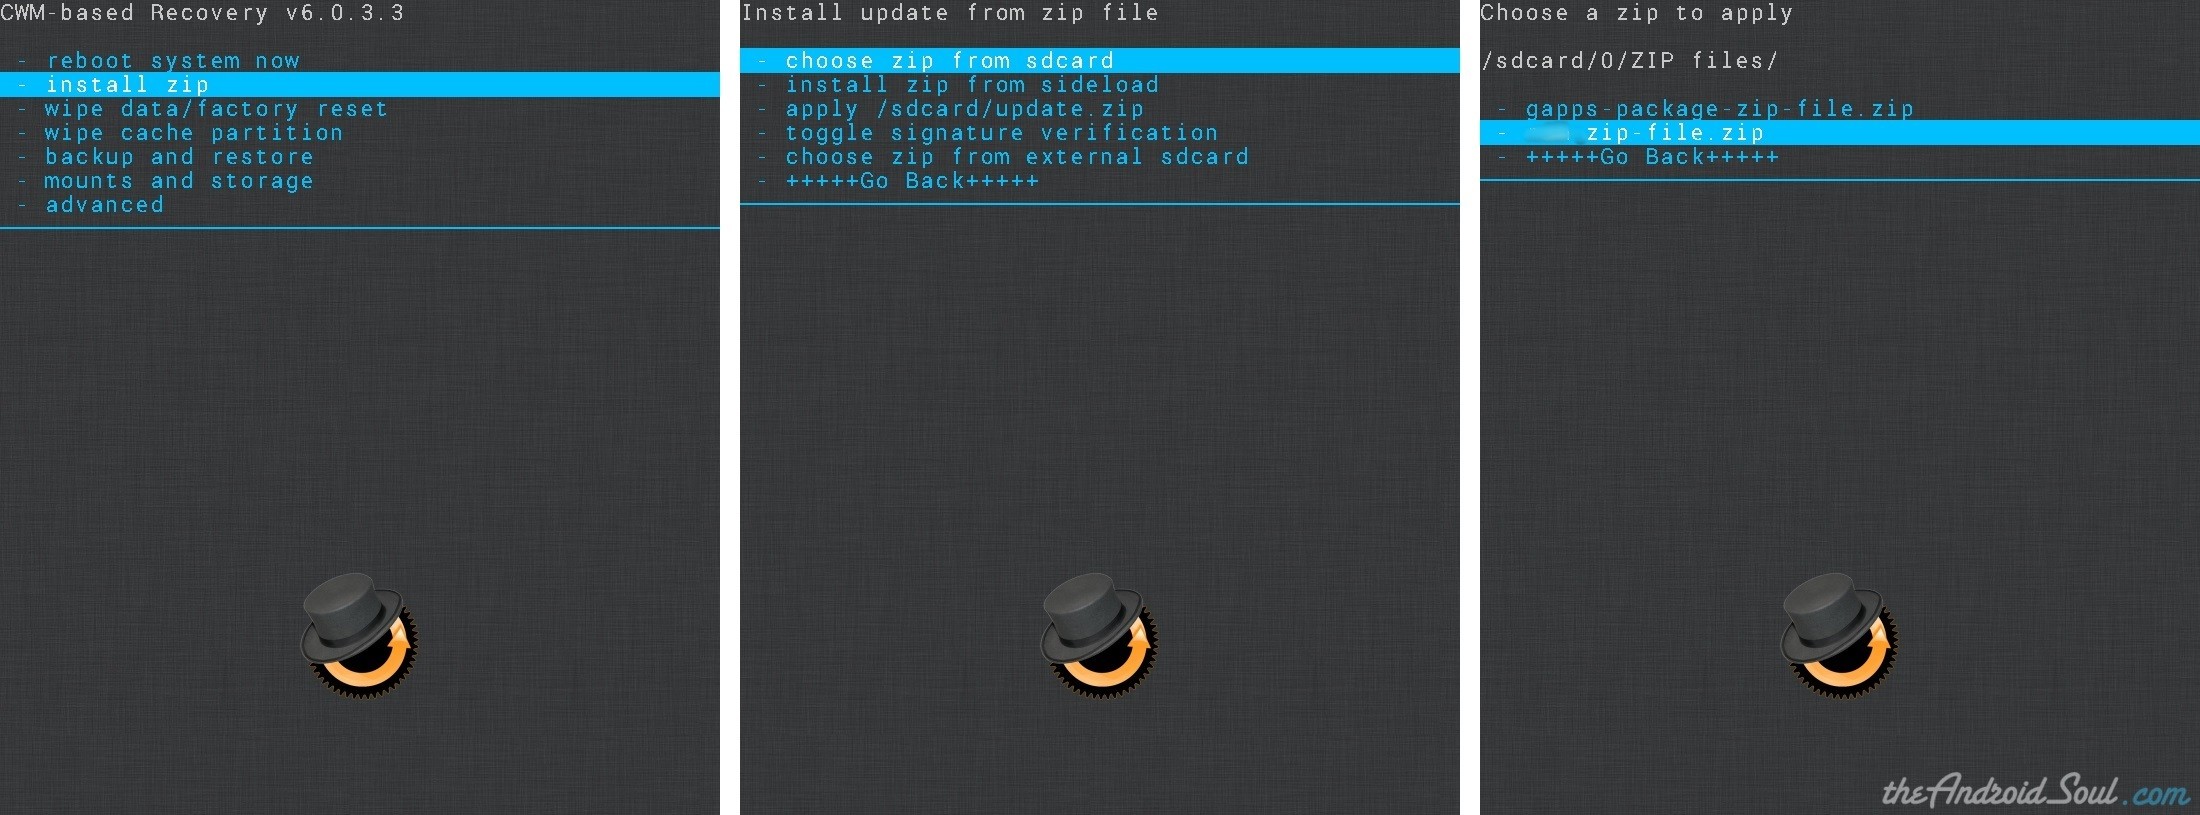
That’s all. Your phone will now reboot and it will take some time as it’ll be phone’s first boot after installing Android 4.3, be patient.
For TWRP recovery users
- Boot into recovery mode. For this:
- Power off your device and wait 4-5 seconds after lights go off
- Press and hold these 3 buttons until you see Samsung logo: Volume Up + Power + Home
- Create a Backup from recovery. It’s optional but very important to do, so that in case something goes wrong you can restore to current status easily
- Perform a Factory Reset (This will delete all apps and their settings and game progress.) For this:
- Tap on Wipe » then at the bottom of the screen do a Swipe on the ‘Swipe to factory reset‘ option (screenshot)
- First Install the T999UVUEMJ4 MODEM file. For this:
- Tap on Install » browse to the location where you saved the files and tap on the TMOGalaxyS3_UVUEMJ4_Modem.zip file. Now at the bottom of the screen, do a Swipe on the Swipe to confirm flash option to begin flashing.
- Tap on Install » browse to the location where you saved the files and tap on the TMOGalaxyS3_UVUEMJ4_Modem.zip file. Now at the bottom of the screen, do a Swipe on the Swipe to confirm flash option to begin flashing.
- Now similarly flash the StockMOD ROM T999 4.3.zip (ROM file) and UCUEMJ2_Insecure_kernel.zip (Kernel file)
└ Make sure to first flash the ROM file and then the kernel file. - After you are done with flashing of the files, reboot your device. For this:
- Go back to the main menu of recovery and tap on Reboot » then, tap on System to reboot your phone
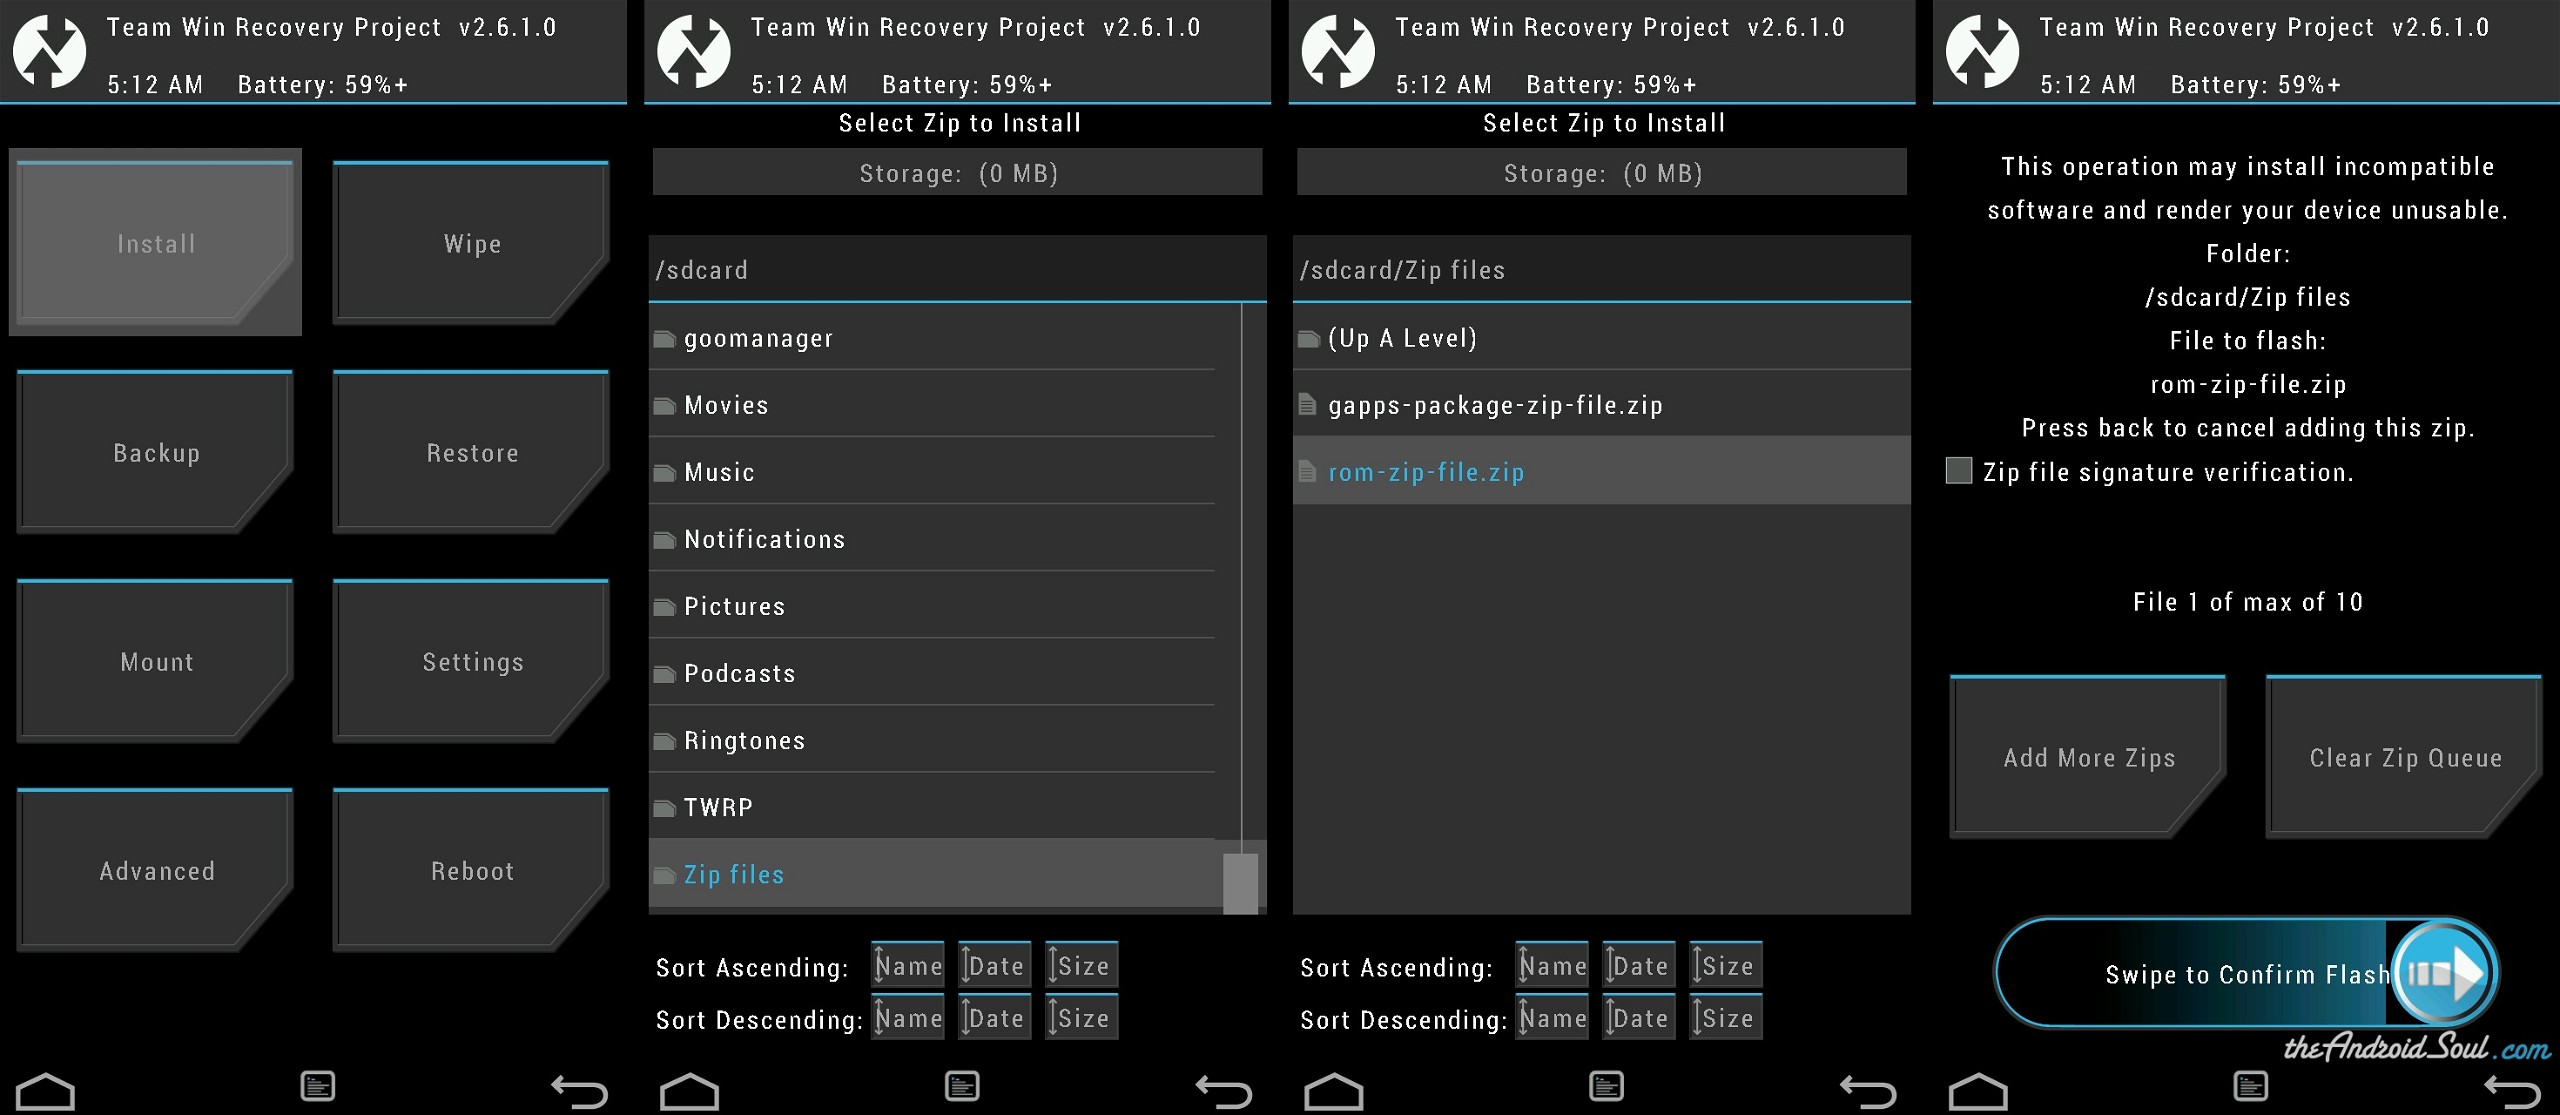
That’s all. Your phone will now reboot and it will take some time as it’ll be phone’s first boot after installing Android 4.3, be patient.
Feedback Us!
It was easy, right? Let us know what you think about this article.
Your suggestions are most welcomed!
Via XDA

what about GAPPS?
Gapps are included in stock roms
what about GAPPS?
Gapps are included in stock roms
what about GAPPS?
Gapps are included in stock roms
Installed worked for the most part… says sim card is not inserted and that it is for att… hmmm kind of puzzling, didn’t brick my phone thank god…
Installed worked for the most part… says sim card is not inserted and that it is for att… hmmm kind of puzzling, didn’t brick my phone thank god…
Installed worked for the most part… says sim card is not inserted and that it is for att… hmmm kind of puzzling, didn’t brick my phone thank god…