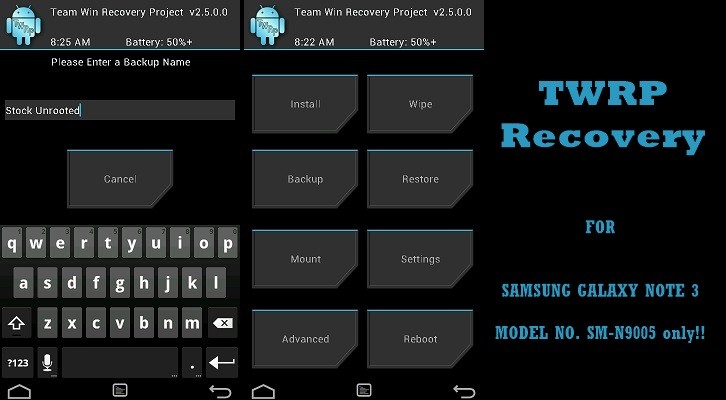
GALAXY NOTE 3 SM-N9005 TWRP RECOVERY
You must a have a custom recovery on your Galaxy Note 3 LTE edition, model no. SM-N9005, is you are looking to install a custom ROM, mods, themes, etc. or want to create one cool Nandroid backup.
It’s mainly custom ROMs for which recovery is most desired, and that in itself is a huge factor. Custom ROMs like CM, AOKP, PA, etc. provide you lots of ways to customize your android device.
And when it comes to recovery, TWRP is the best.
So, get the TWRP recovery for your Note 3 LTE, and enjoy the fun of custom ROMs, customization, and solid backups.
WARNING!
Warranty may be void of your device if you follow the procedures given on this page!
You only are responsible for your device. We won’t be liable if any damage occurs to your device and/or its components.
CHECK DEVICE MODEL NO.
To make sure your device is eligible with this, you must first confirm its model no. in ‘About device’ option under Settings. Another way to confirm model no. is by looking for it on the packaging box of your device. It must be SM-N9005!
Please know that this page is meant only for Samsung Galaxy Note 3 international model no. SM-N905. Please DO NOT try the procedures given here on other variants of the Note 3: SM-N900, SM-9000T, SM-N9002, SM-N900A, SM-N900V, SM-N900P, etc. and its variants at Verizon,T-mobile, AT&T and Sprint.
BEFORE YOU BEGIN..
You must do this pre-installation stuff before attempting to install recovery on your Galaxy Note 3 in order to avoid any complications later, and have a smooth and successful process.
BACK UP YOUR DEVICE
Back up important data and stuff before you start playing around here as there are chances you might lose your apps and app-data (app settings, game progress, etc.), and in rare case, files on SD card, too.
For help on Backup and Restore, check out our exclusive page on that linked right below.
► ANDROID BACK UP AND RESTORE GUIDE: APPS AND TIPS
INSTALL GALAXY NOTE 3 DRIVER
You must have proper and working driver installed on your windows computer to be able to successfully install TWRP recovery on your Samsung Galaxy Note 3 LTE. In case you’re not sure, follow the link below for a definitive guide for installing driver for your Galaxy Note 3 on your computer.
► SAMSUNG GALAXY NOTE 3 DRIVER INSTALLATION GUIDE
CHARGE YOUR DEVICES
If your android device, or PC, powers off due to lack of battery while the process is underway, it could damage the device. So, make sure both of them are adequately charged and that no power interruption takes place when the process is undergoing — at least 50% battery of the device and laptop is what we would recommend.
OTHER THINGS TO TAKE CARE OF:
└ Use original USB cable to connect your phone to PC.
└ Do not use the procedures given below on Mac (using VMWare) as it works best on proper Windows PC only.
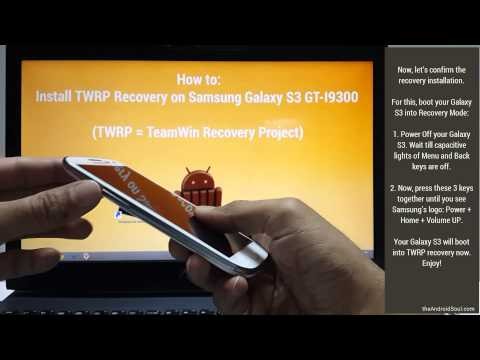
EXAMPLE VIDEO
If you haven’t used Odin software to install a recovery on your device before, we suggest you first watch a video of that, given right below, to get familiar with the process.
Btw, it’s not the the video below shows installing the firmware on Samsung Galaxy S3 (yes, not Note 3!). But as the process is exactly same, it doesn’t matter.
GALAXY NOTE 3 LTE TWRP RECOVERY GUIDE
DOWNLOADS
Download the files given below and save them in a separate folder on your computer (just to keep things tidy, that is).
- TWRP Recovery .tar file: DOWNLOAD LINK
File name: openrecovery-twrp-2.6.3.7-hlte.img.tar
File size: 11.6 MB
(Note: DO NOT EXTRACT this .tar file.) - Odin v3.09 → Download link
File name: odin3.09.zip
File size: 951 KB
STEP-BY-STEP GUIDE
Once you’ve finished downloading the files given in downloads section above, follow the instructions below to root your Samsung Galaxy Note 3.
DISABLE REACTIVATION LOCK
You should put off the reactivation lock on your Galaxy Note 3 before proceeding with the guide below, here’s how:
- Go to ‘Settings‘ on your Note 3 → select ‘General‘ tab → select ‘Security‘
- Now under Security settings, uncheck the ‘Reactivation lock‘ checkbox to disable reactivation lock
- Extract/Unzip Odin3.09.zip file on your computer (using 7-zip free software, preferably) to get this file: Odin3 v3.09.exe. (DO NOT extract the recovery’s .tar file.)
- Disconnect the Galaxy Note 3 from PC if it is connected.
- Double-click the Odin3 v3.09.exe to open Odin.
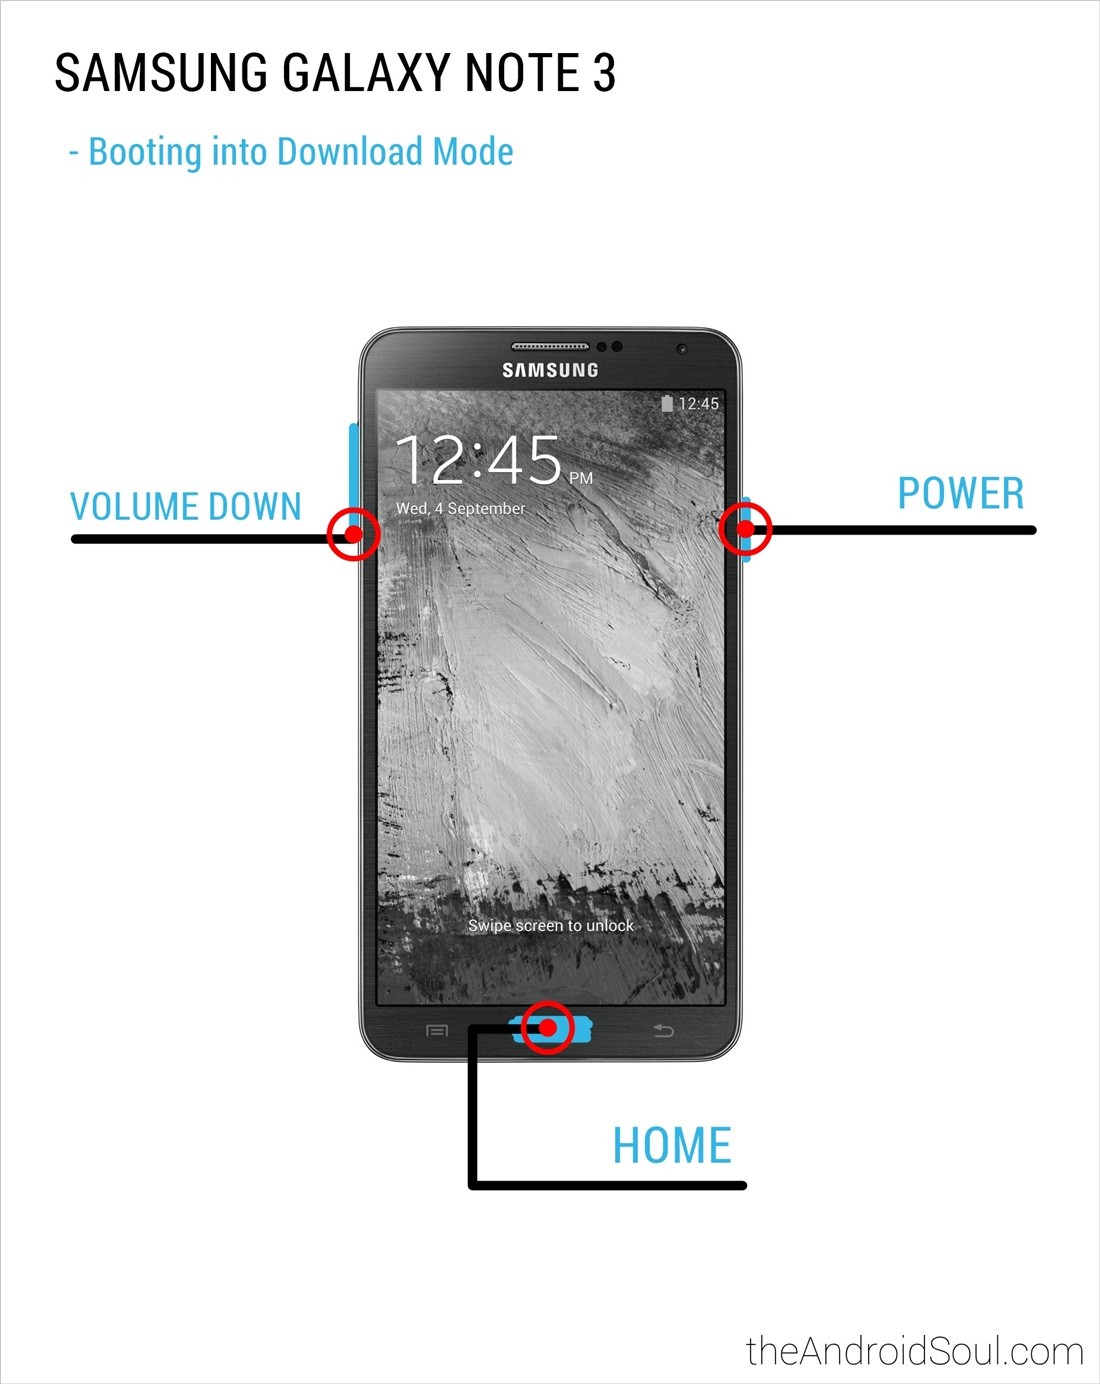
- Now, boot your Samsung Galaxy Note 3 into Download Mode:
- Power Off your Galaxy Note 3. Wait for 6-7 seconds after display is off.
- Now, press these 3 keys together until you see Warning! screen: Volume DOWN + Power + Home
- Press Volume Up to continue to Download Mode.
- Connect your Galaxy Note 3 to PC. Odin window will show an Added!! message in bottom left box.
Odin’s screen would look like this:
If you don’t get the Added! message, here are some troubleshooting tips:- Make sure you have installed driver for Note 3 as said above in ‘Before you begin..‘ section.
- If you have already installed driver, then uninstall them and reinstall back.
- Try a different USB cable. The original cable that came with your phone should work best, if not, try any other cable that’s new and of good quality.
- Connect using a different USB port on your PC.
- Reboot phone and PC and then try again.
- Load the TWRP Recovery file. For this, click the AP tab in Files [Download] section on Odin, and select the openrecovery-twrp-2.6.3.7-hlte.img.tar file
- Now in the Option section of Odin, keep only the Auto Reboot and F. Reset Time boxes checked. Make sure Re-Partition box, and all other boxes, are unchecked.
- Double check the above two steps carefully. You must not make any mistake with the steps above or else you may brick your device.
Your Odin’s screen should look like the screenshot below:
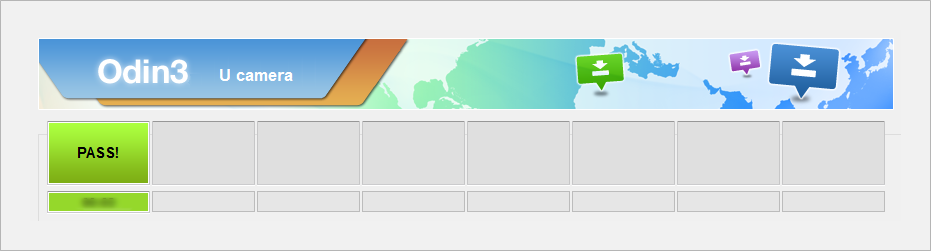
- Click the Start button on Odin to start flashing the TWRP Recovery on your Galaxy Note 3, and wait until you see PASS! message on Odin’s top left box.
- When you get PASS! message, your phone will restart automatically. You can then disconnect your phone from PC.


If you see FAIL message instead of the PASS in Odin’s top left box, that a problem. Try this now: disconnect your Note 3 from PC, close Odin, remove phone’s battery and put it back inside in 3-4 seconds, open Odin and then repeat from Step 3 of this guide again.
Also, If device is Stuck at setup connection or on any other process, then too, try this: disconnect your Note 3 from PC, close Odin, remove phone’s battery and put it back inside in 3-4 seconds, open Odin and then repeat from Step 3 of this guide again.
That’s all. If you need help regarding with installing TWRP recovery on your Galaxy Note 3, feel free to ask us in comments below.
Feedback Us!
It was easy, right? Let us know what you plan to do now, with the TWRP recovery now installed on your Samsung Galaxy NOTE 3.
Suggestions are most welcomed!
via TeamWin
