XDA developer zohawkish who is pretty well known for his premium ROMs among Samsung Galaxy device users, has released a brand new custom ROM called Hawkish, for the Samsung Galaxy Note 2. Hawkish ROMs have been very popular with users of the original Galaxy S I9000, as well as its successors the Galaxy S2, and the Galaxy S3.
The Hawkish ROM is based on the latest official ZSALJA Android 4.1 firmware from Samsung, and the dev has packed in quite a punch in the form of Beats Audio, updated scripts for smoother performance, and a variety of other mods and tweaks to provide a seamless Jelly Bean experience.
Let’s have a look at what Hawkish ROM brings with it, as quoted from the official source page:
– Based on the lastest official firmware (ZSALJA no wipe)
– Rooted stock kernel
– Zipalined & deodexed & highly compressed
– Multi CSC
– Hardware Acceleration Enabled (GPU UI Enabled)
– Framework and applications optimized
– Init.d support- Supercharcher script
– Oom priority
– applications zipaligned on every boot
– Ram management tweaks
– build.prop tweaks
– SD-card speed tweaks
– Sqlite3 & ext4 tweak
– scrolling optimized
– Applications updated
– call recording + no increasing ring
– No sms log + no mms converted
– Mms with 200 contacts
– MulitWindow with unlimited apps
– mooded camera with high bitrate
– Aroma installer(Bloatware removable, custom installation, efs backup)
– Busybox, SuperSU
– Extended power menu
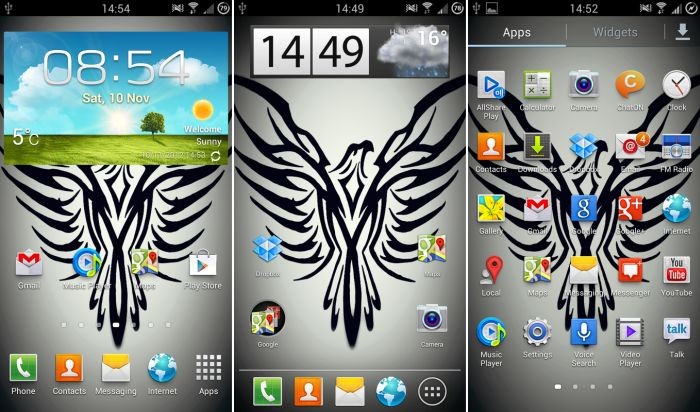
– Stock theme with HD effect
– Dithered Holo Background
– HAWKISH wallpaper
– Flashplayer
– Mooded TouchWiz
– Nova launcher
– Great APN list
Quite a list there, eh? And if that wasn’t enough, there is a v2 of Hawkish ROM available now with all of this plus Beats Audio and other goodies thrown in for your enjoyment. Galaxy Note 2 users are sure to have a blast with this ROM, and if initial user reports are anything to go by, people have a lot of good things to day about the Hawkish ROM. So without wasting any more time, let’s dive right in and see how we can flash this on your Galaxy Note 2.
[Important] Needless to say, rooting and flashing of custom firmware on devices is tricky stuff that should be avoided unless you know exactly what you’re doing and what you want out of it. Most people, and by most, I mean 75% of smartphone users get by just fine not even knowing what root is, so be absolutely sure before you go ahead with this.
- First things first – installation of this custom ROM will involve a full wipe of your device, which means that you will lose all your data as well as settings. Internal SD content will not be touched, so you can breathe easy. While, it is possible to also install the ROM without wiping data, it is always advisable to perform a clean installation to avoid any issues due to conflicting system files left over from the previous ROM. You can use this handy Android Backup Guide to get all your personal data and settings backed up
- You would need ClockworkMod Recovery or CWM installed on your Note 2 to be able to flash Hawkish; If you don’t, you can refer to this guide, and you should have CWM on your device in a few minutes.
- Download the latest version of the HaWKiSH Premium ROM from the Official Source page.
- Now connect your phone to your PC, and copy the downloaded zip file from step 3 to the internal SD card (do not extract it, just copy the zip file as it is).
- Time to test the CWM Recovery you installed in Step 2. Turn off your phone completely first, and then, hold down Volume Up, Home and the Power buttons together until the screen turns on to boot into CWM recovery.
While in Recovery mode, use the volume buttons to scroll up/down and the home button to select an option. - While this is optional, the first thing to do before flashing a new custom ROM on your device, is to perform a Nandroid backup of your existing ROM. One of the super things that CWM can do is to create a full image of your existing ROM, which you can restore to at a later point, in case something gets messed up with the new ROM. After all, prevention is always better than cure – and that holds true even for mobile geeks. To perform a backup, select Backup and Restore –> On the next screen, select Backup again. Go back to main recovery menu after backup is complete
- Now that we have our existing ROM safely backed up, we can go ahead with the new one. From the CWM main menu Select wipe data/factory reset, then select Yes on the next screen to confirm. Wait a while till the data wipe is complete.
- Next Select Wipe Cache Partition, and confirm Wipe on the next screen
- Now for the main event. Select install zip from sdcard, then select choose zip from sdcard. Scroll to the Hawkish ROM zip file that you copied to the SD card in Step 4 and select it. Confirm installation by selecting Yes on the next screen. The ROM will start installing.
- After the ROM finishes installing, select Go back and then select Reboot system now to reboot the phone into Hawkish ROM. It is normal for the first boot to take a bit longer, so be patient.
NOTE: If you want to go back to your previous ROM at any point of time later, boot into recovery (as described in Step 5), select backup and restore, and then Restore your previous ROM by selecting it from the list.
For now, you can enjoy all the goodies that come with the HaWKiSH Premium Custom ROM on your Galaxy Note 2. From the looks of it, this seems to be a ROM that you might not want to change from for a while. And if you do decide to change to something else, do share it with us in comments too.


