The Android 5.0 Lollipop update comes with enhanced security at kernel level with SELinux set to enforcing, and while this is a good for the Android ecosystem, the change to SELinux, however, also breaks our conventional ways of rooting an Android device. Setting the SELinux back to permissive fixes things up, but that’s not possible without modifying the boot image (kernel). Also, having the SELinux set at enforcing is preferred for the security reasons. So considering all this, our legendary developer Chainfire has provided modified kernels for Nexus 5 with SELinux set to permissive only to the limit of rooting Android 5.0, not system wide.
So what you gotta do root Nexus 5 on Android 5.0 Lollipop is flashing the modified boot image first, then flash SuperSU zip via a custom recovery (TWRP recommended). This is a quick fix by Chainfire and he may find a better way to root Android 5.0 builds without the need of modifying kernel (boot images). For now, this is the best way we’ve to root Nexus 5 on Android 5.0, Chainfire’s custom kernels set SELinux to permissive only partially, retaining much of security from the default enforcing status.
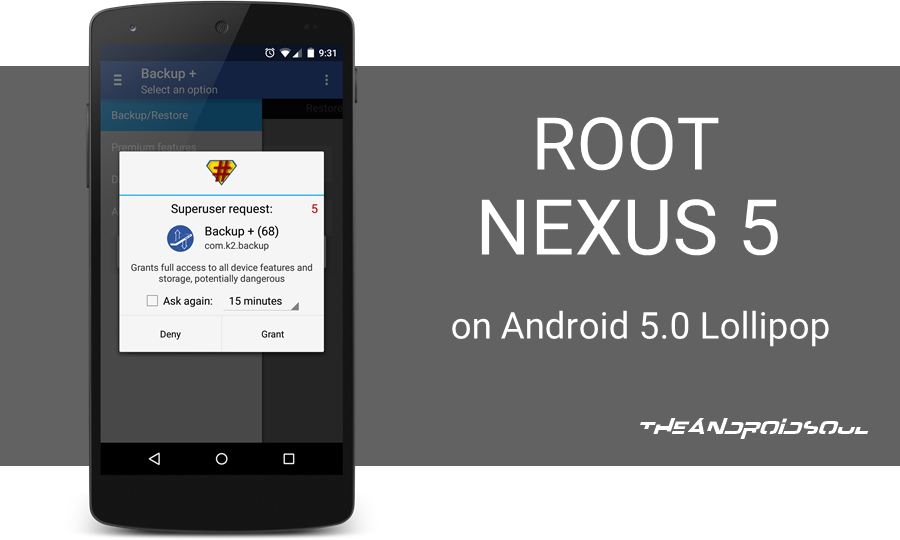
HOW TO ROOT NEXUS 5 ON ANDROID 5.0 LOLLIPOP
WARNING!
Warranty may be void of your device if you follow the procedures given on this page.
You only are responsible for your device. We won’t be liable if any damage occurs to your device and/or its components.
Before you begin with guide instructions below, make sure your android device is adequately charged — at least 50% battery of the device.
STEP 1: INSTALL LATEST DRIVER
You must have proper and working driver installed on your windows computer to be able to successfully flash the modified boot image and TWRP recovery on your Nexus 5. If you are not sure, follow the link below for a guide to install Nexus 5 driver on your computer.
► NEXUS 5 DRIVERS INSTALLATION INSTRUCTION
STEP 2: UNLOCK BOOTLOADER
Skip this step if your device is already bootloader unlocked.
Use must first unlock the bootloader on your Nexus 5 before proceeding with the guide below. Without unlocking the bootloader you won’t be able to use fastboot commands to flash the modified boot image and recovery on your device.
Check out our step-by-step guide (linked below) on unlocking the bootloader on Nexus 5.
► How to Unlock Nexus 5 Bootloader
STEP 3: INSTALL TWRP RECOVERY
Skip this step if your device is already have a custom recovery installed.
You need to install TWRP recovery on your Nexus 5 to be able to flash the SuperSU zip file and root your Nexus 5. Follow the link below for instructions to install TWRP recovery on your device.
► NEXUS 5 TWRP RECOVERY INSTALLATION GUIDE
STEP 4: INSTALLATION INSTRUCTIONS
DOWNLOADS
Download the One Click installer for flashing the modified boot image and SupersU zip file from the download links below.
ADB and FASTBOOT FILES
DOWNLOAD LINK | File name: adb-and-fastboot-files.zip (919 KB)
MODIFIED BOOT IMAGE
DOWNLOAD LINK | File name: nexus5-hammerhead-lpx13d-kernel.zip (7 MB)
All credits for the modified boot image goes to Chainfire.
SUPERSU ZIP FILE
Download and transfer the SuperSU zip file linked below to your phone’s internal storage.
DOWNLOAD LINK | File name: UPDATE-SuperSU-v2.14.zip (920 KB)
STEP-BY-STEP GUIDE
- Extract/Unzip adb-and-fastboot-files.zip file to a separate folder on your computer (using 7-zip free software, preferably).
- Extract/Unzip nexus5-hammerhead-lpx13d-kernel.zip file on your computer. You’ll get a boot.img file.
- Copy the boot.img file to the folder where extracted files in first Step 1
- Prepare your phone:
- Enable developer options: Go to your phone’s Settings » select About phone » Scroll to the bottom and tap on “Build number” seven times to enable developer options.
- Enable USB Debugging: Open phone’s Settings » select Developer options » Tick the “USB debugging” check-box (under Debugging section).
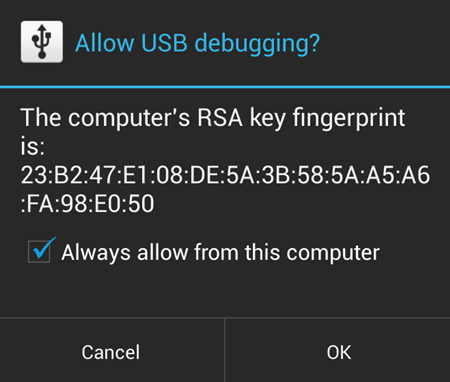
- Connect your phone to PC with a USB cable and if a pop-up screen shows up on phone asking you to Allow USB debugging for the computer, make sure you tick the checkbox and tap OK.
- Now open the folder where you extracted the adb-and-fastboot-files.zip file on your computer in Step 1 above.
- Press Shift key + Right click on any empty space inside the folder, and select Open command window here from the context menu
- Now issue the adb devices command in from the command line to verify that your LG G3 is connected in ADB mode.
└ If you get a blank response from the command, then that mean you don’t have proper drivers installed for Nexus 5 on your PC. So download and install Nexus 5 Drivers from here. - Boot your Nexus 5 into bootloader by issuing the following command via ADB
adb reboot bootloader
- Flash the modified boot image by issuing the following command
fastboot flash boot boot.img
- Once boot.img is successfully flashed, boot your device into recovery mode. And since you’re already in Fastboot mode, just press the Volume Down button twice and then the Power button to boot into recovery mode.
- Now in TWRP recovery, flash the UPDATE-SuperSU-v2.14.zip file you downloaded above
- Select “Install” from the main menu
- Navigate to the folder where you saved/transferred the UPDATE-SuperSU-v2.14.zip file and select it.
- Confirm flashing of the file swiping on the “Swipe to Confirm Flash button”
- Once done, select “Reboot System“
- Done. Enjoy!


