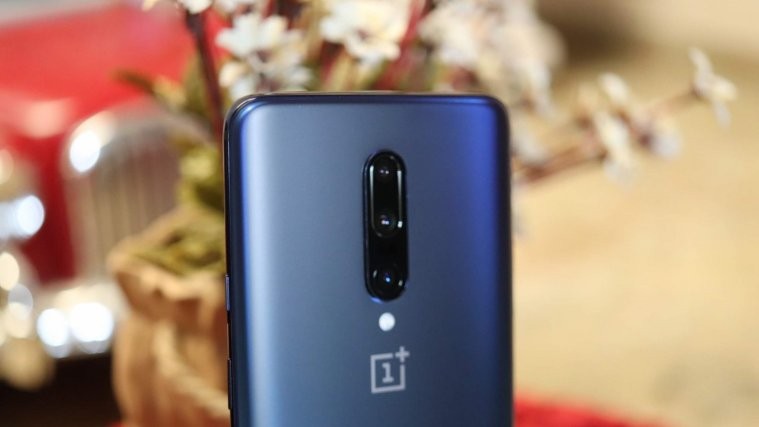
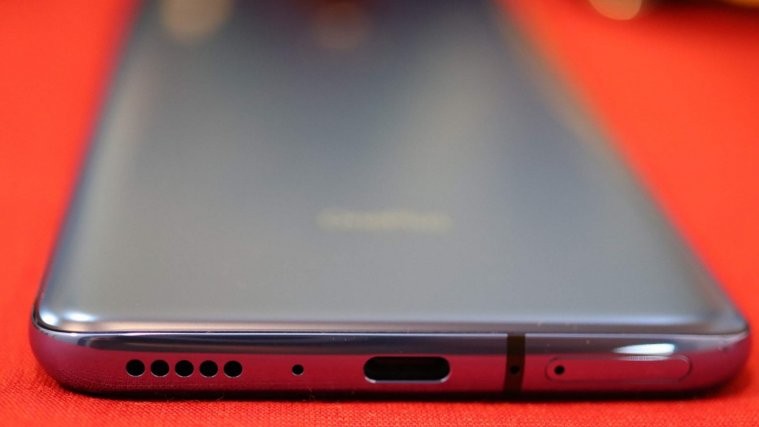
OnePlus is launching a flagship killer for its own flagship phone OnePlus 3 with the OnePlus 3T variant of the device. The new phone will feature upgraded hardware while keeping the same design aesthetics of the original 2016 flagship killer.
Thankfully though, the company is keeping to its promise with easy bootloader unlocking and a developer friendly phone that you can root, install custom ROMs on and have fun with several MODs from xda developers and other Android communities.
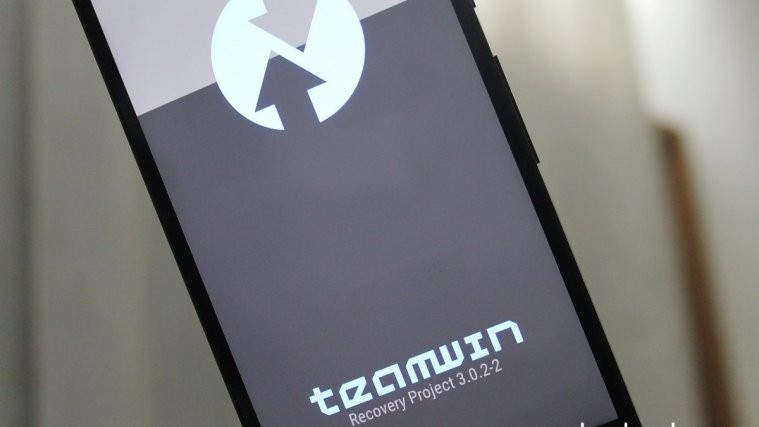
As for OnePlus 3T TWRP recovery, we wouldn’t be surprised even if it follows within a week of the phone’s public launch. OnePlus 3T is going to be a developer friendly device and hence it shouldn’t take long for it to get an unofficial build of TWRP recovery over at xda, followed by an official release at TeamWin’s website.
Download OnePlus 3T TWRP Recovery
Download the TWRP recovery from the link below.
[icon name=”download” class=”” unprefixed_class=””] Download OnePlus 3T TWRP recovery (latest)
To install/flash TWRP recovery on your OnePlus 3T, you need to unlock bootloader first on the device. Thankfully, OnePlus device are as friendly as Nexuses to do this stuff. Let’s get started..
Note: Unlocking the bootloader on your OnePlus 3T will completely wipe/delete the device’ storage. So make sure you backup all your important files, photos, music and videos before proceeding with the guide below.
How to Unlock Bootloader on OnePlus 3T
- Setup ADB and Fastboot on your PC. For help, use this link .
- Enable OEM unlock and USB debugging:
- Go to your phone’s Settings » About phone » and tap “Build number” Seven/Ten times. This will enable Developer options on your OnePlus 3T.
- Now go to Settings » Developer options » and look for “Enable OEM unlock” option, tick the checkbox next to it.
- On the same page, also tick the USB debugging checkbox.
- Connect your phone to PC and open a command window on the PC.
- Reboot your OnePlus 3T into Bootloader/Fastboot mode by issuing the following command:
adb reboot bootloader
└ Check your phone’s screen, if it asks for “Allow USB debugging”, accept it by selecting OK/Yes.
- Once it is booted into Bootloader mode, issue the following command to unlock bootloader on your OnePlus 3T:
fastboot oem unlock
└ This will unlock the bootloader on your OnePlus 3T and also completely wipe your phone while doing that. So make sure you backup everything important on your device before unlocking the bootloader.
- Once bootloader is unlocked, your OnePlus 3T will automatically reboot. In case it asks for bootloader unlock permission on the device, accept it.
That’s all. Your OnePlus 3T bootloader should be unlocked now and you can install/flash a custom recovery like TWRP on it.
How to Install TWRP Recovery on OnePlus 3T
- Download OnePlus 3T TWRP recovery .img file from the download link above and save it to a separate folder on your PC.
- Setup ADB and Fastboot on your PC, follow this link [icon name=”external-link” class=”” unprefixed_class=””].
└ Skip if you’ve already have ADB setup on your PC. - Enable USB debugging on your OnePlus 3T:
- Open Settings on your phone.
- Go to About phone and tap seven times on Build number, this will enable Developer options.
- Now go back to Settings and you’ll see Developer options there, open it.
- Tick the USB Debugging checkbox.
- Open the folder where you saved OnePlus 3T TWRP Recovery .img file in Step 1 above.
- Now open a command window inside that folder. To do that, “Shift + Right click” on any empty white space inside the folder and then select “Open command window here” from the context menu.
Note: If it gives option for PowerShell window in place of CMD window, then choose PowerShell, it would work all fine. (But do know that we’re using command window as reference, but you can carry all instructions on PowerShell window.) - Connect your OP3T to the PC. And type the following into the command window we opened in Step 5 above to boot your device into bootloader/fastboot mode:
adb reboot bootloader
└ If you get a permission dialogue on your OnePlus 3T to “Allow USB debugging”, tap OK.
- Once your 3T boots into bootloader mode, issue the following command into command window to flash the TWRP recovery .img file:
fastboot flash recovery twrp.img
└ Here modify twrp.img with the name of your TWRP recovery .img file, OR change your TWRP recovery filename to twrp.img and use the command above.
- Once TWRP is successfully flashed on your OnePlus 3T, issue the following command to reboot:
fastboot reboot
That’s all. TWRP recovery should be installed on your device now. To boot into the freshly installed recovery, simply issue the adb reboot recovery command from PC command line when your device boots into system.
Root OnePlus 3T
Update [September 20, 2017]: At the moment, only SuperSU is said to be working with OnePlus 3T Oreo update. And that too, its latest version SuperSU 2.82 SR4. So in order to root OnePlus 3T on Oreo update, use SuperSU method below, which has been updated for the working SuperSU 2.82 SR4 file.
As you may know, an Android 8.0 Oreo firmware was leaked earlier today. So, if you want, you can install the Android 8.0 update now. Check out our guide on How to download OnePlus 3T Oreo update for this.
Once you’ve TWRP recovery and SuperSU installed on your OnePlus 3T, you can finally root it with either SuperSU or Magisk. (Magisk is not working on Oreo update at the at the moment.) We recommend the latter since it is easier to toggle root on/off on-the-fly using Magisk. It’s particularly useful when you apps/services that don’t work when your device is rooted.
How to Root OnePlus 3T with Magisk
Downloads
- Download Magisk v9 (.zip)
- Download phh’s SuperUser (.zip)
- Download Magisk Manager v2.5 (.apk)
How to install Magisk and phh’s SuperUser root
- Download and transfer the Magisk and phh’s SuperUser zip files linked above to your OnePlus 3T.
- Boot your 3T into TWRP recovery.
- Tap on Install and select the Magisk zip file that you transferred to your device in Step 1.
- After selecting the .zip file, do Swipe to Confirm Flash on the bottom of screen to begin the flashing process.
- Similarly, install the phh’s SuperUser zip.
- Reboot your OnePlus 3T into System.
- Download/install phh’s SuperUser app from the Play Store.
- Now finally, download the Magisk Manager apk from the downloads section above, transfer it to your 3T and install it like you’d install any other apk file to your OnePlus 3T.
Congratulations! You’ve root on your OnePlus 3T now. Enjoy!
How to Root OnePlus 3T with SuperSU
If you prefer to use SuperSU though to get root on your OnePlus 3T. Here’s a quick guide for it as well. And of course, SuperSU is and will always be the easiest of all methods to get root on an Android device.
Download SuperSU v2.82 SR4 (latest)
- Download and transfer the SuperSU zip file from the download link above to your OnePlus 3T’s storage.
- Boot your OnePlus 3T into TWRP recovery.
- Tap on Install and select the SuperSU zip file that you transferred to your device in Step 1.
- After selecting the .zip file, do Swipe to Confirm Flash on the bottom of screen to begin the flashing process.
- Once SuperSU is flashed, you’ll get Reboot System option, select it.
That’s it. Your OnePlus 3T is rooted. To verify, download/install any root checker app from the Play Store.
Happy Androiding!


Magisk V9 installation fails when attempting to flash zip with TWRP.
Just says “Installation failed”:
– unlocked bootloader
– installed twrp above
– flashed magisk zip – installation fails.
– running latest OxygenOS 3.5.4 right now.
Why is it not working, is this only for 3.5.3?
I am having the same problem…
Are you actually in TWRP recovery or just the stock? (e.g does the recovery say TWRP?)
Magisk V9 installation fails when attempting to flash zip with TWRP.
Just says “Installation failed”:
– unlocked bootloader
– installed twrp above
– flashed magisk zip – installation fails.
– running latest OxygenOS 3.5.4 right now.
Why is it not working, is this only for 3.5.3?
Magisk V9 installation fails when attempting to flash zip with TWRP.
Just says “Installation failed”:
– unlocked bootloader
– installed twrp above
– flashed magisk zip – installation fails.
– running latest OxygenOS 3.5.4 right now.
Why is it not working, is this only for 3.5.3?
I am having the same problem…
Are you actually in TWRP recovery or just the stock? (e.g does the recovery say TWRP?)
Magisk V9 installation fails when attempting to flash zip with TWRP.
Just says “Installation failed”:
– unlocked bootloader
– installed twrp above
– flashed magisk zip – installation fails.
– running latest OxygenOS 3.5.4 right now.
Why is it not working, is this only for 3.5.3?
The recovery menu design is strange , very basic with limited selections and the oneplus logo above , i have the same problem , and no the recovery doesn’t say TWRP
The recovery menu design is strange , very basic with limited selections and the oneplus logo above , i have the same problem , and no the recovery doesn’t say TWRP
got it , you need to go into the recovery mode after the ” fastboot flash recovery twrp.img ” code you’ve typed , you guys should include that step
and what do you do in there?
John is right. After that step you need to go to recovery mode and start the TWRP at frist time otherwise twrp will be deleted by the system.
got it , you need to go into the recovery mode after the ” fastboot flash recovery twrp.img ” code you’ve typed , you guys should include that step
The recovery menu design is strange , very basic with limited selections and the oneplus logo above , i have the same problem , and no the recovery doesn’t say TWRP
The recovery menu design is strange , very basic with limited selections and the oneplus logo above , i have the same problem , and no the recovery doesn’t say TWRP
got it , you need to go into the recovery mode after the ” fastboot flash recovery twrp.img ” code you’ve typed , you guys should include that step
and what do you do in there?
John is right. After that step you need to go to recovery mode and start the TWRP at frist time otherwise twrp will be deleted by the system.
got it , you need to go into the recovery mode after the ” fastboot flash recovery twrp.img ” code you’ve typed , you guys should include that step