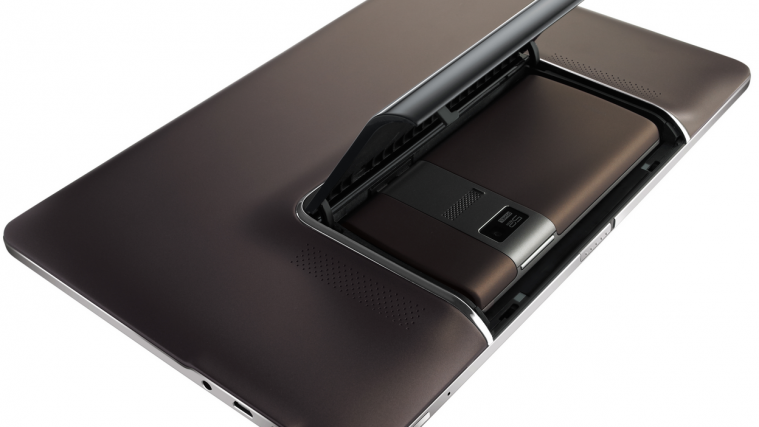
If you were one of the few that bought ASUS’ first foray into a phone-cum-tablet device, the original PadFone, you can now update it to Android 4.1 Jelly Bean as ASUS has started rolling out the much-awaited update almost a year after the device was launched in the market.
The updates bumps the Android version up to 4.1.1, which isn’t exactly the latest version of Android 4.1, but will nevertheless bring major changes like a smoother and responsive interface via Project Butter enhancements, expandable and actionable notifications, Google Now, faster browser, and many more improvements for a radically better experience compared to Android 4.0.4 Ice Cream Sandwich.
Furthermore, the update also includes a few ASUS-specific changes – improvements to dictionary, camera, Scrapbook, and file manager, a fix for the “volume key problem,” as well as support for NTFS- and exFAT-formatted SD cards. The entire update comes in at a massive size of 591 MB, which is usual for a major OS upgrade like this.
For now, the update is available for the Worldwide and Hong Kong (HK) variants of the PadFone, and the full update files are available from ASUS for upgrading manually. So if waiting for the update to show up on your device automatically is something you don’t wish to do, you can follow the steps below to upgrade manually instead.
How to Install Jelly Bean Update on ASUS PadFone
- Make sure your phone is on the stock unmodified official Ice Cream Sandwich firmware, version 9.20.4.40, which can be confirmed from the Settings » About phone menu. You’ll also need to have a microSD card, as the internal storage cannot be used for the update.
- Check your device’s SKU through the following procedure.
- On the phone, go into Settings » About phone. Then, check the Build number.
- If the build number starts with “HK”, your SKU is HK. Similarly, if your build number starts with “WW”, you must download the firmware for the WW SKU.
- Now that you have checked the SKU version of your phone, download the corresponding update file from the links below:
- Copy the update file to the root of the external SD card (root means you should copy it directly to the microSD’s outermost directory instead of a folder).
- Turn off the phone. Then, while holding down the Volume Down button, press the power button till a menu shows up. Here, press the power button to boot into Android recovery.
- Using the volume buttons to scroll and the power button to select, select the “apply update from external storage” option. Then select the update file that you copied to the phone earlier.
- Confirm installation by selecting Yes, then wait for the update process to finish.
- The phone should reboot automatically once the update is done, but if it doesn’t, select the “reboot system now” option to reboot manually into Android 4.1 Jelly Bean.
Congratulations. Your ASUS PadFone is now running on the official Android 4.1.1 Jelly Bean update. Enjoy all the goodness of Jelly Bean, and if you run into any issues while following the above steps, give us a shout in the comments and we’ll be sure to help you out.
Source: ASUS

