Lots of customization on Android devices like custom ROMs, themes, utility mods and a heck lot more cool tweaks; they all come packed in a zipped file, which can only be flashed/installed using a custom recovery. And only custom recovery. You can’t use the stock Android 3e recovery that comes pre-installed on your device because it only allows you to flash signed official updates, not custom made zips.
Installing a custom recovery on Xperia Z is fairly easy. And thanks to the huge community of third-party developers for making it possible to install recoveries even on bootloader locked devices and that too just as easy as it’s done on bootloader unlocked devices.
A custom recovery also let’s you take a Nandroid backup of your device — the ultimate backup which restores your device to the exact same environment you took the backup in; it literally puts everything back in.
Types of custom recoveries
- ClockWorkMod (CWM) recovery: It’s the most popular custom recovery and his been around since the early days of Android. CWM comes in both Non-touch and Touch versions, however you’ll find the non-touch CWM to be more compatible and available.
- TWRP recovery: The TeamWin Recovery Project gained popularity only in the past year and it truly deserved it. TWRP is more advanced and user friendly than CWM. It comes only in touch version and has many cool features like File manager compatibility, themes support, on-screen keyboard, multiple zips flashing, etc.
Recovery for bootloader unlocked Xperia Z
The recoveries shared below are only for official Sony firmwares or modified official firmwares and may not work on AOSP based ROMs. However you can use these recoveries to flash AOSP based ROMs like CM 10.2 and similar ROMs.
CWM Recovery
Recoveries are installed on Xperia Z using a custom kernel. And these custom kernels are firmware specific. So for example, if your phone is running on firmware version 10.3.1.A.0.244, then you need to flash the kernel specific for that firmware. Below are download links for all firmwares, but before downloading make sure to check your phone’s firmware version.
Check your phone’s firmware version
To check firmware version on your Xperia Z. Go to Settings on your phone » select About phone » Look for Build number. The build number is the firmware version number.
Download CWM kernel
Once you’ve checked your device’s current firmware version, download the kernel specific for your firmware from the list below:
- 10.3.1.A.0.244 → Kernel download link for .244
- 10.3.A.0.423 → Kernel download link for .423
- 10.1.1.A.1.253 → Kernel download link for .253
- 10.1.A.1.434 → Kernel download link for .434
- 10.1.A.1.350 → Kernel download link for .350
→ Download fastboot files (807 KB)
Instructions
We’ll use the 10.3.1.A.0.244 firmware for example in this guide. But you make sure to download and flash only the kernel specific for your firmware.
- Extract the fastboot files you downloaded from the link above to a separate folder on your computer
- Extract the CWM kernel .zip file that you downloaded for your firmware. And Copy/Paste the “boot.img” file from the extracted files to the folder where you extracted the fastboot files in Step 1
└ You need to transfer the “boot.img” from CWM kernel’s zip file to the folder where you extracted fastboot files on your computer - Now open command window inside the Fastboot files folder. Press “Shift + Right click” on any empty white space inside the Fastboot folder and then select “Open command window here” option from the context menu
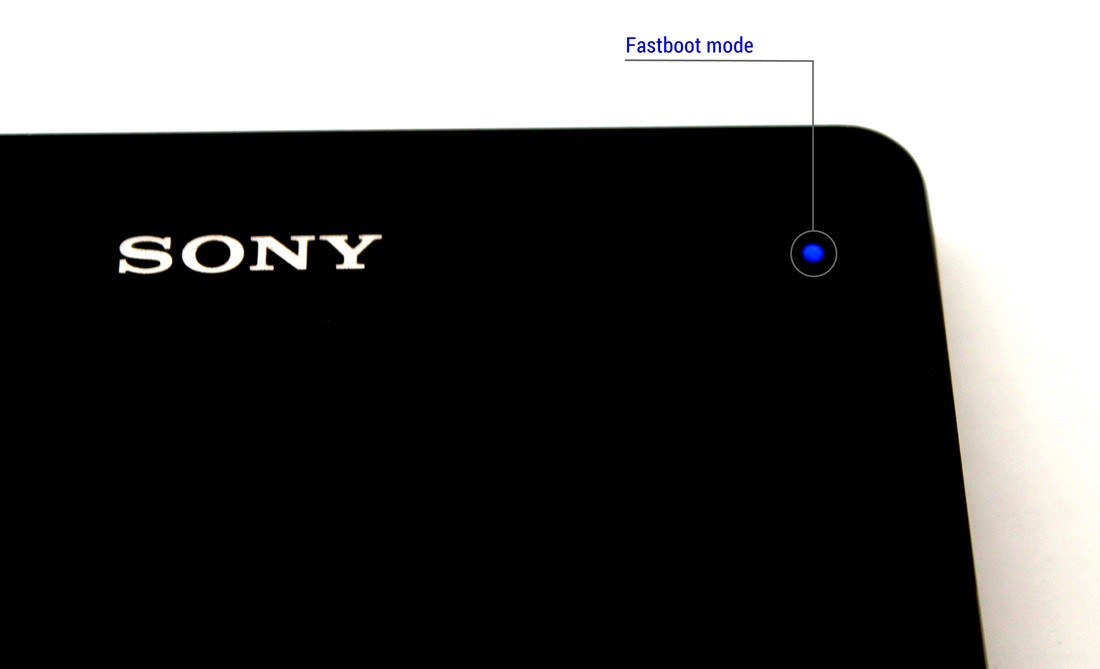
- Now connect your phone in fastboot mode
- Switch off your phone
- Hold the Volume UP key on your phone and connect it to PC using a USB cable
- The LED notification light on your phone should turn blue. If it doesn’t — do the above step again
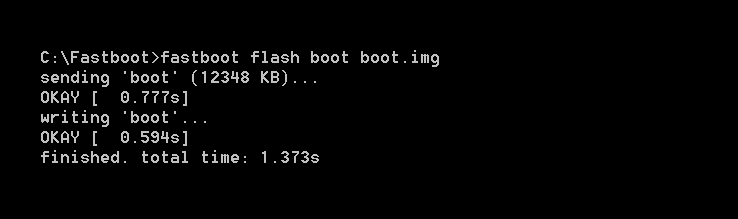
- Type the command given below in command prompt window and hit enter to begin flashing the “boot.img” file
fastboot flash boot boot.img
- Command prompt will show you a finished message once the “boot.img” is successfully flashed to your device
- Disconnect your device and let it reboot automatically

Done!
How to boot into recovery
- Switch off your Xperia Z first
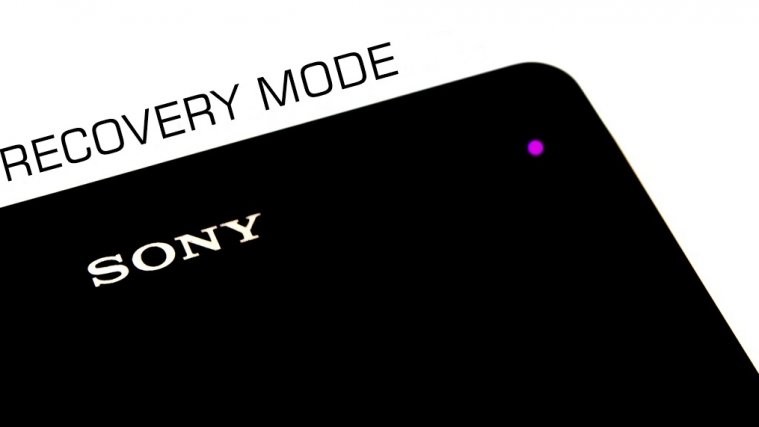
- Switch it back on and the time when you see your phone’s LED notification light turn purple or pink — start pressing either the Volume UP or Volume Down key a couple of times and your phone will reboot into recovery
Recovery for bootloader locked and unlocked Xperia Z
XZ Dual Recovery: CWM and TWRP recovery together
The XZ Dual Recovery lets you install both CWM and TWRP recovery simultaneously on your device. And it works on both bootloader unlocked and locked devices, and it also is the best way to get TWRP on your Xperia Z.
→ Download XZ Dual Recovery (5.33 MB)
File name: lockeddualrecovery2.6.3-RELEASE.windows.zip
Installation instructions
Root required!
To install XZ Dual Recovery on your Xperia Z you first need to root your device. Below is a link to a very detailed guide for rooting Xperia Z.
Link → How to Root Xperia Z
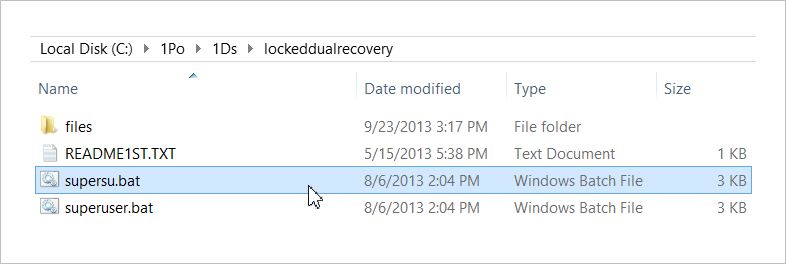
- Unzip/extract the “lockeddualrecovery2.6.3-RELEASE.windows.zip” file (that we downloaded above) to a separate folder on your computer
- Prepare your phone
- Enable developer options: Go to your phone’s Settings » select About phone » Scroll to the bottom and tap on “Build number” seven times to enable developer options
- Enable USB Debugging: Open phone’s Settings » select Developer options » Tick the “USB debugging” checkbox (under Debugging section)
- Enable installation of apps from Unknown Sources: Open phone’s Settings » select Security » Tick the “Unknown sources” checkbox (under Device administration section)
- Connect your phone to PC with a USB cable and if a pop-up screen shows up on Phone asking you to Allow USB debugging for the computer, make sure you tick the checkbox and tap OK
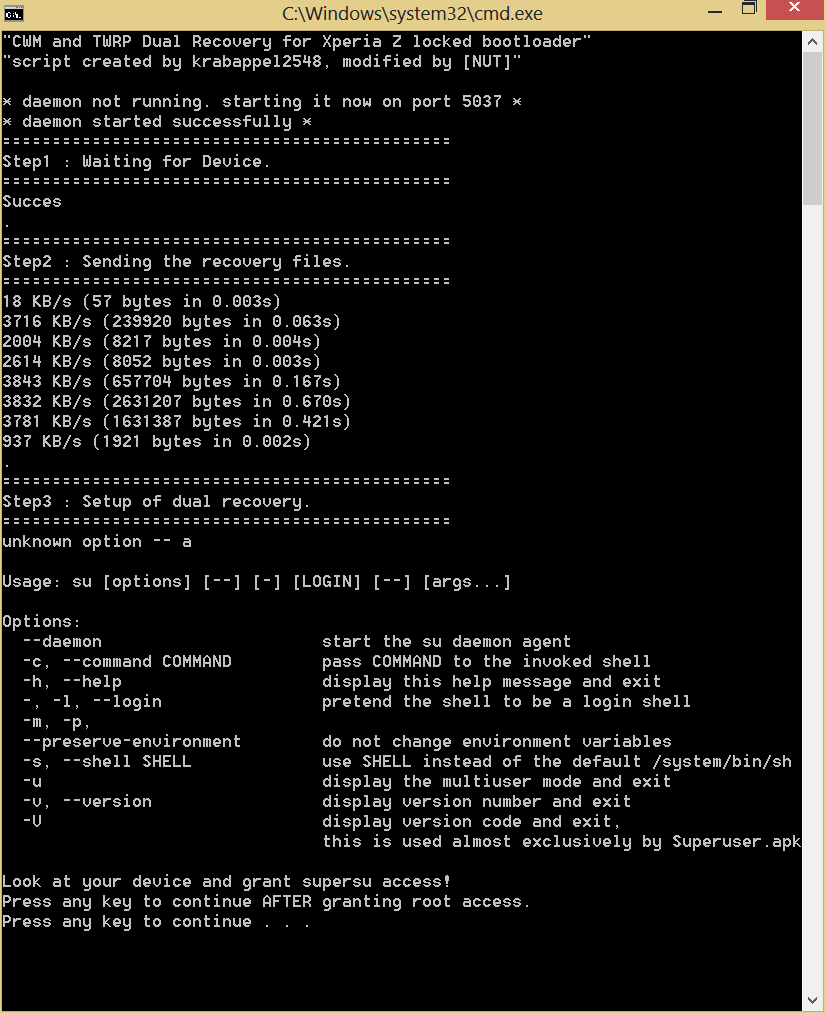
- Now from the files extracted in Step 1, execute the .bat file
- Run “supersu.bat” file if you’ve SuperSU app installed on your phone
- Run “superuser.bat” file if you’ve Superuser app installed on your phone
This will start the dual recovery installer
- Grant SuperSU access (Root access) on your phone when the recovery installer window notifies you to do so (as shown in the screenshot above). And then, press any key on the installer screen to continue
- Your device will reboot automatically now. And here you’ve to make sure that the first boot goes into recovery mode, here’s how
- While booting up you’ll see your phone’s LED notification light turn purple or pink, so just when you see that — start pressing the Volume UP key a couple of times and your phone will reboot into CWM recovery
- Do nothing once you’re in CWM recovery, just select “Reboot system now” option using the Power key
- Close the installer window once it’s done with its job and shows you a “Press any key to continue..” message

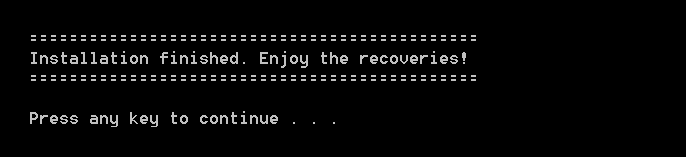
That’s it! Dual recovery should be installed on your device now.
How to boot into recovery
- Switch off your Xperia Z first
- Switch it back on and the time when you see your phone’s LED notification light turn purple or pink, do the following
- For CWM: Press Volume Up a couple of times
- For TWRP: Press Volume Down a couple of times
Need help?
If you need any help with the guides shared on this page you can drop us a comment in the comments section below. We’d be happy to help.


Very useful, thank you!
Very useful, thank you!
Very useful, thank you!
mine is 10.3.1.A.2.67 so how is it?
mine is 10.3.1.A.2.67 so how is it?
mine is 10.3.1.A.2.67 so how is it?
it keeps on saying waiting for device.how do i proceed? please help.
same problem
it keeps on saying waiting for device.how do i proceed? please help.
same problem
it keeps on saying waiting for device.how do i proceed? please help.
same problem