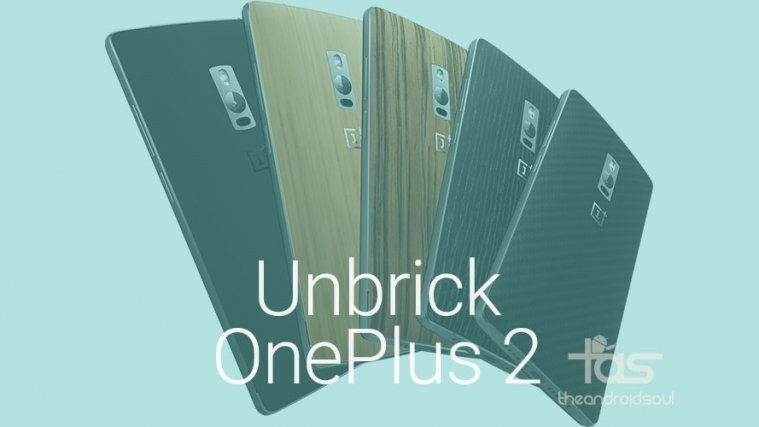
It may happen that you end up with bricked OnePlus 2 — we pray that doesn’t happens, btw — while trying to flash a ROM or firmware, or in your attempts to root and install TWRP recovery. When such sad and fearful moment comes, well, you can unbrick it right away using the link given below.
What needs to be done basically is flashing the right partition images back on OnePlus 2, using recovery mode, but first making sure that you have the right driver installed on your Windows PC. Btw, big thanks to qwsdert4 for coming up this, you too owe him a thank if you use this guide.
Downloads
Supported devices
- OnePlus 2
- Don’t try this one OnePlus One
(Although, it’s actually same, just make sure you use OnePlus One’s own recovery.img and Oxygen OS zip file. Given here are of OnePlus 2 obviously.) - Don’t try on any other device whatsoever!
Important: Check your device’s model no. on its packaging box, or in Settings > About device. Btw, because there are two variants of Galaxy J7 based on processor in use, be sure to use an app like Droid Info to make sure that your device’s model no. is j7elte. If you don’t see j7elte as model no. DO NOT try this on your device.
Warning: Warranty may be void of your device if you follow the procedures given on this page. You only are responsible for your device. We won’t be liable if any damage occurs to your device and/or its components.
Backup important files stored on your device before proceeding with the steps below, so that in case something goes wrong you’ll have backup of all your important files. Sometimes, Odin installation may delete everything on your device!
Step-by-step Guide
Step 1: Download extract the recovery package into a separate folder on your PC, using a free software like 7-zip. Among all files extracted, you will have recovery.img, which is actually in chinese language. So, rename this file to recovery-chinese.img (from recovery.img).
Step 2: Now, download the OnePlus2-en.img file provided above and rename this one to recovery.img, and then transfer it to that folder where you have the recovery-chinese.img. So, we have normal recovery now, in place of chinese recovery in the recovery tools folder.
Step 3: Next, disable the ‘driver signature enforcement’ check. On your PC, restart your PC, but while clicking on restart button hold the shift key. Windows will get you restart option, choose Troubleshoot, and then Advanced options, then Start Settings, and then click on Restart. Now, select option 7 ‘Disable Driver Signature Enforcement’. Use the appropriate key as mentioned on that screen. Let PC restart thereafter.
Step 4: Extract the driver file you downloaded from above.
Step 5: Now, connect your OnePlus 2 to PC. Then open ‘Device manager’. Now, find the item by name of ‘QUALCOMM-HS USB Diagnostics 9006’. It’s your OnePlus 2. Now, we update the driver for our OnePlus 2.
Step 6: Right click on it, and select ‘update driver’. Select ‘browse’ button and go to and select the folder where you extracted driver file’s content. Now, click on ‘Next’ button. Once you do it, Windows will look for drivers for your phone in the mtk-drivers folder and when it finds it, will begin installing it.
Step 7: When done, go to folder where you have the recovery file’s contents, and run the file MSM8994DownloadTool.exe, using Admin privileges .
Step 8: Uncheck the ‘Start’ option in the top left corner and wait until its job is done.
Step 9: Now your OnePlus 2 should be able to enter into recovery mode, with TWRP recovery working.
Step 10: Now, you just need to download the Oxygen OS 2.0 and install it using TWRP recovery. First boot the OnePlus 2 into recovery mode, now, connect it to PC and transfer the Oxygen OS 2.0 zip file.
Step 11: Now select Install option on main screen of TWRP, and then browse and select the Oxygen OS 2.0 zip file. Do the swipe action on next screen, and the Oxygen OS 2.0 will be installed on your device. Tap on ‘Reboot system’ button now to restart the device.
That’s it. Your OnePlus 2 is fully working device again. Be sure to take the Stagefright fixer OTA update that started rolling out recently.
Need help? Let us know using comments section below.


