
If you are one of those unfortunate people who does not have an inbuilt call recording feature on their Android device, worry not. Whatever your reason to record calls, be it to catch a liar or to capture the moment forever or for research purpose just make sure recording a phone call is legal in your country. Some countries require that the other person should be notified and made aware before recording a call.
Moving on, you don’t need to be a rocket scientist to record calls on your Android device. The process is effortless and primarily a child’s play.
All you need to do is download a call recording app from the Google Play Store. Some of the Apps that we like are Automatic Call Recorder by Appliqato, Auto Call Recorder 2017, DU caller ID recorder, Call recorder ACR.
We are all for Call recorder ACR. However, if you need an all in one App – caller ID + dialer + recorder, you must try DU caller ID recorder.
Anyway, Call recorder ACR does the job of recording the calls with great panache. Being a lightweight app, you don’t need a lot of space to install it, moreover, it is loaded with tons of features such as lots of recording format, grouping recordings by date, password protection of recordings which make the app impeccable.
So shall we begin?
Steps to record calls on any Android device
Step 1. Head on to Google Play Store to download and install the Call recorder ACR (link below).
Step 2. Tap to open the Call Recorder ACR app.
Step 3. For Android devices running Android Marshmallow or Android Nougat, following popup will greet you, asking you to grant permissions – as is mandatory for all the apps using Marshmallow and above to ask the user to grant permission.
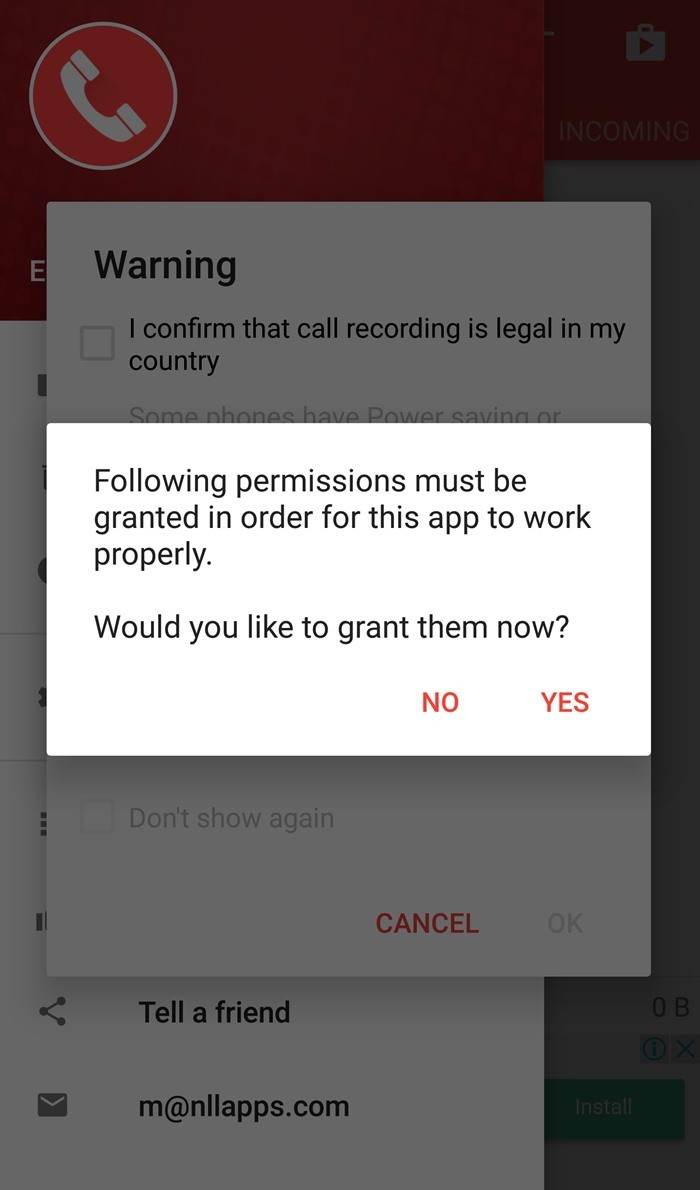
You would be required to grant permission to make and manage calls, to record audio, allow access to files on your device, allow access to your contacts. Tap Yes, followed by “Allow” on all permissions.
Step 4. After you tap Allow on all the four permissions, you are greeted with the following warning screen.
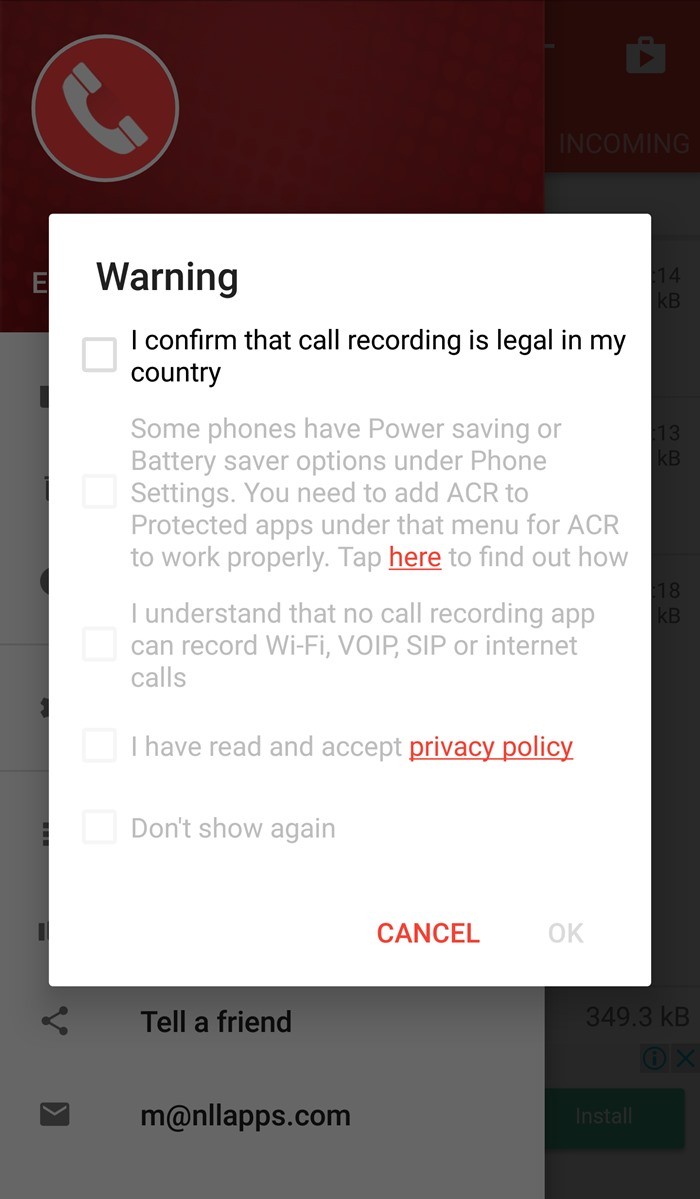
On Android devices below Marshmallow – Lollipop, Kitkat, this will be your first screen, as before Marshmallow asking for permissions wasn’t mandatory.
As we already mentioned, call recording is illegal in some countries, so to be on the safer side, the app asks you to confirm the same. Tap the warnings one by one to confirm them and finally press OK.
Also, tap the “Don’t show again” option so that you won’t be greeted with this screen again.
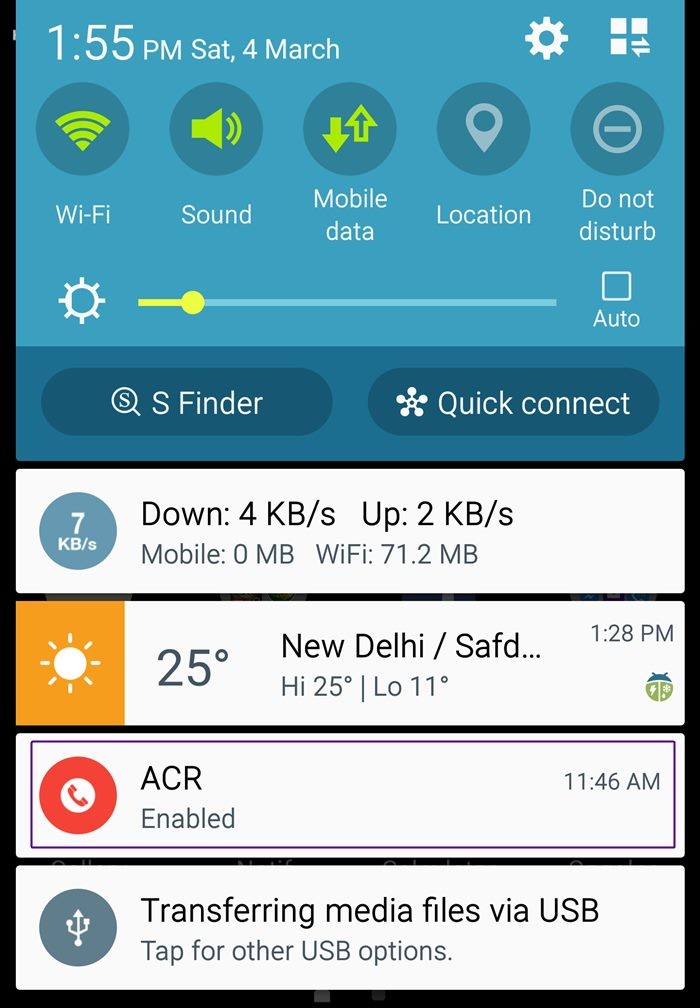
Step 5. Once you tap OK, you will see a new icon in the status bar and also in the notification center displaying “ACR enabled”, that’s when you know your call recorder is active.
That’s it.
From now onwards all your calls are recorded automatically which you can view in the app.
Also read: How to recover notifications cleared from notification bar on Android, including Samsung devices
How to use a call recorder app.
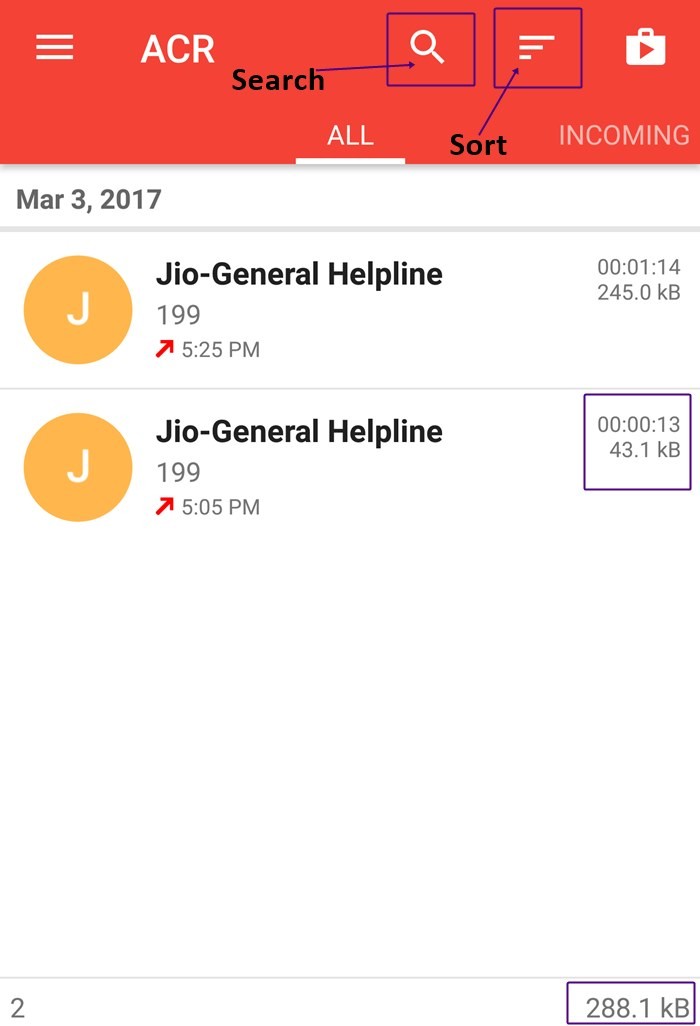
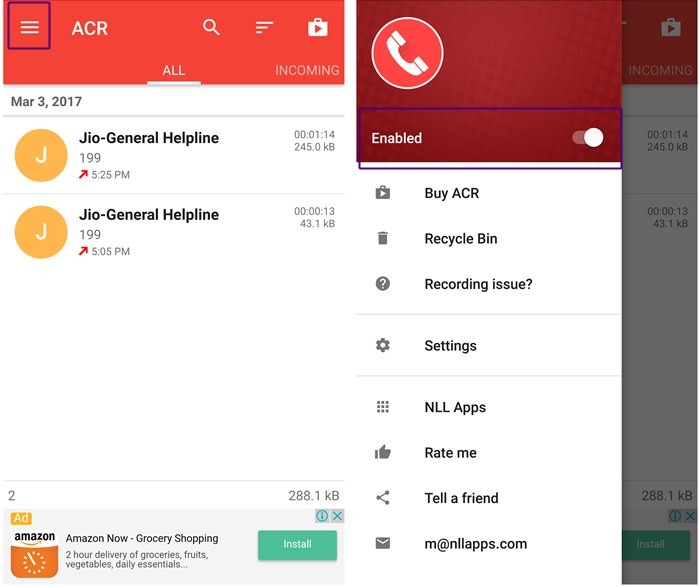
When you make a call or receive a call, the recorded call is visible under the “ALL” tab. You can view the calls by “Incoming, Outgoing, Important” mode as well. While each clip has its size mentioned next to it, you will find the total size of the recordings at the bottom.
Also, if you want to search for the recording, tap the search icon in the top bar. You can search by contact name and number. Additionally, if you want to sort the recordings, you can do that too. Tap the sort button, next to the search icon and give your preference. Finally, tap Ok.
To disable call recording, swipe right in the app to launch navigation bar or tap the three horizontal bars at the top left side and disable the top toggle next to “Enabled”. However, if you want to stop the recording while on a call, just tap the notification in the Notification center to disable it.
Further, tap any recording to get further options like play, delete, share, call. Not only that, you even get an option to add a note to each recording. Isn’t that awesome?
However, if you want to upload the files automatically to cloud services like DropBox, Google Drive etc or want to record calls from selected contacts only, we are sorry to say but you would have to buy the PRO version.
Also read: How to sync a local folder with Google Drive on your Android device
Important tips for Call recorder -ACR
- If you are unable to record calls, try recording using loudspeaker/speakerphone.
- If you are not satisfied with the audio quality, try changing the audio source or recording format. To do so, tap the three horizontal lines at the top left corner, then go to settings, followed by the recording option. Scroll down and change the Audio source and recording format under Recording modes. You should experiment and see what works for your device.

Additionally, you will find multiple settings like auto delete recordings, delete short recordings, change recording directory etc.
- If you accidently delete a recording, worry not. You can still find it in the recycle bin. To do so, tap the three horizontal bars, and select Recycle Bin from the menu. You will find your deleted file happily sitting there.
- However, if you don’t want the recordings to move to Recycle Bin and instead want to remove the recordings forever, go to settings – general – and uncheck the Recycle Bin option.
Now that you have mastered the art of call recording, go have fun.
But hey, don’t misuse the feature.
→Download Call recorder ACR Android app
Do you like the article? Let us know in the comments below.

