Your love about flashing custom ROMs on Samsung Galaxy S5 Plus will become more juicy with the Philz Touch recovery, that’s based on the ClockworkMod recovery and packs in quite a lot of cool features. Don’t confuse the phone with the regular Galaxy S5 handset, whose model no. is G900, not the G901 of S5 Plus.
The S5 Plus Philz Touch custom recovery we’ve got here also supports F2FS partition. Moreover, flashing the custom ROMs using Philz Touch recovery is extremely easy, and because it’s highly customizable, it’s favorite of many people. It’s a good alternate to the TWRP recovery, and original CWM recovery.
Installing the Philz Touch advanced CWM recovery Galaxy S5 is very easy, as you can use the Odin PC software for this. Kind of one click procedure if everything is set.
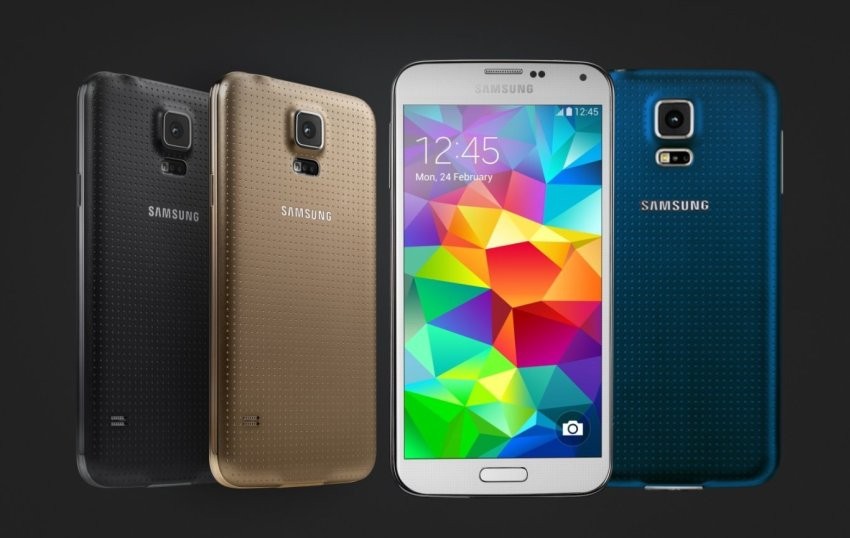
Samsung Galaxy S5 Plus (G910F) Philz Touch (CWM) Recovery
Downloads
- Philz Touch Recovery | Filename: mc_901F_F2FS_PhilZTouch_recovery_v3.0.tar (12.56 MB)
(Mirror Link) - Odin PC software (v3.10.6)
Supported devices
- Samsung Galaxy S5 Plus (model no. SM-G901F)
- Don’t try on any other device whatsoever
Instructions
Warning: Warranty may be void of your device if you follow the procedures given on this page. You only are responsible for your device. We won’t be liable if any damage occurs to your device and/or its components.
Make a Backup. It’s important to create a backup of important files (music, photos, documents, videos, etc.) stored on your device before proceeding with the steps below. There are chances that everything on your phone might get deleted, hence the need for appropriate backup of files and contacts.
- Download Odin, drivers and recovery file from above.
- Install Galaxy S5 Plus drivers (method 1 there!) first of all. Double click the .exe file of drivers to begin installation. (Not required if you have already done this.)
- Extract the Odin file. You should get this file, Odin3 v3.10.6.exe (other files could be hidden, hence not visible).
- Disconnect your S5 Plus from PC if it is connected.
- Boot Samsung Galaxy S5 Plus into download mode:
- Power off your S5 Plus. Wait 6-7 seconds after screen goes off.
- Press and hold the three buttons Volume Down + Power + Home together until you see warning screen.
- Press Volume Up to continue to download mode.
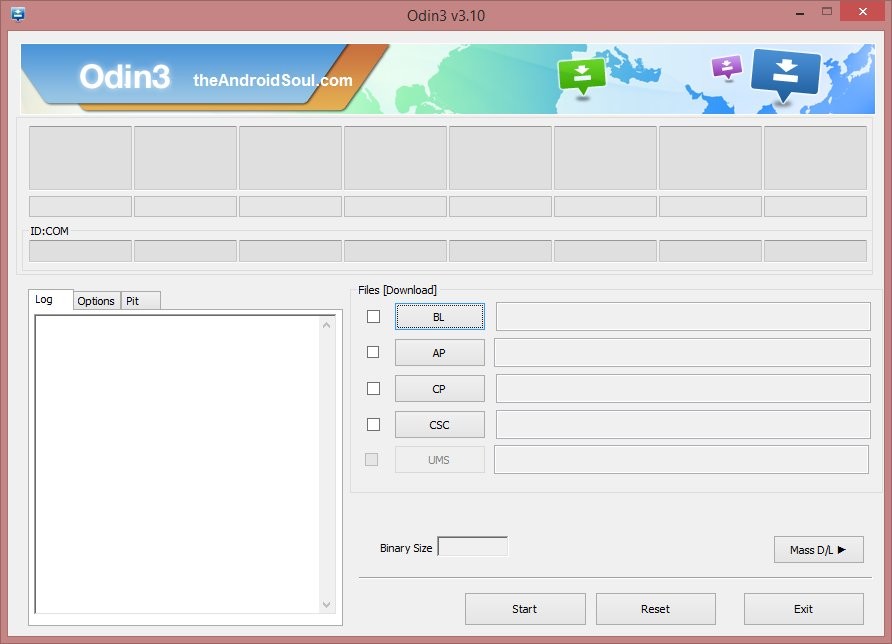
- Double click on extracted file of Odin, Odin3 v3.10.6.exe, to open the Odin window, as shown below. Be careful with Odin, and do just as said to prevent problems.
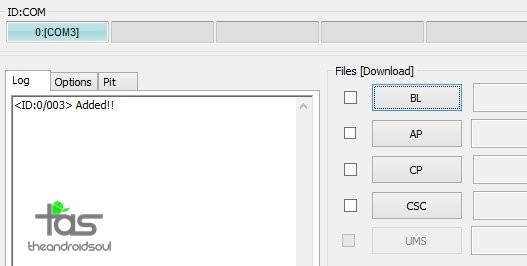
- Connect your Galaxy S5 Plus to PC now using USB cable. Odin should recognize your S5 Plus. It’s a must. When it recognizes, you will see Added!! message appearing in the Log box in bottom left, and the first box under ID:COM will also show a no. and turn its background blue. Look at the pic below.
- You cannot proceed until Odin recognizes your device and you get the Added!! message.
- If it doesn’t, you need to install/re-install drivers again, and use the original cable that came with device. Mostly, drivers are the problem.
- You can try different USB ports on your PC too, btw.
- Load the recovery’s .tar file into Odin (that you downloaded). Click the AP tab and select the file: mc_901F_F2FS_PhilZTouch_recovery_v3.0.tar
- Make sure Re-partition checkbox is NOT selected under the Options tab. Don’t use PIT tab either. Go back to Log tab btw, it will show the progress when you hit start button in next step.
- Click the Start button on Odin now to start flashing the recovery on your AT&T Samsung Galaxy S5 Plus. Wait till installation is finished, after which your Galaxy S6 Edge will reboot automatically. You’ll get PASS message as show below upon successful installation from Odin.
- If Odin gets stuck at setup connection, then you need to do steps 6 to 12 again. For this, close Odin, disconnect your S5 Plus, remove battery, insert it back after 5-6 seconds and then start from step 6 again.
- Or, if you get FAIL in the top left box, you need to try flashing again, as stated just above.
- To confirm whether you’ve got the Philz Touch recovery, boot into recovery mode:
- Power off your S5 Plus. Wait 6-7 seconds after screen goes off.
- Press and hold the three buttons Volume Up + Power + Home together until you see Samsung’s logo. You’ll enter recovery mode soon.


That’s it.
If you face any issues over installing the Philz Touch recovery on your Galaxy S5 Plus, let us know via comments below. We’ll try our best to help you.

