Perhaps the most famous Android 4.1 Jelly Bean ROM for the Galaxy S and the Captivate right now is the HellyBean ROM, which has now been brought over to the Samsung Vibrant by XDA Senior Member DerTeufel1980
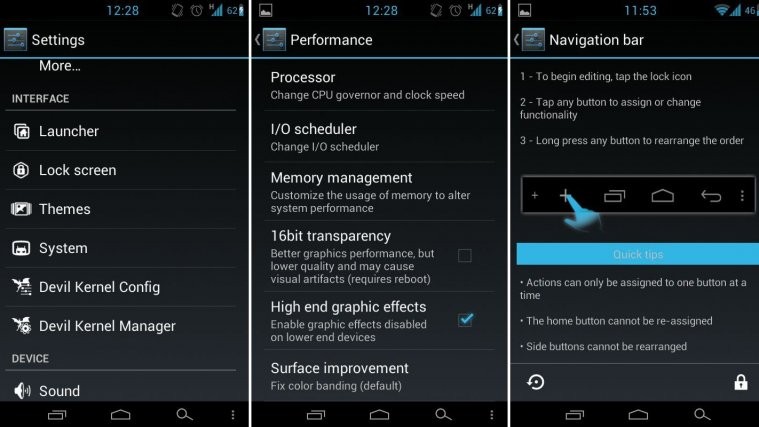
With HellyBean ROM, you get all the features of Android 4.1 on your Vibrant, such as the smooth interface, the improved and actionable notifications, advanced voice recognition and information with Google Now, smart and accurate keyboard, faster and efficient browser, etc along with customization options for both the interface and performance of the ROM, including the ability to activate/deactivate and customize onscreen navigation buttons.
NOTE, Please Read: Since this is an unofficial AOSP based ROM, some features like 3G video calling will be unavailable as those are only possible on stock Samsung ROMs (video calls using 3rd party apps like Skype will work fine though). Some other features such as an FM radio will be missing too, and some apps like camera may not be the same as on stock ROMs.
Read on to find out how you can install HellyBean ROM on your Samsung Vibrant.
Compatibility
This ROM and the guide below are compatible only and only with the Samsung Vibrant, model number T959. It’s not compatible with any other device. Check your device model in Settings » About.
Warning!
The methods and procedures discussed here are considered risky and you should not attempt anything if you don’t know completely what it is. If any damage occurs to your device, we won’t be held liable.
How to Install HellyBean ROM on Samsung Vibrant
- This procedure will wipe all your apps, data and settings (but it will NOT touch your SD cards, so don’t worry about those). Backup your Apps and important data — bookmarks, contacts, SMS, APNs (internet settings), etc. This Android backup guide would help you.
NOTE: Don’t forget to at least note down your network’s APN settings, which are required to make mobile data work. Go into Settings » More » Mobile Networks, click on the APN that is in use, then note down the setting for each field. While APN settings should be automatically restored from network, you can enter them manually if needed to make mobile data work. You can also find your APN details → here. - Make sure you have ClockworkMod (CWM) recovery installed on your phone.
- Download the latest version of the ROM from the source page.
- Download the Google Apps package. This will install apps like Play Store, Gmail, etc. which are not present in the ROM by default.
Download Gapps | Alternate Link | Filename: gapps-jb-20120726-signed.zip - Copy the downloaded zip files from step 3 and step 4 to the internal SD card. Do not extract them.
- NOTE: The ROM comes with an optional kernel with Voodoo colour, which improves the display colours. If you want to install that kernel, simply make a new folder named devil in your internal storage, then make an empty file named voodoo_color inside the devil folder. Skip this if you don’t want to use the optional kernel.
- Turn off the phone. Boot into Clockworkmod recovery. To do so, hold down the Volume Up + Volume Down + Power buttons together till the screen turns on, then let them go. The phone will enter recovery soon enough.
In recovery, use Volume keys to scroll up and down and power key to select an option. - Select wipe data/factory reset, then select Yes on next screen to confirm. Wait a while till the data wipe is complete. This will only delete installed apps and settings, but leave all personal files intact.
- Select install zip from sdcard, then select choose zip from sdcard. Scroll to the ROM file on the SD card and select it. Confirm installation by selecting Yes – Install _____.zip on the next screen. The ROM will start installing.
- The phone will reboot into recovery in the middle of installation and then continue installing the ROM. However, if it simply reboots but doesn’t continue installation, repeat step 9.
- After ROM installation completes, select choose zip from sdcard again, then select the gapps-jb-20120726-signed.zip file to install the Google apps package.
- After the installation of the Google apps package is complete, select go back then select reboot system now to reboot the phone and boot into HellyBean. First boot will take up to 5 minutes, so be patient.
HellyBean ROM, based on Android 4.1 Jelly Bean is now installed and running on your Samsung Vibrant. Visit the source page for more info and to get the latest updates on the ROM. Share your thoughts on the ROM in the comments.
Also try out some other Jelly Bean ROMs for the Vibrant → here.


