The Galaxy S recently received a port of Android 4.1 Jelly Bean, so it was only a matter of time before its US siblings like the Samsung Vibrant got a port as well. The same team that brought Jelly Bean to the Galaxy S – Team Android Jelly Bean – has ported the ROM to the Vibrant as well. Android 4.1 is a great version of Android that brings butter-like smoothness to Android thanks to Google’s Project Butter, along with other features such as offline voice typing, improved Google Search, better notifications, and more.
Warning! This is a very early port of Jelly Bean, so there’s a lot of stuff that does not work and hence the ROM can NOT be used as a daily ROM. It’s only intended as an experiment to let people taste Jelly Bean on their devices. Jelly Bean hasn’t yet been official released by Google, but when it is, the ROM will get more and more stable.
ROM Info:
What is working?
- Touchscreen
- GPU
- Buttons w/ haptic feedback
- Project Butter
- ADB
What is not working?
- WiFi
- GSM (no calls or SMS)
- Audio
- Everything else you can name
Read on to find out how you can flash Android 4.1 Jelly Bean on your Samsung Vibrant.
Compatibility
This ROM and the guide below are compatible only and only with the Samsung Vibrant, model number T959. It’s not compatible with any other device. Check your device model in Settings » About.
Warning!
The methods and procedures discussed here are considered risky and you should not attempt anything if you don’t know completely what it is. If any damage occurs to your device, we won’t be held liable.
How to Install Android 4.1 Jelly Bean on Samsung Vibrant
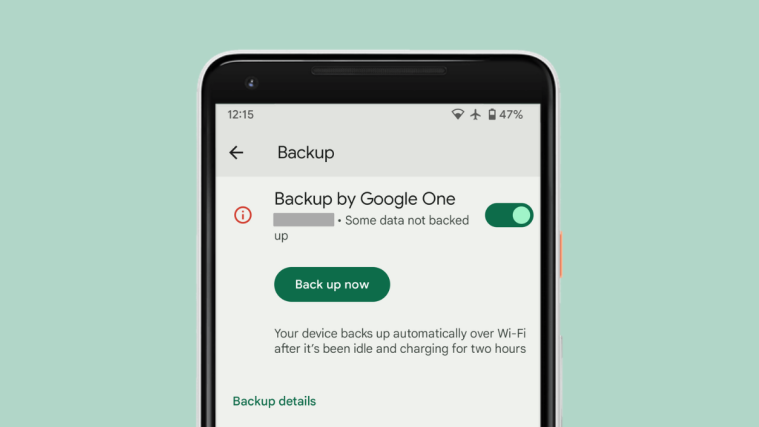
- This procedure will wipe all your apps, data and settings (but it will NOT touch your SD cards, so don’t worry about those). Backup your Apps and important data — bookmarks, contacts, SMS, APNs (internet settings), etc. This Android backup guide would help you.
Important! Don’t forget to at least make a backup of your APN settings, which you can restore later if your data connection does not work after installing the ROM. Use the backup guide to find out how. - Make sure you have ClockworkMod (CWM) recovery installed on your phone.
- Download the latest version of the ROM to your PC from the official development page.
- Copy the downloaded file to the internal SD card on the phone. Do not extract it.
- Turn off the phone. Boot into Clockworkmod recovery. To do so, hold down the Volume Up + Volume Down + Power buttons together till the screen turns on, then let them go. The phone will enter recovery soon enough.
In recovery, use Volume keys to scroll up and down and power key to select an option. - Select wipe data/factory reset, then select Yes on next screen to confirm. Wait a while till the data wipe is complete. This will only delete installed apps and settings, but leave all personal files intact.
- Select install zip from sdcard, then select choose zip from sdcard. Scroll to the ROM file on the sdcard and select it. Confirm installation by selecting Yes – Install _____.zip on the next screen. The ROM will start installing.
- After the installation is complete, select go back then select reboot system now to reboot the phone and boot into Jelly Bean. First boot will take up to 5 minutes, so be patient.
Jelly Bean Android 4.1 is up and running on your Samsung Vibrant. Again, this is just an experimental port and by no means suitable as a daily driver. So try it out, and let us know your impressions of it, in the comments below.


