Having issues mounting data on TWRP recovery? Well, the most likely reason for that is encrypted data on your device. Manufacturers have been selling Android devices lately with forced encryption enabled (for safety of your data). This makes certain versions of TWRP not able to mount data partition on the device, and hence unable to flash a zip file (like SuperSU) from TWRP.
Generally, flashing SuperSU zip using TWRP’s install menu is the easiest thing in the world. But if you’re having issues mounting data partition of device on TWRP recovery, then it’s impossible to use the Install button on TWRP to flash a zip file. In that case, you can use the ADB sideload option.
While stock recovery only allows flashing signed zips from ADB sideload, you can install/flash an unsigned zip as well in TWRP recovery via ADB sideload command. And that’s how we’ll flash the SuperSU zip via ADB sideload.
Download SuperSU v2.78 SR4 (latest)
How to ADB Sideload SuperSU zip from TWRP Recovery
- Download and save the SuperSU zip file from the download link above to your PC in a separate folder.
- Setup ADB and Fastboot on your PC.
- Enable USB debugging on your device:
- Go to your phone’s settings » About phone » and tap “Build number” Seven times. This will enable Developer options on your phone.
- Now go to Settings » Developer options » and tick the USB debugging check box.
adb reboot recovery
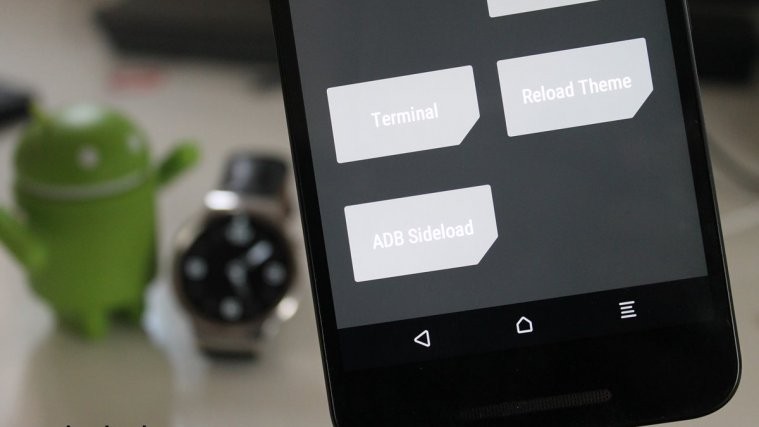
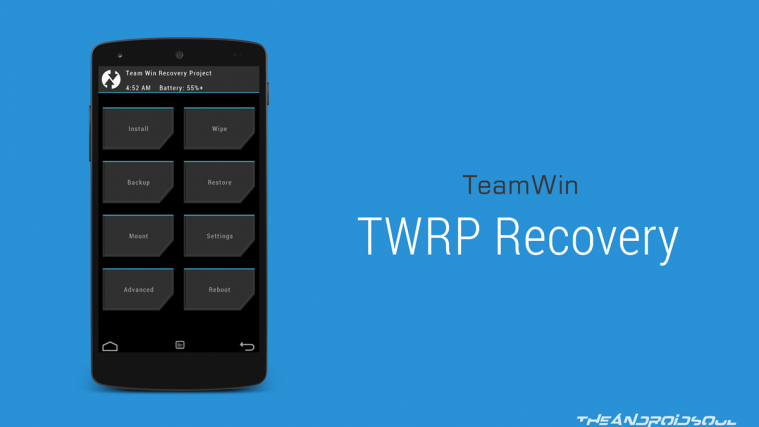
- Select Advanced from TWRP recovery main menu.
- Select ADB Sideload from advanced options.
- Check the Wipe Dalvik Cache and Wipe Cache check boxes.
- Finally Swipe to Start Sideload from the bottom bar.
adb sideload SuperSU-v2.78-201609011115.zip
That’s all. Enjoy root access on your Android device. Happy Androiding!

thank you very much it worked out perfectly with my nexus 6p on android 7.0
thank you very much it worked out perfectly with my nexus 6p on android 7.0
I can use the adb to boot my huawei mate 8 into recovery to setup the necessary step for sideload. However when I issued the command for adb to sideload SuperSu I received the error “device not found”. It seems that when the phone boot into recovery, the connection to the PC is somehow lost. Is there a way to fix this?
You need ADB drivers from the Android SDK or standalone.
But what if i installed supersu when it asked in recovery because now my phone is not rooted and nothing is working
But what if i installed supersu when it asked in recovery because now my phone is not rooted and nothing is working